G
WARNING
If you tighten the wheel bolts or wheel nuts
when the vehicle is raised, the jack could tip
over. There is a risk of injury.
Only tighten the wheel bolts or wheel nuts
when the vehicle is on the ground.
Always pay attention to the instructions and
safety notices in "Changing a wheel"
(
Only use wheel bolts that have been designed
for the wheel and the vehicle. For safety rea-
sons, Mercedes-Benz recommends that you
only use wheel bolts which have been
approved for Mercedes-Benz vehicles and the
respective wheel.
Be sure to use the original-length wheel bolts
when refitting the original wheel after it has
been repaired.
X
Clean the wheel and wheel hub contact
surfaces.
X
Place the new wheel on the wheel hub and
push it on.
X
Tighten the wheel bolts until they are fin-
ger-tight.
Lowering the vehicle
G
WARNING
The wheels could work loose if the wheel nuts
and bolts are not tightened to the specified
tightening torque. There is a risk of accident.
Have the tightening torque immediately
checked at a qualified specialist workshop
after a wheel is changed.
X
Turn the crank of the jack anti-clockwise
until the vehicle is once again standing
firmly on the ground.
X
Place the jack to one side.
X
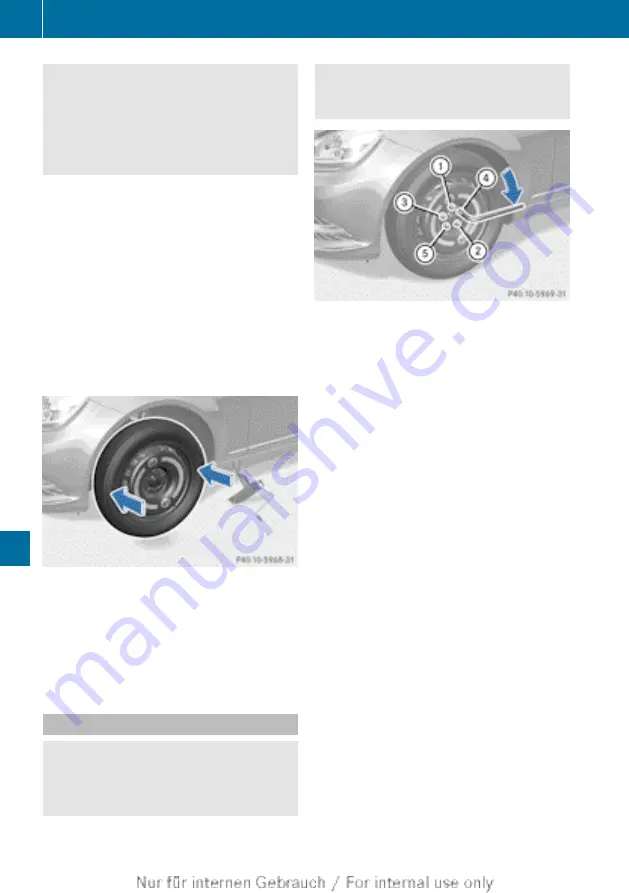
Tighten the wheel bolts evenly in a cross-
wise pattern in the sequence indicated
(
:
to
A
). The tightening torque must be
130 Nm.
X
Turn the jack back to its initial position and
store it together with the rest of the tyre-
change tool kit in the stowage well under
the boot floor.
X
Transport the faulty wheel in the boot.
or
X
Depending on the size of the wheel, you
may also be able to secure the faulty wheel
in the spare wheel well. In this case, you
will have to remove the stowage tray from
the spare wheel well and stow it securely
in the boot.
X
Check the air pressure of the newly fitted
wheel and adjust accordingly.
Observe the recommended tyre pressure
(
i
Vehicles with a tyre pressure control sys-
tem: all fitted wheels must be equipped
with functioning sensors.
360
Fitting a wheel
Wheels and tyres
Содержание 2013 C-Class Coupe
Страница 1: ...C Class Coupé Owner s Manual Nur für internen Gebrauch For internal use only ...
Страница 4: ......
Страница 32: ...30 ...
Страница 48: ...46 ...
Страница 83: ...Useful information 82 Key 82 Doors 88 Boot 91 Side windows 94 Sliding sunroof 98 81 Opening and closing ...
Страница 104: ...102 ...
Страница 294: ...292 ...
Страница 295: ...Useful information 294 Loading guidelines 294 Stowage areas 294 Features 299 293 Stowing and features ...
Страница 313: ...Useful information 312 ASSYST PLUS 312 Engine compartment 313 Care 319 311 Maintenance and care ...
Страница 328: ...326 ...
Страница 370: ...368 ...
Страница 386: ...384 ...

