


2. Use the "
" and "
" buttons to move the list to
display all the programmed products.
3. Press the "Filter" button (1) to display products
according to various criteria.
9
The product statistics are opened.
You can export the product statistics list to a USB stick,
e.g., for further processing. The exported data will be
stored in CSV format in the USB stick's root directory.
4. Open the machine door using the key.
000168
2
1
Fig. 40: Inserting the USB stick
5. Slide the cover on the inside of the machine door (1)
to the side.
6. Insert a suitable USB stick (2) into the USB slot.
͵
Not every USB stick is suitable for use. The ma-
chine door must be able to close when the USB
stick is inserted.
7. Close the machine door.
8. Press the "Export" button (2) (see Fig. 39).
9. Select one of the following options:
•
Press the "Filtered" button to only export the
displayed, filtered section of the product statis-
tics.
•
Press the "All" button to export the entire product
statistics list.
10. Open the machine door.
11. Remove the USB stick and slide the cover back.
12. Close the machine door.
9
The product statistics list has been exported.
7�7�3
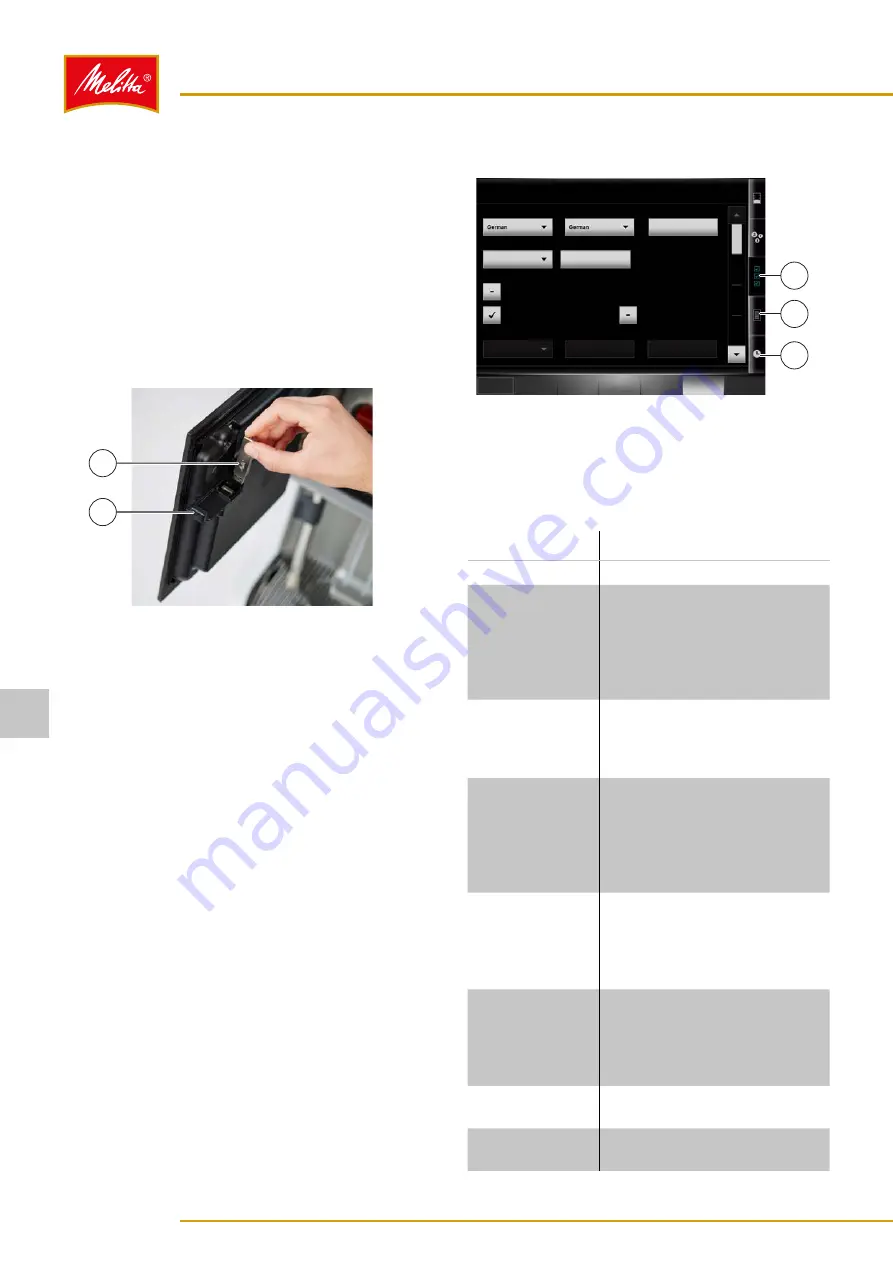
Machine settings
000252
Settings
Current language
SELECTION
PRODUCT
FILTER
UNIT
PRODUCT
OPERATION
Logout
Standard language
Configure language
selection and location
Operating mode
Waiter operation settings
Open batch (standard)
Allow product filter
Accounting
Quick start activated
Off
Article management
Production logging
1
2
Activate weekend operation
Waiter operation
3
Fig. 41: Machine settings
1. Press the "Settings" button (1) to display and edit the
basic settings for the machine.
2. Use the "
" and "
" buttons to move the list to
show all the settings options:
Button
Settings
Current language
Set the display language.
Standard
language
Language to be displayed by
default in self-service operation.
If a different language has
been set, this language will
be displayed again after five
minutes without any input.
Configure
language
selection and
location
Select the languages for "Current
language" and "Standard
language" and set the location
(country).
Operating mode
Set the default mode for the
machine: Self-service operation
or waiter operation. Here you
can also activate or deactivate
weekend operation (if necessary,
a cleaning will be performed).
Waiter operation
settings
In waiter operation, set whether
or not the batch processing is to
be open by default and whether
or not the quick start buttons are
displayed.
Accounting
If a payment system is
connected, adjust settings for
the accounting. You can choose
between "Off", "Normal billing",
and "Free operation".
Date
Set the current date using the
screen keyboard.
Time
Set the current time using the
screen keyboard.
Settings
28
28514 • 20170301
7


