182 of 271
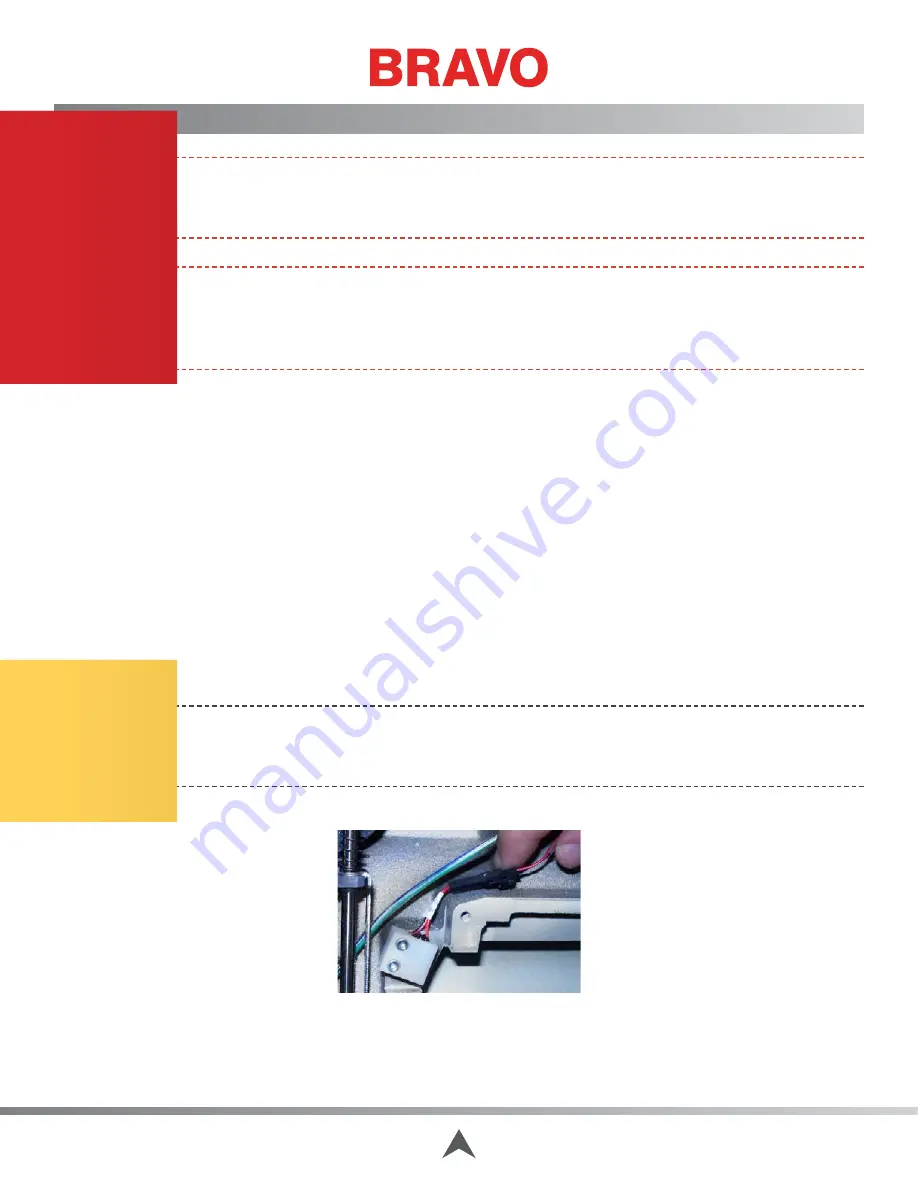
Laser Harness
WARNING!!
This procedure is intended to be performed only by specially trained and authorized
Manfacture service technicians and personnel. Disassembly by untrained individuals will void
any warranty protection and can result in personal injury or damage to the machine.
WARNING!!
DO NOT allow the laser beam to be aimed at yours or anyone else’s eyes. The laser
emits a very concentrated light beam that can cause permanent blindness. Use extreme care in
handling the laser assembly to make sure it is not going to be inadvertently aimed at someone’s
eyes or face. DO NOT LOOK DIRECTLY AT THE LASER LENS WHILE IT IS ENERGIZED!
The laser harness connects the laser pointer assembly to the Main PCB at connector location J30.
Replacement Parts Needed:
• harness, laser
• twist-lock cable ties (available at most hardware stores in the electrical section)
Replacement Procedures:
1. Color change to Needle 1.
2. Turn the machine OFF.
3. Remove the right upper arm front cover.
4. Remove the right arm cover and the back screw of the left.
CAUTION!!
Use extreme care not to drop metallic objects, tools, or other conductive material
on the Main PCB when you have the base cover removed. If you drop such objects on the Main
PCB, it can severely damage the electronics which will be very expensive to repair.
5. Remove the base cover, upper arm back cover and lower arm rear cover.
Figure 1 - Laser Harness Connection to Laser Pointer Assembly
Table of Contents
Содержание Bravo
Страница 1: ...Technical Manual Rev 082115 ...


