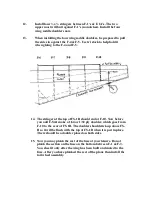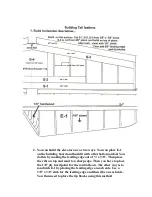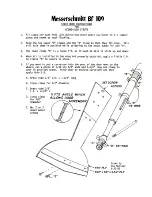
6a. Install the wing tongue hold down plate between W-1 & W-2. The
W-1 and the wing tongue are notched to fit each other. The front
of the wing tongue plate is to be flush with the front of rib W-2.
You will see that the wing tongue plate is at an angle.
7.
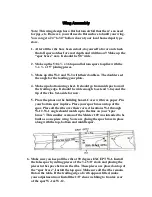
Install the “bolt plate” at the rear of W-1 & W-3. Make sure the
notch in the ribs is deep enough to allow the ribs to touch the
building board. Now install the 1/8” balsa leading edge. It’s made
up from 5/8” x 38 x 1-1/8”. Check for a bow in this piece. Correct
bow if needed. Now remove the wing from the building board and
place the wing sheet you made 1/8” from the front edge of the
spar. With the sheet pinned in place run a line of glue along the
front of the wing sheet. Now position the wing on top of the sheet.
Now glue all the ribs to the sheet. NOTE: YOU MUST MAKE
SURE EVERYTHING IS STRAIGHT WHEN YOU DO THIS.
7a. There’s a hole in the bolt plate. Drill the hole through the bottom
sheet with a 13/64-drill bit. Now take scrap balsa and fill the area
over the hole (between the ribs and approx. 1” wide). Sand until
flush with the ribs. You will sheet over this later and drill the hole
through the bottom.
8.
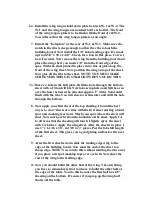
Now apply your first sheet of the top sheeting. I found the best
way is to do 4” sheets at a time with the first sheet starting at mid
spar and working rearward. Mark your spar where the sheet will
start. Now mark each rib on the backside of the sheet. Apply CA
to all areas that the sheeting will touch. I lightly spray the sheet
with CA kicker. Apply the wing sheet. After the sheet is in place I
use 3” x 1-1/16 x 36”, cut 3/8 to ½” pieces. Put the tabs full length
of the first sheet. This gives you a good gluing surface for the next
sheet.
9.
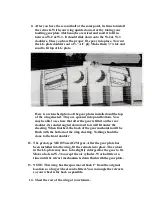
After the first sheet is down slide the trailing edge wing to the
edge of the building board. Now sand the end of the sheet to a
sharp edge. NOTE: You can do this without sanding the ribs away
if you place a strip of masking tape over each rib. Now sheet the
rest of the wing to the trailing edge.
10.
Now you should build the other half of the wing. The only thing
you have to remember is that you have to build the other half at
the edge of the table. You do this because the first half has 1/8”
sheeting on the bottom. It’s easier if you prop up the wing half
that is off the table.
Содержание 84" WING SPAN MESSERSCHMITT BF-109
Страница 1: ...84 WING SPAN MESSERSCHMITT BF 109 COPYRIGHT PROTECTED 2014 ALL RIGHTS RESERVED ...
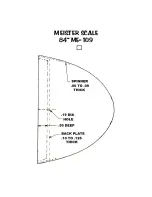
Страница 16: ...MEISTER SCALE 84 ME 109 ...
Страница 17: ......


