Getting Started with the gplugD
Using a Keyboard, Mouse, and HDMI Display
Copyright © 2010 Marvell
Doc. No. MV-S400320-00 Rev. -
December 2010
Page 19
1
2
3
4
5
6
7
8
9
10
11
12
13
14
15
16
17
18
19
20
21
22
23
24
25
26
27
28
29
30
31
32
33
34
35
36
37
38
39
40
41
42
43
44
45
46
47
48
49
50
51
52
53
54
55
56
57
58
Allow TeraTerm to add the gplugD IP address to its list of known hosts, if preferred. This warning
message is displayed any time TeraTerm connects to a machine that is not listed (either via IP
address or fully-qualified domain name) in its host file. Click “Continue.”
3.
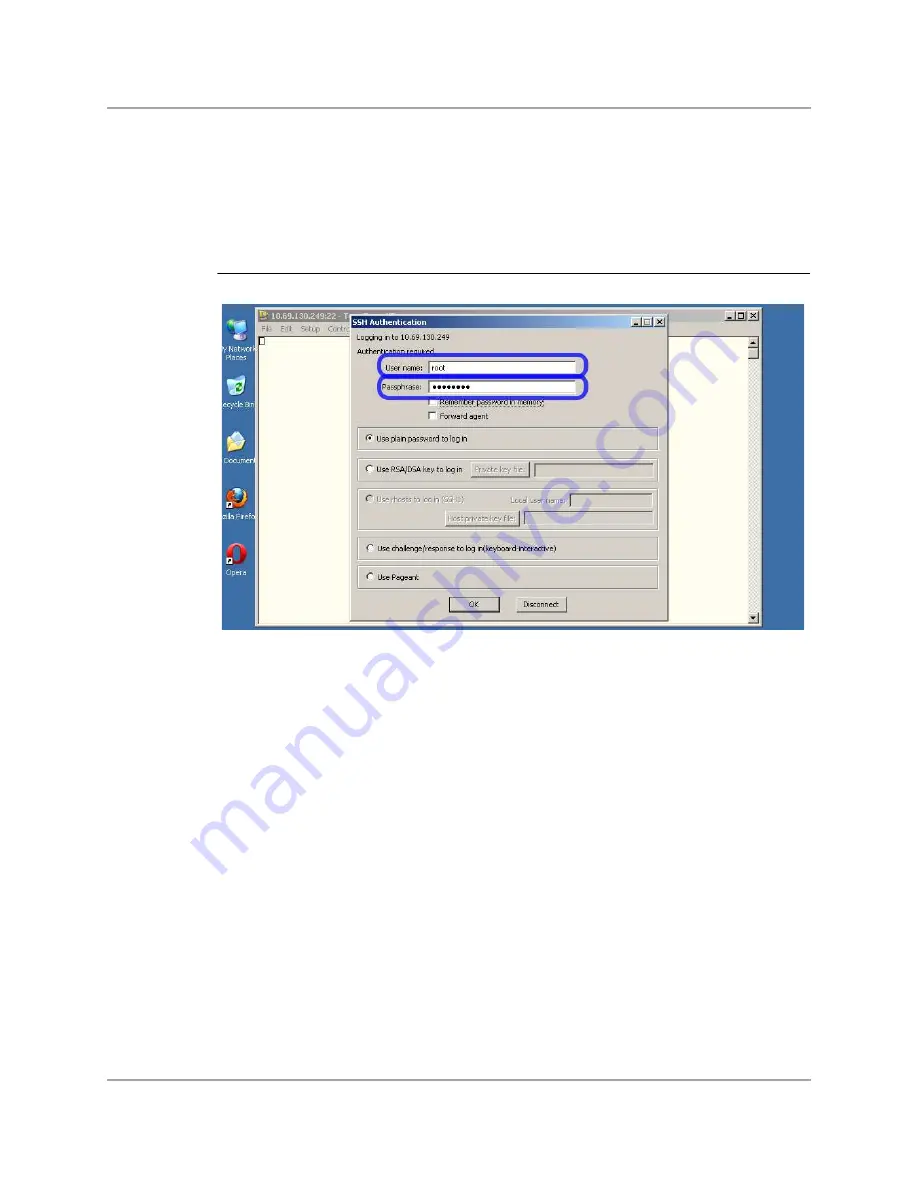
Enter “root” and “nosoup4u” for the user name and password, respectively, at the next prompt,
and click “OK” (see Figure 8).
4.
At the shell prompt, type “exit” or “logout” to disconnect.
3.3
Using a Keyboard, Mouse, and HDMI Display
With a network connection, keyboard, mouse, and flat panel display with HDMI, the gplugD can be
used as a standalone Linux machine. Follow these steps to boot the gplugD and use the Linux
desktop:
1.
With the gplugD powered down, plug in a USB mouse, USB keyboard, and a flat panel display
with a free HDMI input using the provided cable. Connect the RJ-45 jack to a wired Ethernet
network. Do not connect power to the Plug yet.
2.
Turn on the display and select the HDMI input to which the gplugD is connected.
3.
Connect power to the Plug NOW.
Boot time is about 40 seconds with X initializing the display around the 30-second mark. On some
flat-panel monitors and TVs, the desktop toolbar may extend below the visible screen area.
Depending on the particular display make and model, this viewing area can be adjusted by
navigating to the picture settings or adjustment menu and selecting “just scan” or disabling
overscan.
To shutdown the gplugD from the desktop, click the monitor icon in the lower left corner, select
“Logout”, and then “Shutdown” (see
).
Figure 8: SSH Authentication


