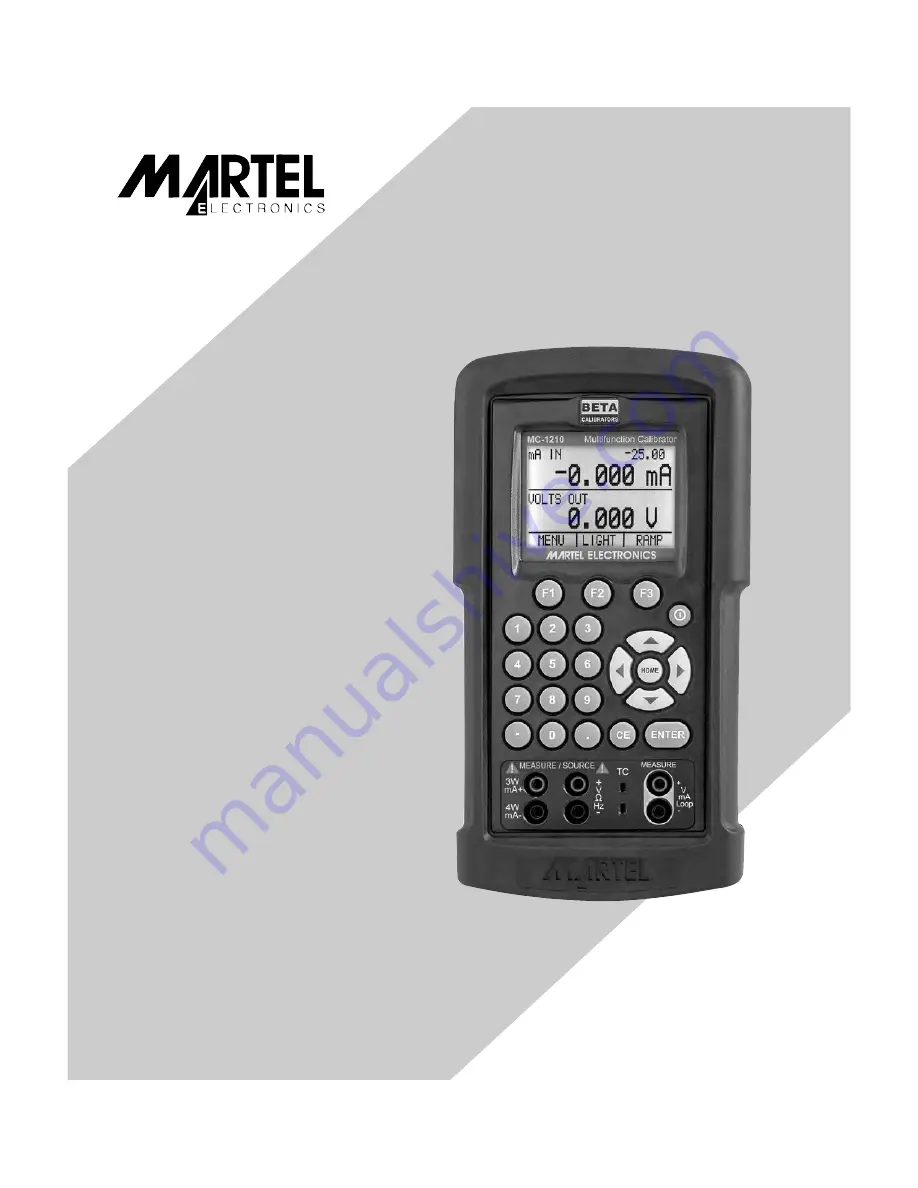
MC1210
Reference Manual
www.
GlobalTestSupply
.com
Find Quality Products Online at:
[email protected]
Страница 1: ...MC1210 Reference Manual www GlobalTestSupply com Find Quality Products Online at sales GlobalTestSupply com...
Страница 2: ...and mA 22 5 2 Measuring current with loop power 22 5 3 Measuring Pressure 23 6 Using the Upper and the Lower Display for Calibration and Testing 25 6 1 Testing an Input or Indicating Device 25 6 2 Ca...
Страница 3: ...RTDs thermocouples frequency and resistance and to source pulse trains A thermocouple TC input output terminal with automatic reference junction temperature compensation Setpoints in each range for qu...
Страница 4: ...d Hot Surface Burn Hazard Read the User s Manual Important Information Off On Canadian Standards Association The following definitions apply to the terms Warning and Caution Warning identifies conditi...
Страница 5: ...r serviced Do not operate the calibrator around explosive gas vapor or dust When using a pressure module make sure the process pressure line is shut off and depressurized before you connect it or disc...
Страница 6: ...lat in line blades spaced 7 9 mm 0 312 in center to center 4 5 Source Measure Terminals for sourcing and measuring voltage frequency V RTD 2W Hz pulse train and RTDs 6 7 Source Measure Terminals for s...
Страница 7: ...he right box 2 Home Returns to home menu on the menu bar 3 Power Turns calibrator on and off 4 Cursor Control Key Left and right arrow keys are used to select which decade to be changed in output valu...
Страница 8: ...r of wires used in the measurement 2 wire 3 wire or 4 wire 4 Span Indicator Available only for mA and mA LOOP Shows where in the preset span the measured value falls Fixed for mA at 4 0 and 20 100 5 U...
Страница 9: ...ctive options UPPER LOWER and MORE Choosing UPPER calls up the parameter selection menu for the upper display Choosing LOWER calls up the parameter selection menu for the lower display MORE enters the...
Страница 10: ...ome menu When the calibrator is in RTD CUSTOM mode the RTD custom setup menu is inserted after the main menu Options SET CUSTOM NEXT and DONE are available SET CUSTOM is used to enter a custom PRT int...
Страница 11: ...The up and down arrow keys are used to increase decrease or ramp the output value The menu bar will change to the setpoint menu with the touch of any one of the four arrow keys The three function keys...
Страница 12: ...Select the desired parameter for measurement 3 Connect leads as shown in Figure 5 Figure 5 Measuring Volts and Frequency with Input Output Terminals 3 2 Measuring mA To measure mA follow these steps 1...
Страница 13: ...ments are taken 2 Switch to lower display from Main Menu 3 Select TC from the primary parameters Choose IN in the input output control and than the thermocouple type from the sensor types The temperat...
Страница 14: ...normally associated with low pressure ranges such as inH2O cmH2O etc are not valid selections Selecting one of this units with a high pressure module attached will cause the display to read Warning To...
Страница 15: ...librator can be found in the pressure zeroing menu Figure 9 Connections for Measuring Pressure 3 4 1 Zeroing with Absolute Pressure Modules To zero adjust the calibrator to read a known pressure such...
Страница 16: ...e steps 1 Select the lower display from the Main Menu and choose mA 2 Use the 25 key to cycle between 4 mA and 20 mA in 25 intervals 4 2 Using the Automatic Output Functions There are two automatic ou...
Страница 17: ...ion process NOTE When the MC1210 s internal 250 resistor is enabled maximum load driving capability drops from 1000 ohms 20mA to 750 ohms 20mA Enable Disable Procedure 1 Remove the battery cover and r...
Страница 18: ...n Figure 11 Figure 11 Connections for Simulating a Transmitter 4 5 Sourcing volts To source volts follow these steps 1 Select lower display from the Main Menu 2 Choose VOLTS from the primary parameter...
Страница 19: ...an adjustable number of pulses at a desired frequency For example setting the frequency to 60Hz and the number of pulses to 60 would produce 60 pulses for a period of 1 second To source a pulse use th...
Страница 20: ...he TC terminals on the calibrator as shown in Figure 13 2 Select lower display from the Main Menu and choose thermocouple TC from the primary parameters 3 Choose output OUT from the input output contr...
Страница 21: ...g a 3 or 4 wire Connection for RTDs Note The calibrator simulates a 2 wire RTD To connect 3 or 4 wire transmitter use stacking cables as shown in Figure 15 4 9 1 Custom RTD A custom curve fit PRT may...
Страница 22: ...0 100 3 9692x10 3 5 8495x10 7 4 2325x10 12 PT3916 Above 0 100 3 9692x10 3 5 8495x10 7 5 Using Isolated Measure Modes Upper Display 5 1 Measuring volts and mA Use the following steps to measure the vol...
Страница 23: ...e the 2 screws that are at the top of the case 2 Remove the 2 screws on the bottom or lower portion of the case 3 Gently remove the top half of the case from the bottom 4 Figure 10a shows the location...
Страница 24: ...wer display This makes it possible to measure pressure in two different units at the same time Note Make sure the calibrator is on before you plug in the pressure module 2 Switch to either upper or lo...
Страница 25: ...e 6 2 Calibrating an I P Device The following steps show how to calibrate a device that controls pressure 1 Select upper display from the Main Menu and select pressure from the primary parameters 2 Sw...
Страница 26: ...tor to the transmitter as shown in Figure 21 5 Test transmitter at 0 25 50 75 100 using the 25 step function 25 key Adjust the transmitter a necessary To calibrate a different transmitter follow the a...
Страница 27: ...requirements of the switch Examples are given below for a temperature switch with an external temperature source and a pressure switch 7 1 Performing an Temperature Switch Test Figure 23 Temperature S...
Страница 28: ...rature that the switch opened at 7 Press the NEXT option to view when the switch closed and the dead band 8 Press the NEW TEST option to get back to the main menu clear the data and perform another te...
Страница 29: ...he display will read CLOSE 5 Apply pressure with the pump slowly until the switch opens Important NOTE In the switch test mode the display update rate is increased to help capture changing pressure in...
Страница 30: ...and the dead band Important NOTE The previous example uses a normally closed switch The basic procedure is still the same for a normally open switch the display will just read OPEN instead of CLOSE p...
Страница 31: ...ial parameter values 9600 baud 8 data bits 1 stop bit no parity Xon Xoff EOL End of Line character or CR Carriage Return or both To set up remote operation of the calibrator on the Windows Hyper Termi...
Страница 32: ...ch back to local operation enter LOCAL at the terminal This command also turns off LOCKOUT if it was on For more information on commands refer to the Remote Commands section 8 3 Using Commands 8 3 1 C...
Страница 33: ...includes most of the commands 8 3 2 Character Processing The data entered into the calibrator is processed as follows ASCII characters are discarded if their decimal equivalent is less than 32 space...
Страница 34: ...E Enables or disables the bits of the STB Cleared when power is reset Setting bits to 0 disables them in the STB Setting the bits to 1 enables them Bit assignments for the SRE and the STB are shown be...
Страница 35: ...s last command A parameter that has too significant figures may cause such an error DDE Device dependent Error Set to 1 when for example the output of the calibrator is overloaded QYE Query Error OPC...
Страница 36: ...nt Status Register to 1 when all pending device operations are complete OPC Returns a 1 after all pending operations are complete This command causes program execution to pause until all operations ar...
Страница 37: ...cks out the keypad of the calibrator and allows for remote operation only LOWER_MEAS Sets the mode for measuring on the lower display L_PRES_UNIT Sets the pressure unit on the lower display OUT Sets t...
Страница 38: ...Units Meaning MA milliamps of current MV Voltage in millivolts V Voltage in volts CPM Frequency in cycles per minute Hz Frequency in Hertz KHz Frequency in kiloHertz Ohms Resistance in Ohms Cel Temper...
Страница 39: ...uffer overflowed 113 Too many entries in the command line 114 The serial output buffer overflowed 115 Output is overloaded 116 Calibrator not in pulse train mode when TRIG was received 117 An invalid...
Страница 40: ...210 250 1 00 OPC Enables the Operation Complete setting in the ESR This setting makes it possible to check if an operations is complete after it has been initialized For example this operation could b...
Страница 41: ...ALIBRATION MODE and a calibration menu will be displayed on the terminal CJC_STATE Turns Cold Junction Compensation CJC on or off when the calibrator is in thermocouple TC mode The command is used by...
Страница 42: ...tor The numeric value entered after the command will be set as the first coefficient of the polynomial used by the custom RTD For example CPRT_COEFC 5 8019E 12 enters 5 8019e 12 as coefficient A CPRT_...
Страница 43: ...1 000000E 02 OHM FAULT Returns the error code number of an error that has occurred The command may be entered when the previous command did not do what it was meant to do For example if a value for cu...
Страница 44: ...cy to Hz range FREQ_UNIT Returns the frequency unit currently being used by the frequency and pulse modes FUNC Returns the current mode of the upper and lower displays For example if the calibrator is...
Страница 45: ...unit is attached For example PRES Will return MARTEL 001PNS 3 0 PRES_UNIT Returns the pressure units of both the upper and the lower display For example if the unit on the upper display is bars and o...
Страница 46: ...example RTD_WIRE 4W sets the connection to 4 wire RTD_WIRE Returns the number of wires used in the RTD connection SIM Sets the output for current simulation This command also switches the calibrator i...
Страница 47: ...SE_CNT and FREQ_LEVEL Entering TRIG initializes the train Entering the command while the pulse train is running stops it TRIG Returns TRIGGERED if the pulse train is running and returns UNTRIGGERED wh...
Страница 48: ...urement taking place on the upper and lower display For example if the upper display is measuring 5mA and the lower display is measuring 10V then VAL will return 5 000000E 03 A 1 000000E 01 V ZERO_MEA...
Страница 49: ...015 2mV Read non Isolated Lower Display 0 000V 20 000V 0 015 2mV Source 0 000V 20 000V 0 015 2mV Maximum current output in voltage ranges is 3mA with an output impedance of 1 Table 11 DC mA Measureme...
Страница 50: ...Resistance Source Range Excitation Current Accuracy of reading floor Ohms low 5 0 400 0 0 1mA 0 5mA 0 025 0 1 5 0 400 0 0 5mA 3mA 0 025 0 05 Ohms high 400 1500 0 05mA 0 8mA 0 025 0 5 1500 4000 0 05mA...
Страница 51: ...200 0 100 0 0 8 1 0 100 0 1300 0 0 3 0 5 CJC error outside of 23 5 C is 0 05 C C 1 For thermocouple measure mode on B R and S round the specification up or down accordingly as there is no resolution...
Страница 52: ...00 0 400 0 0 3 0 4 400 0 630 0 0 3 0 5 PT3916 100 ohm 200 0 80 0 0 1 0 2 80 0 0 0 0 2 0 3 0 0 100 0 0 2 0 3 100 0 260 0 0 2 0 3 260 0 300 0 0 3 0 4 300 0 400 0 0 3 0 4 400 0 630 0 0 3 0 5 PT385 200 oh...
Страница 53: ...ine batteries or optional rechargeable batteries Warning This product has non rechargeable alkaline batteries installed Prior to connecting any AC adapter or battery charger these batteries must be re...
Страница 54: ...32SJ RS232 Cable with Miniature Plug 1919896 USB RS232 Converter Cable with Miniature Plug 5353050 48 Stackable Testleads 1001 9V Battery Adapter Charger 10 5 Warranty Martel Electronics Corporation w...