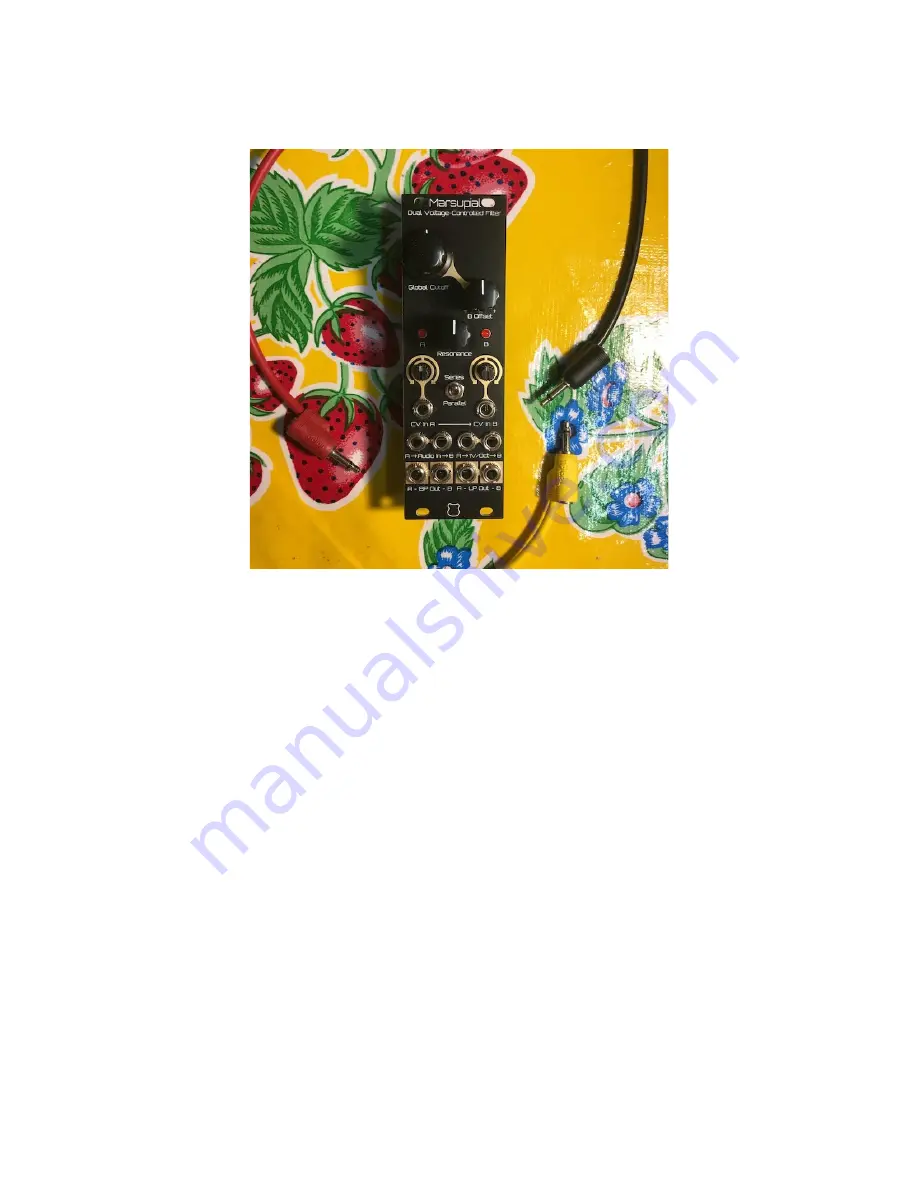
Marsupial
Dual Voltage-Controlled Filter Eurorack Assembly Instructions
Copyright 2021 SetonixSynth. All rights reserved.
Страница 1: ...Marsupial Dual Voltage Controlled Filter Eurorack Assembly Instructions Copyright 2021 SetonixSynth All rights reserved ...
Страница 2: ...ith knurled nuts J1 8 J10 J11 3x B10k 9mm potentiometers RV1 RV2 RV3 with washer nut and 6 35mm adapter sleeve 2x Plastic shaft B100k potentiometers RV4 RV5 2x Davies 1900h knobs 1x Davies 1910CS knob 2x 3mm red LED LED1 LED2 2x 25k multi turn trimpot RCV1 RCV3 1x SPDT On On sub miniature switch SW1 1x 2x5 pin Power Header or 2x 1x5 headers 1x 1x3 pin Header 1x 2 54mm Plastic Shunt 1x 10 pin Euror...
Страница 3: ...ow it s a good idea to put the washers on the three metal potentiometers before mounting the panel 3 Solder the rear through hole components the 2x5 pin power header 3 pin Series selection header and two 25k multiturn trimmers should be soldered in the manner shown above on the same side of the PCB as the surface mount parts Note the orientation of the two trimmers with Pin 1 towards the right whe...
Страница 4: ...eeping the panel as close to the PCB as possible so as to make a tight sandwich of components fasten all hardware nuts for Thonkiconns B10k potentiometers and Subminiature switch and tighten them with your fingers as much as possible to pull the hardware snug to the panel Make sure not to pull anything out of the PCB while doing this 5 While ensuring the sandwich is maintained flip the module upsi...
Страница 5: ...ates the 12V pins Test all functions even without calibration you should be able to get nice filter sounds from all four outputs test all CV inputs and adjust the Resonance from zero to self oscillation If everything seems to be working properly it s time to calibrate the module Calibration Procedure 1 Power on the Marsupial and leave it powered for at least 10 minutes Set the switch to Parallel m...