4.
In the
Desti. Window No.:
box, enter the number of the window screen in the project you are
currently editing that you wish to copy the contents of the source window to.
5.
Click
OK
. The main screen of EasyBuilder is redisplayed with the Window Copy command
executed.
4
To delete
a graphics object(s)
1.
Select the object or objects you wish to delete.
2.
Press the
Delete
key or from the
Edit
menu, click
Delete
.
You can restore the deleted object by using the Undo command.
4
To move a graphics object(s)
1.
Select the object or objects you wish to move.
2.
When you place the mouse cursor over a highlighted object, the cursor changes to a crosshair.
This indicates that you are able to move the selected object. Move the object by clicking on it
and dragging the object to the proper position on the work area.
4
To resize a graphics object
1.
Select the object to be resized.
2.
To resize the object, move the mouse cursor over one of the small black squares. The cursor
changes to a double-arrow icon to indicate that it is in resizing mode.
3.
Click and drag the mouse to resize the object.
4.
Objects can also be resized by changing the width and height attributes in the Profile tab of
the Attributes dialog box, (see below).
4
To change attributes of a graphics object
1.
Select the object to be changed, then select
Change Attributes
from the
Edit
menu. You can
also double-click the object.
2.
The object’s attribute dialog box is displayed. Object Attributes defines what the object is or
how it behaves, (i.e. size, position, color, etc.). Click
OK
to accept any changes made or
Cancel
to cancel any changes.
4
To view object attributes of multiple graphics objects on a window
1.
There will be times when you may want to quickly determine what PLC data registers are tied
to which objects in a window. This can easily be done using the object attributes command.
2.
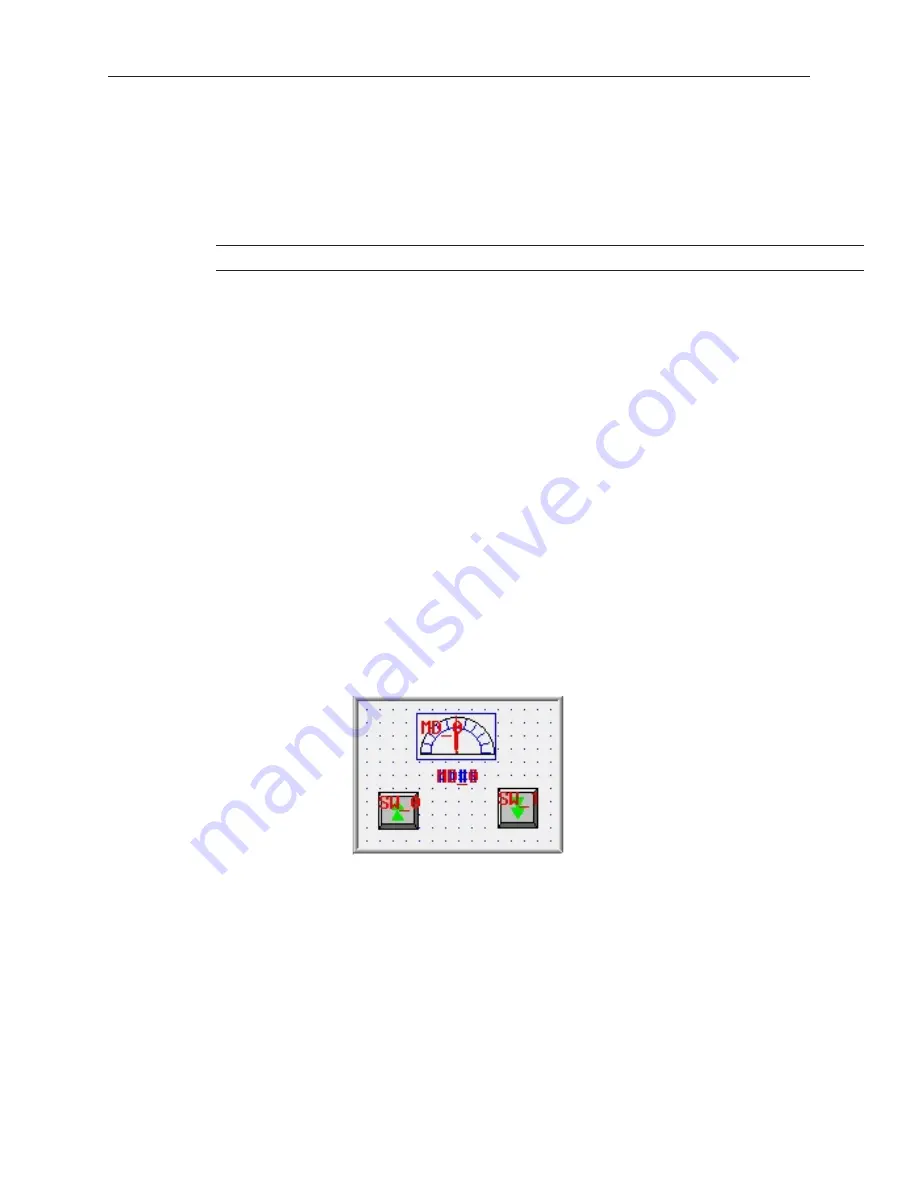
For this example, open Window_11 to display the popup window of the sample project.
3.
On the
Edit
menu, click
Select all objects
.
1010-1001a, Rev 02
48
Sil ver Se ries In stal la tion & Op er a tion Man ual
Содержание Silver HMI504T
Страница 1: ...1010 1001A Rev 02...
Страница 20: ...1010 1001a Rev 02 16 Silver Series Installation Operation Manual OIT to PC Serial Port Pin Assignments...
Страница 32: ...1010 1001a Rev 02 28 Silver Series Installation Operation Manual...
Страница 128: ...1010 1001a Rev 01 124 Silver Series Installation Operation Manual...
Страница 156: ...1010 1001a Rev 02 152 Silver Series Installation Operation Manual...
Страница 166: ...1010 1001a Rev 02 162 Silver Series Installation Operation Manual...
Страница 216: ...1010 1001a Rev 01 212 Silver Series Installation Operation Manual...
Страница 251: ...1010 1001a Rev 02 Macros 247 Set Bit Objects Attributes Dialog Project Example of Add 2...
Страница 264: ...End Macro_Command 1010 1001a Rev 02 260 Silver Series Installation Operation Manual...
Страница 268: ...1010 1001a Rev 01 264 Silver Series Installation Operation Manual...


