Stuck? Questions? We are here to help.
1-888-230-2225
[email protected]
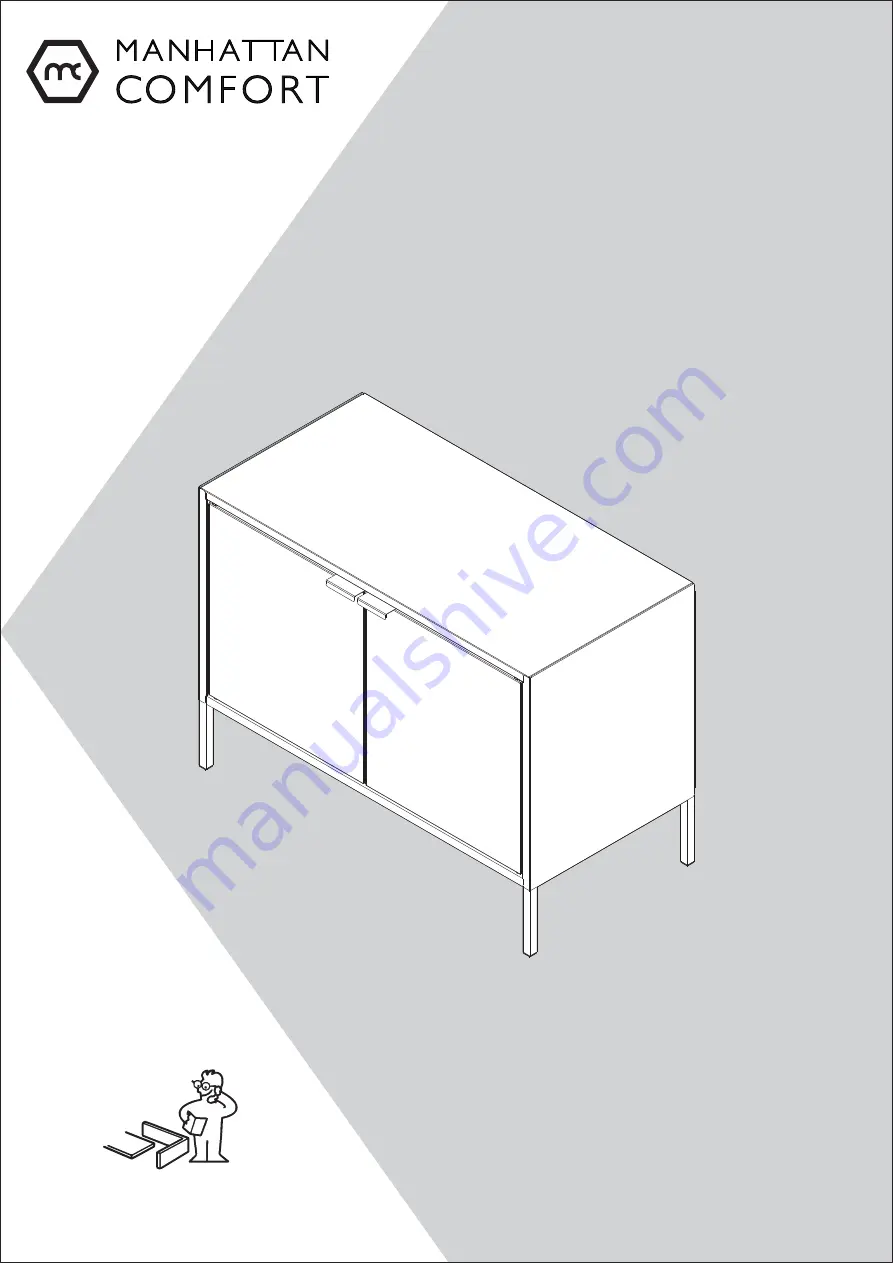
Wide Cabinet
Model: 10GMC1 / 10GMC2 / 10GMC3 / 10GMC4
Assembly Guide
1000010417 - 13/03/2019
Страница 1: ...Stuck Questions We are here to help 1 888 230 2225 help manhattancomfort com Wide Cabinet Model 10GMC1 10GMC2 10GMC3 10GMC4 Assembly Guide 1000010417 13 03 2019...
Страница 2: ...13 77 13 77 27 51 27 51 13 77 13 77 13 70 13 38 12 16 12 91 14 01 8 74 8 74 1 1 PC PC 1 PC N 1 PC 1 PC 1 PC 1 PC STEEL STEEL STEEL STEEL STEEL STEEL STEEL STEEL STEEL 1 PC P3 P4 P1 P2 P5 P6 P7 P8 P9 3...
Страница 3: ...W H P2 P1 P7 P8 P9 P6 P3 P5 P4 26 Lbs 26 LBS F1 1000008297 Qty 2 F2 1000008616 Qty 2 F3 1000009033 Qty 1 F4 1000000281 WHITE 1000007352 BLACK 1000010221 BLUE Qty 2 F5 1000010136 Qty 2 F6 1000008285 Qt...
Страница 4: ...01 P8 P9 1 Identify the parts as figure below P8 with hole and P9 without hole P2 P1 1 Attach the P9 part on the P1 and P2 parts in the indicated direction 2 Then attachthe P8 part on the P1 and P2 pa...
Страница 5: ...1 Check the alignment of the holes on the fitted parts 2 The hole in the horizontal bar of part P8 should be up P8 4x 1 With the F3 end smash the safety grappel locking the P8 and P9 part to the P1 a...
Страница 6: ...the cutout on the top end of the P5 part 2 Attach the P5 part on the P1 P2 and P9 parts 3 Slide part P5 to support on parts P1 and P2 P1 P2 P9 P5 2x 1 With the end of F3 smash the safety claw locking...
Страница 7: ...01 07 01 06 P4 1 Attach the joint of the front of the P4 part under the P8 part 2 Lower the P4 part as indicated 1 Check all the fittings before moving forward...
Страница 8: ...01 08 P3 P3 P3 2x 1 Attach the P3 part on the parts P1 and P2 2 Pull the front of the P3 part...
Страница 9: ...10 01 09 2x 2x 2x 1 With the F3 end smash the safety grappel locking the P3 part to the P5 part F3 2x 1 Lay the cabinet against the wall and mark the hole IMPORTANT CABINET MUST BE ATTACHED TO THE WA...
Страница 10: ...01 12 01 11 1 Drill the wall on the marked point using a drill bit 1 Insert the metal part of the bushing into the hole until it overcomes the wall WALL F1 2X...
Страница 11: ...01 13 1 Pull the bushing driving it against the wall and then push the plastic ring until it leans close to the wall WALL Plastic ring 2 Break the bushing s rods WALL 1 WALL 2 WALL...
Страница 12: ...x F3 F2 F2 2X F3 1X F4 2X 2x F4 1 Insert the screw F2 into the hole of part P5 2 Turn screw F2 with part F3 clockwise 3 Press part F4 against the heads of the F2 screws F5 2x F5 2X 1 Attach the F5 int...
Страница 13: ...01 17 01 1616 P6 P7 1 Attach the F7 handle to the doors P6 and P7 as indicated below F7 F7 CLICK CLICK F7 F7 F7 2X P6 P7 F6 2x F6 4X 1 Attach the F6 into the P6 and P7 holes F6 2x...
Страница 14: ...F5 2 Finish engaging part P7 through the pivoting wrench as shown below F5 F8 1X F8 1 Glue the sticker F8 in the lower right as indicated P6 2 Attach part P6 to the bottom of the cabinet through part...
Страница 15: ...t which can scratch its surface Chemical products are not recommended Cabinet surfaces should not be covered with colored plastic or paper sheets Acid substances like salt onion ketchup and mustard mu...
Страница 16: ...s 4 Factory speci ed replacement parts or product replacement when your product is used in other than normal single family household use such as a commercial environment or handled in a manner contrar...