


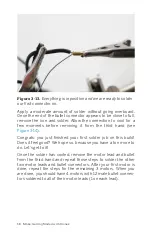


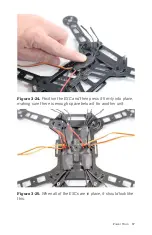


Figure 3-13.
Everything is in position and we are ready to solder
our first connector on.
Apply a moderate amount of solder without going overboard.
Once the end of the bullet connector appears to be close to full,
remove the iron and solder. Allow the connection to cool for a
few moments before removing it from the third hand (see
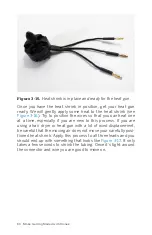
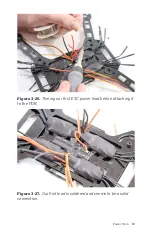
Congrats: you just finished your first solder job on this build!
Does it feel good? We hope so, because you have a ton more to
do. Let’s get to it!
Once the solder has cooled, remove the motor lead and bullet
from the third hand and repeat those steps to solder the other
two motor leads and bullet connectors. After your first motor is
done, repeat the steps for the remaining 3 motors. When you
are done, you should have 4 motors with 12 male bullet connec-
tors soldered to all of their motor leads (1 on each lead).
58 Make: Getting Started with Drones
Содержание Belinda Kilby
Страница 1: ......
Страница 3: ...Make Getting Started with Drones Terry Kilby and Belinda Kilby...
Страница 25: ...Figure 1 5 Basic quadcopter showing how the stick commands would move the craft Introduction 13...
Страница 26: ......
Страница 90: ......
Страница 126: ......
Страница 142: ...Figure 8 7 Mobius camera next to the quick release camera mount 130 Make Getting Started with Drones...
Страница 146: ...Figure 9 4 Firmware upload has begun Figure 9 5 Firmware verification in progress 134 Make Getting Started with Drones...
Страница 153: ...Figure 9 10 Compass setup Figure 9 11 Compass calibration ArduPilot Mega APM Setup 141...
Страница 198: ......


