TXP-C20_Instruction_Manual_(Rev1.0)
REV – 1.0
[34-2900-0207-5 ]
11
|
P a g e
3.3
Changing Menu Variables using the Keypad
Upon entering a menu, a pointer controlled by the UP/DOWN keys indicates the selected variable. Some are simple
YES/NO or ON/OFF entries toggled by pressing the EDIT key. Others, such as Channel ID and Eunits fields may have
many ASCII character possibilities. Allowed ASCII characters are as follows:
ABCDEFGHIJKLMNOPQRSTUVWXYZ[\]^_`abcdefghijklmnopqrstuvwxyz blank space !”#$%&`()*+,-
./0123456789:;<=>?@. Notice the often used blank character is located after lower case z and before the
exclamation point !. EDIT places a cursor under the item and UP/DOWN scrolls through each allowed entry. The
NEXT key moves the cursor to the next position within a field. When the field is complete, EDIT clears the cursor and
loads the field into non-volatile memory where it is retained indefinitely. Without a cursor present, the NEXT key
closes open menus in reverse order and returns the LCD to the data display.
3.3.1
TXP-C20 Setup Configuration Menus
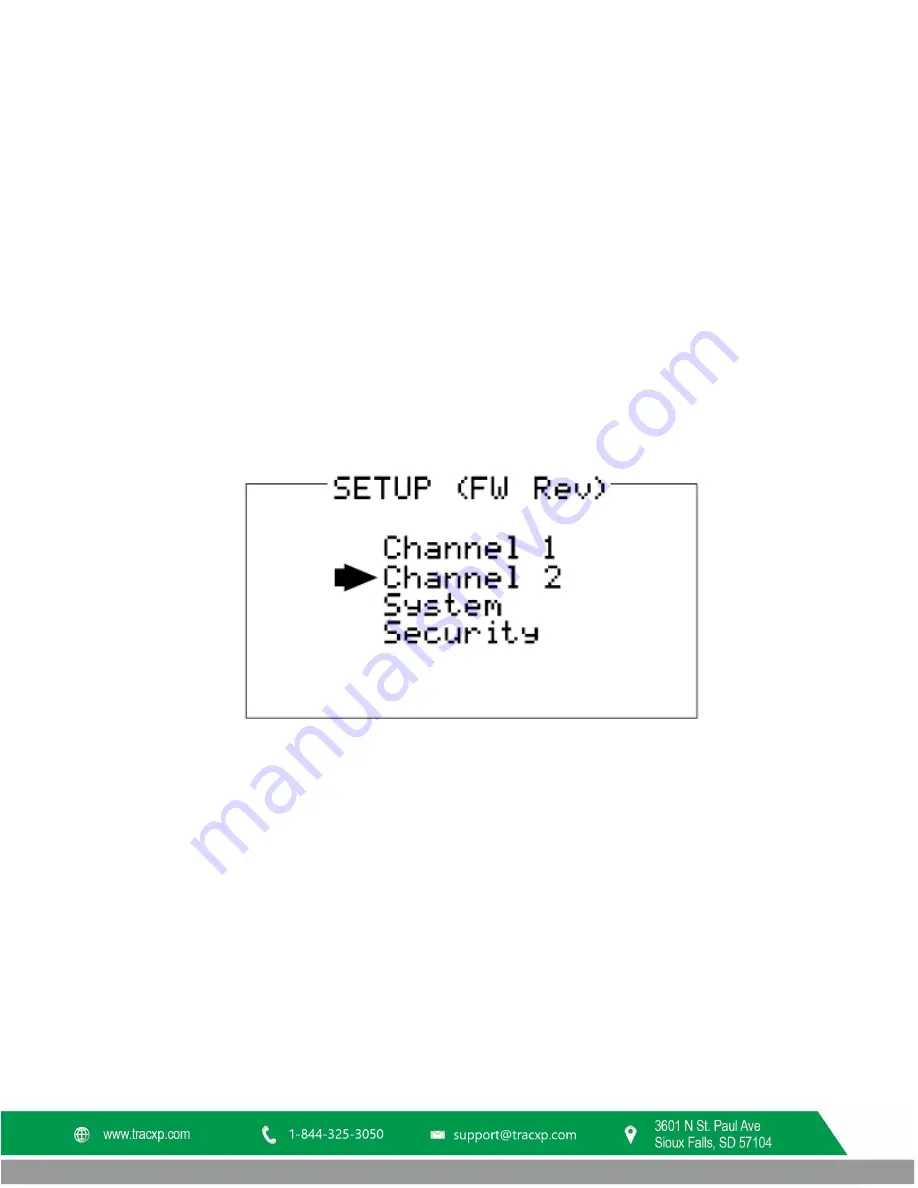
The SETUP menu shown in the middle of Figure 3-1 and in Figure 3-2 below is reached by pressing EDIT with any
data display present. This is the entry-level screen to ALL Channel, System and Security menus. It also shows the
revision of firmware operating in the TXP-C20. Use the UP/DOWN keys to move the pointer to the desired menu
and press the EDIT key.
Figure 3-2 – Setup Screen
3.3.2
Channel Setup Entry Menu
The CHANNEL menu shown below in Figure 3-3 allows configuration of all variables for the selected channel. These
are Alarm 1, Alarm 2, Alarm 3, Configure and Calibrate.
Содержание TracXP TXP-C20
Страница 2: ......
Страница 3: ......
Страница 12: ...TXP C20_Instruction_Manual_ Rev1 0 REV 1 0 34 2900 0207 5 10 P a g e Figure 3 1 Menu Tree ...
Страница 24: ...TXP C20_Instruction_Manual_ Rev1 0 REV 1 0 34 2900 0207 5 22 P a g e Figure 4 2 Motherboard ...
Страница 43: ......


