IO-390-D Series Engine Maintenance Manual
72-20
© 2020 Avco Corporation. All Rights Reserved
Page 160
March 2020
IO-390-D Series Engine Maintenance Manual
(h)
If there was no gap, the crankshaft gear is seated correctly.
(i)
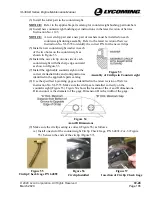
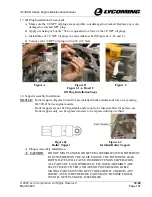
Complete the final torque of the crankshaft gear bolt to 204 in.-lb (23.05 Nm).
CAUTION
IN THE NEXT STEP, DO NOT BEND TABS OF THE
LOCKPLATE OVER THE CORNERS OF THE CRANKSHAFT
GEAR BOLT HEAD UNTIL AFTER THE BOLT IS FINAL
TORQUED. DO NOT DECREASE THE TORQUE ON THE
CRANKSHAFT GEAR BOLT TO ALIGN THE LOCKPLATE
TABS.
(12)
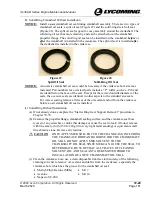
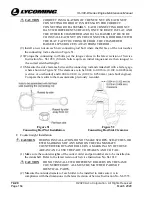
If necessary, turn the crankshaft gear bolt up to one additional hex to align the flats of
the bolt head with the tabs on the lockplate. Bend the tabs on the lockplate onto the flats
of the crankshaft gear bolt to hold the bolt securely in place.
C.
Expansion Plug Installation
NOTICE:
If a constant speed propeller is used, there is no expansion plug. Otherwise, a new
expansion plug is necessary for this procedure. Refer to the applicable Illustrated
Parts Catalog for the part number.
(1)
Remove gasket maker from the crankshaft with acetone-soaked wipe.
NOTICE:
Make sure the surface is clean and that there is no debris or gasket material to
ensure a good seal when the new bead of gasket maker is applied in the next
step.
(2)
Apply a bead of Loctite
®
#2 Non-Hardening Gasket Maker or equivalent to the perimeter
of a new expansion plug.
NOTICE:
A driver and a press table can be used to press the expansion plug in the
crankshaft bore.
(3)
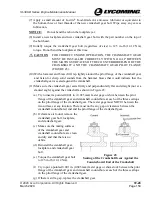
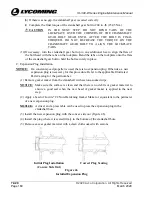
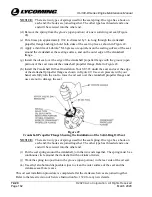
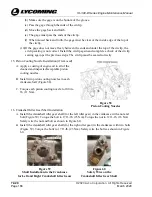
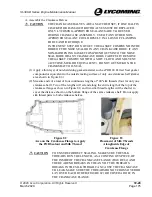
Install the new expansion plug with the convex side out (Figure 46).
(4)
Install the plug where it is seated firmly in the bottom of the crankshaft bore.
(5)
Remove excess gasket material with a clean cloth soaked with acetone.
Initial Plug Installation Correct Plug Seating
(Convex Side Out)
Figure 46
Installed Expansion Plug

