QS Timeclock Installation and Operation Guide 13
®
Contact Closure Input (CCI) Setup
The integral contact closure input (CCI) on the back of the
QS Timeclock can be configured as:
Afterhours: Allows the CCI to start and end Afterhours.
Timeclock: Allows the CCI to enable and disable the
timeclock.
Disable CCI: The CCI will have no effect on the system.
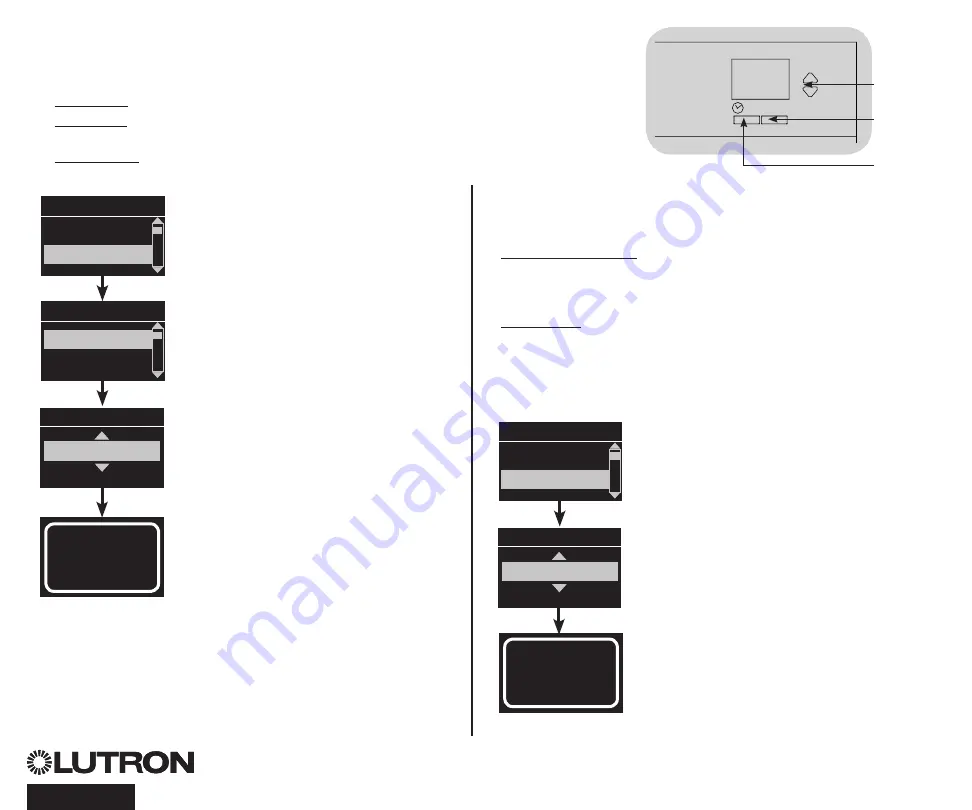
Changing the operation of the contact closure input:
1. Enter programming mode.
2. Use the Master buttons to highlight
“CCI Setup” and press the OK button
to accept.
3. Use the Master buttons to highlight
“CCI Mode” and press the OK button
to accept.
4. Use the Master buttons to highlight
the mode you wish the CCI to control.
Press the OK button to accept.
5. The info screen will confirm that your
setting has been saved.
6. Exit programming mode.
CCI Mode
Afterhours
Saved
Saved
Main menu
Timeclock
CCI menu
CCI Type
CCI Setup
CCI Mode
OK
1
2
3
4
5
6
Master
buttons
OK
button
Timeclock
(back) button
The integral contact closure input (CCI) on the back of the
QS Timeclock is compatible with either type of contact
closure device:
Maintained (default): The QS Timeclock will act on both a contact
closure and a contact open / release event.
Example: CCI Mode set to Afterhours. Contact closure starts
Afterhours. Contact open / release ends Afterhours.
Momentary: The GRAFIK Eye QS control unit will act on only
contact closure events.
Example: CCI Mode set to Afterhours. Contact closure starts
Afterhours. Contact open/release has no effect. Second contact
closure ends Afterhours.
Changing the type of contact closure input:
1. Enter programming mode.
2. Use the Master buttons to highlight “CCI
Setup” and press the OK button to accept.
3. Use the Master buttons to highlight “CCI
Type” and press the OK button to accept.
4. Use the Master buttons to highlight the
type you wish the CCI to control. Press
the OK button to accept.
5. The info screen will confirm that your
setting has been saved.
6. Exit programming mode.
CCI Type
Maintained
Saved
Saved
CCI menu
CCI Mode
CCI Type


