Procedure
Proceed as follows to perform the port transmission test:
............................................................................................................................................................
1
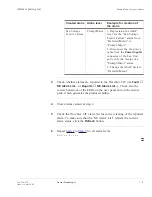
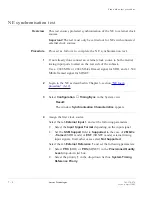
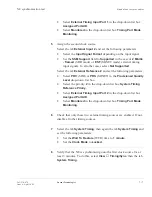
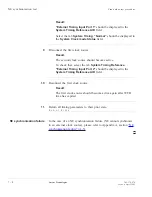
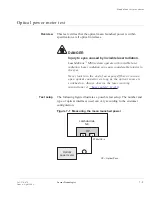
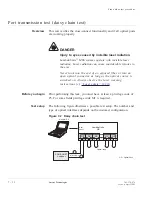
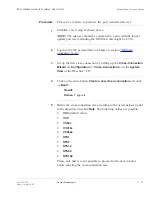
Establish a test setup as shown above.
NOTE: The analyser should be connected to a port with the lowest
optical port rate (excluding the GE1SX/4, this might be 2.5G).
............................................................................................................................................................
2
Login to the NE as described in Chapter 6, section
............................................................................................................................................................
3
Set up the first cross-connection by calling up the
Cross-Connection
Wizard
via
Configuration
→
Cross-Connections...
in the
System
View
of the WaveStar
®
CIT.
............................................................................................................................................................
4
Click on the radio button
Create a new cross-connection
and click
on
Next>
.
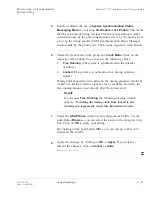
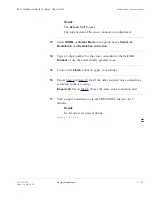
Result:
Screen 1
appears.
............................................................................................................................................................
5
Define the cross-connection rate according to the used analyser signal
in the drop-down list box
Rate
. The following values are possible:
•
VC3
(default value)
•
VC4
•
VC44c
•
VC416c
•
VC464c
•
STS1
•
STS3
•
STS12
•
STS48
•
STS192
Please note that it is not possible to proceed to the next window
before selecting the cross-connection rate.
Port transmission test (daisy chain test)
Stand alone test procedures
....................................................................................................................................................................................................................................
365-374-074
Issue a, April 2002
Lucent Technologies
7 - 1 3

