V1.0-EU (11/2019)
LUCCI
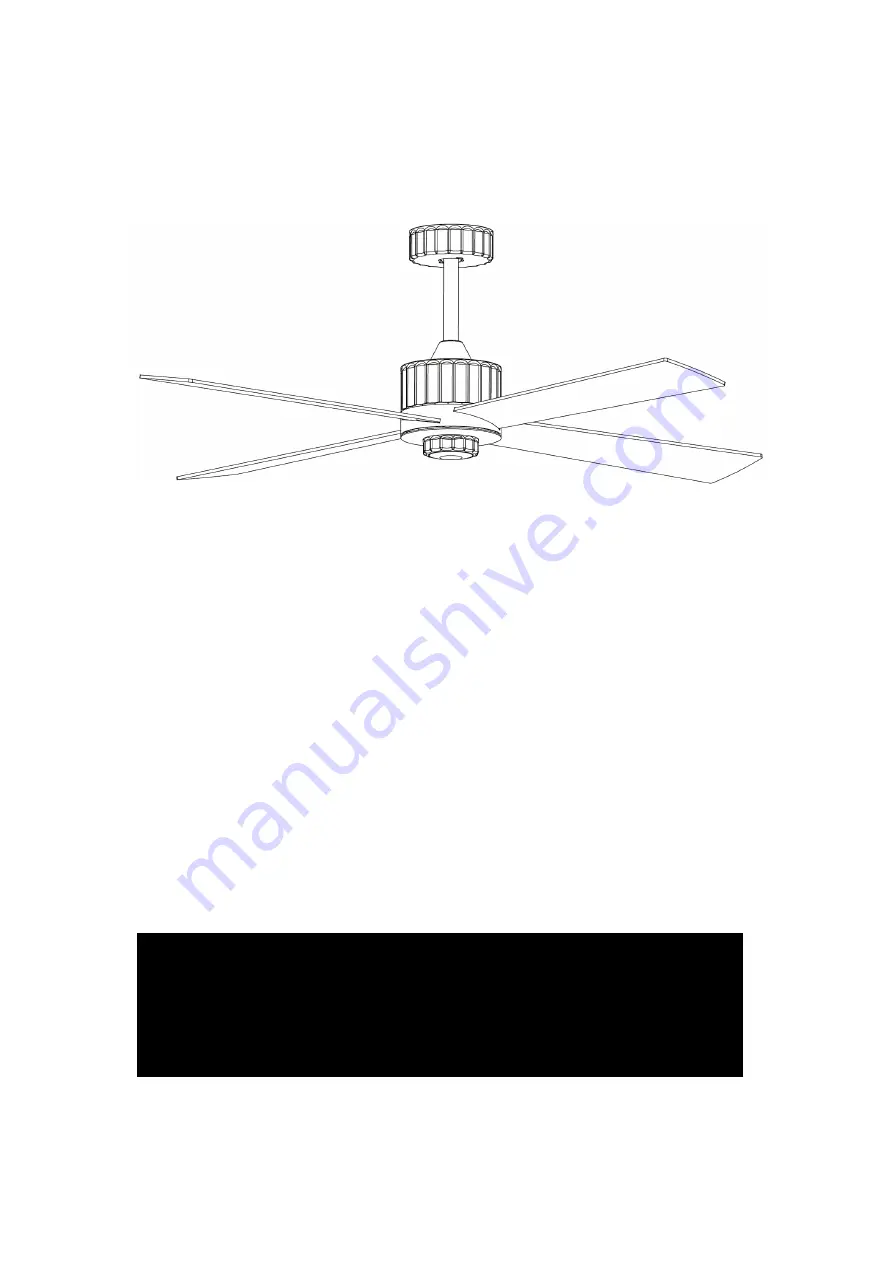
NEWPORT
DC CEILING FAN
INSTALLATION
OPERATION
MAINTENANCE
WARRANTY INFORMATION
CAUTION
READ INSTRUCTIONS CAREFULLY FOR SAFE
INSTALLATION AND FAN OPERATION.
Страница 1: ...V1 0 EU 11 2019 LUCCI NEWPORT DC CEILING FAN INSTALLATION OPERATION MAINTENANCE WARRANTY INFORMATION CAUTION READ INSTRUCTIONS CAREFULLY FOR SAFE INSTALLATION AND FAN OPERATION...
Страница 2: ...oice of comfort levels SAFETY PRECAUTIONS 1 In Europe This appliance can be used by children aged from 8 years and above and persons with reduced physical sensory or mental capabilities or lack of exp...
Страница 3: ...rting a weight of 20kg 7 The fan should be mounted so that the blades are at least 2 3 m above the floor in Europe or 2 1 m above the floor in Australia 8 This fan is suitable for indoor and alfresco...
Страница 4: ...nspection or replacement Check whether the ceiling fan has been damaged during transport Do not operate install any product which appears damaged in any way Return the complete product to the place of...
Страница 5: ...blade to the nearest objects or walls Install the hanging bracket to the ceiling joist or structure that is capable of carrying a load of at least 20kg with two long screws provided Ensure at least 3...
Страница 6: ...ten the screws as this can damage the blades 4 Repeat the same process for the other blades INSTALLATION OF LIGHT KIT Fig 5 NOTE The light kit must be installed by a licensed electrician Loose the 3 s...
Страница 7: ...HE REMOTE AND RECEIVER TO PAIR TOGETHER Note If a down rod extension is used the Light kit extension cable item 9 of Fig 1 is required See Fig 7 for instructions below to wire up the fan Connect LIVE...
Страница 8: ...Airfusion Newport Installation Instructions 7 P a g e V1 0 EU 11 2019 NEWPORT Fig 7 To fan motor and light Fig 7 Fig 8...
Страница 9: ...2 screws at the bottom of the mouthing bracket 3 Slide the canopy up to the mounting bracket and align the key holes on the canopy with the screws on the mounting bracket Turn the canopy until it lock...
Страница 10: ...Install the batteries into the remote Please make sure the polarity of the battery is correct Turn ON the power to the receiver Press and hold the button on the remote for 10 seconds within 30 second...
Страница 11: ...e transmitter will be ON Press and hold the button of transmitter 1 for 10 seconds within 30 seconds of switching the power ON to the receiver of ceiling fan 1 There will be a notification beep sound...
Страница 12: ...on a rubber grommet If the fan was mounted rigidly to the ceiling it would cause excessive vibration Movement of a few centimeters is quite acceptable and DOES NOT suggest any problem TO REDUCE THE FA...
Страница 13: ...Always use 2 x AAA battery type with this ceiling fan remote controller Ensure the batteries are inserted with the correct polarity To prevent false operation during battery insertion or replacement t...
Страница 14: ...er to the separated WARRANTY STATEMENT IN EUROPE If you are a European customer please contact the retail outlet where the fan was purchased for warranty service Distributed by Beacon Lighting Europe...