2. Enter the system user name (default:
admin
) and your secure password, then click
OK
. Wait
for the firmware update to complete. The system will restart once the firmware has been
upgraded.
CAUTION
DO NOT POWER OFF THE SYSTEM OR DISCONNECT THE POWER CABLE DURING FIRM-
WARE INSTALLATION.
4.7
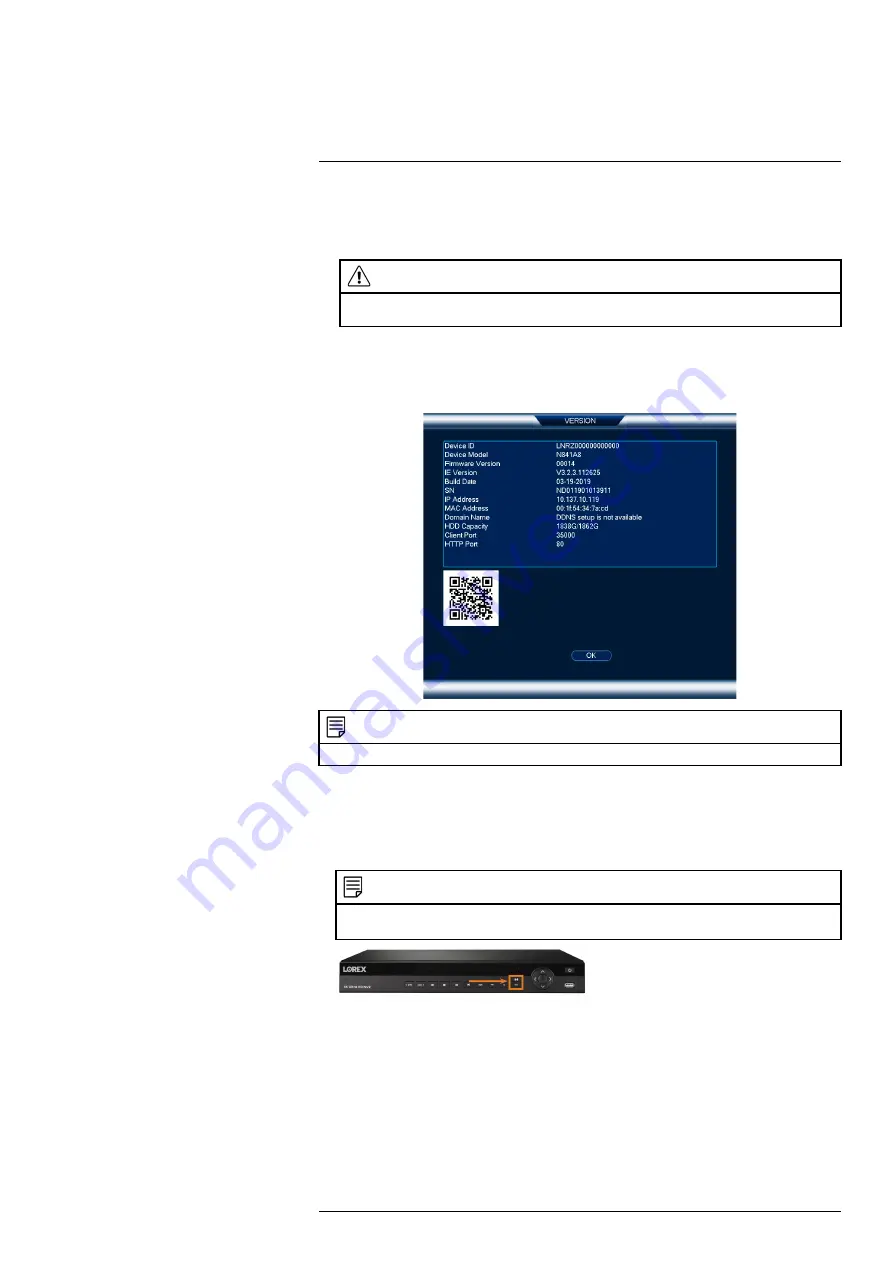
Quick Access to System Information
Perform one of the following actions to bring up the system information window. This window
contains vital system information including the model number, serial number, and device ID.
NOTE
The QR code shown on this screen can be scanned during mobile setup to enter the system’s device ID.
To quickly open a window that displays important system information:
•
From the Live View display, right-click to open the Quick Menu, then click
Info
.
OR
•
Press the front panel button on the recorder.
NOTE
Do not press and hold the button. The front panel button doubles as a panic button that activates warning
lights and sirens for deterrence cameras if held for 3 seconds.
4.8
Connecting Cameras to the Local Area Network (LAN)
For flexibility, you may also connect IP cameras to the same Local Area Network (LAN) as the
NVR instead of connecting them directly to NVR. This is accomplished by connecting the cam-
eras to the same router as the NVR.
For these installations, an external PoE switch (sold separately) or power adapter (sold sepa-
rately) must be used to provide power to each IP camera. You also must add the cameras on the
NVR before they will show a picture on the monitor or be recorded by the NVR.
Follow the steps below to connect the cameras to the NVR over the LAN.
#LX400117; r. 6.0/57895/57895; en-US
9
Содержание E861AB-E
Страница 1: ...User Manual N882 Series...
Страница 2: ......
Страница 3: ...User Manual N882 Series LX400117 r 6 0 57895 57895 en US iii...
Страница 8: ...Table of contents 25 4 RoHS 111 25 5 ICES 003 111 LX400117 r 6 0 57895 57895 en US viii...
Страница 120: ...LX400117 r 6 0 57895 57895 en US 112...
Страница 121: ......


