INSTALLATION GUIDE
www.logiquip.com
|
3
INSTALLATION INSTRUCTIONS
Step 1A - Install Casters
(
PART
7
and
8
)
. If units are stationary proceed to Step 1B
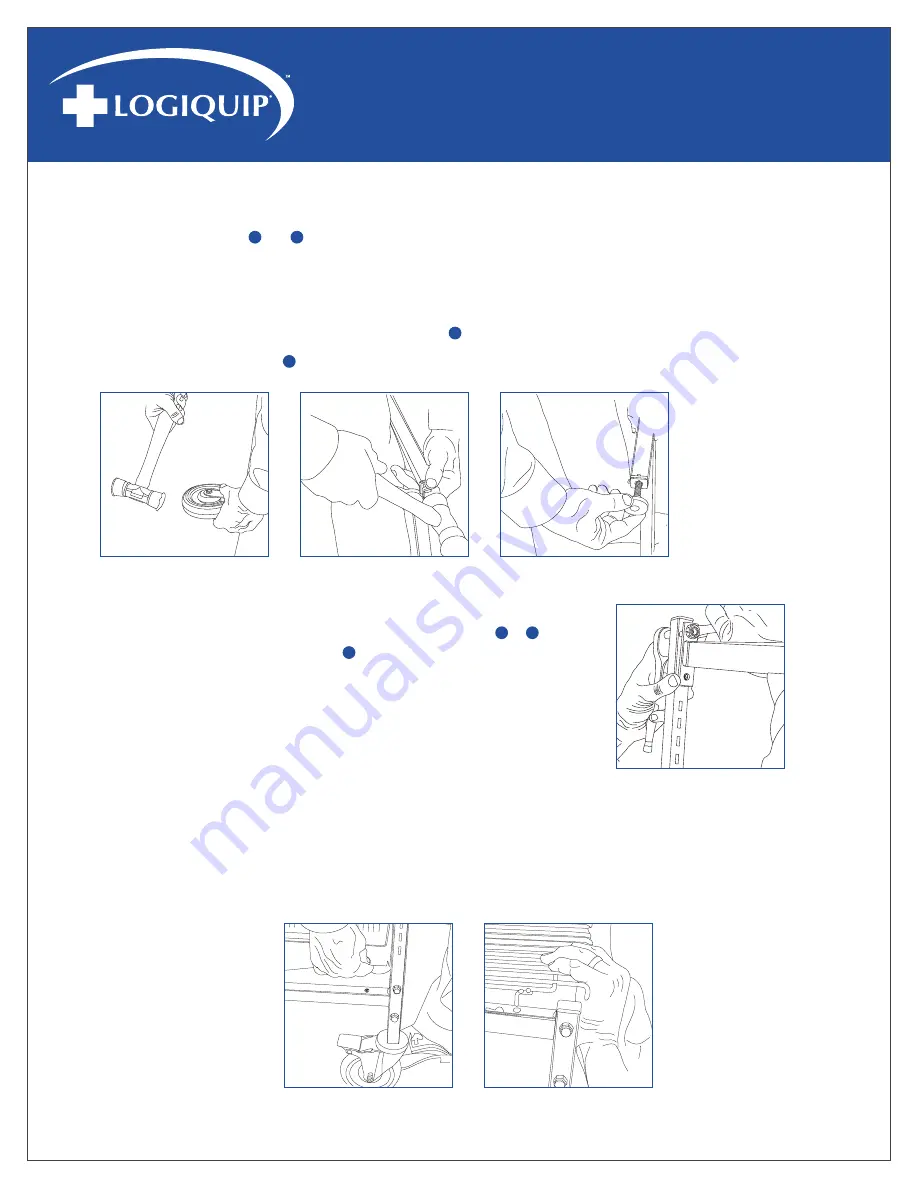
1. Install the caster into the caster cnsert with a rubber mallet (Fig. 1)
Step 1B - Install Leveling Feet
1. Using the mallet, pound in the leveling foot insert
(
PART
6
)
(Fig. 2)
2. Thread the leveling foot
(
PART
5
)
into the insert (Fig. 3)
Step 2 - Frame Construction
1. Using the provided nuts and bolts, attach the cross bars
(
PART
2
or
3
)
to the top and bottom of one Frame (
PART
1
). Assemble all four (4) cross
bars to the frames (Fig.4)
2. After you secure the cross bar to the first frame, repeat the same steps
on the additional frame. LogiQuip recommends you only connect a
maximum of four frames as a single unit (three complete modules).
3. After all cross bars are attached to the frames stand the ParStor
®
unit upright
Step 3 - Assembly Accessories
1. Attached the bottom shelf liner or “insert” to the cross bars by using the provided glue dots
(Fig.5)
2. Attach the top shelf to the top of the frame. There are pegs underneath the top shelf that sit in side slots atop the frame (Fig. 6)
Fig. 1
Fig. 2
Fig. 3
Fig. 4
Fig. 6
Fig. 5


