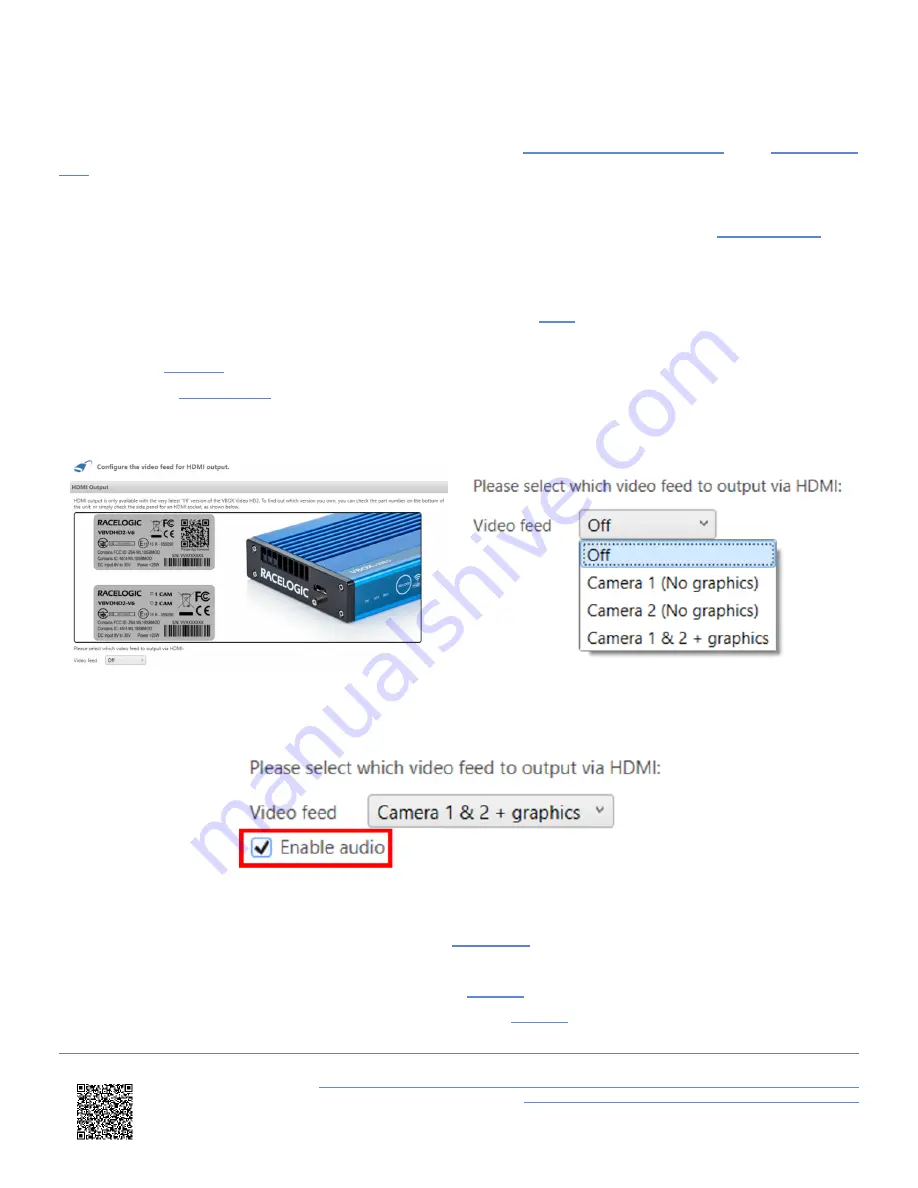
Configuring VBOX Video HD2
To output video via the HDMI port, the setting must be enabled within
or the
IMPORTANT
- HDMI output is only available when frame rate is selected as 30 fps within the
.
VBOX Video Software
1. Open
VBOX Video Setup Software
, this can be downloaded from
2. If required,
create or upload a scene.
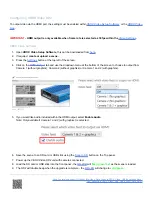
3. Press the
button at the top left of the screen.
4. Click on the
tab and use the dropdown menu at the bottom of the screen to choose to output from
Camera 1 (without graphics), Camera 2 (without graphics) or Camera 1 and 2 (with graphics).
5. If you would like audio included within the HDMI output, select
Enable Audio
.
Note: Only available if Camera 1 and 2 (with graphics) is selected.
6. Save the scene to an SD card or USB stick using the
button on the Top panel.
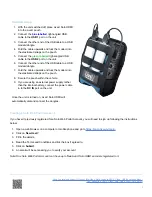
7. Power up the VBOX Video HD2 unit with cameras connected.
8. Load the SD card or USB stick into the front panel - the
will
flash green fast
as the scene is loaded.
9. The HD2 will double beep when the upgrade is complete - the
will change to
solid green
.
https://en.racelogic.support//Product_Info/Video_Data_Loggers/VBOX_Video_HD2/Knowledge_Base/
Live_Streaming_VBOX_Video_HD2_Using_LiveU_Solo_HDMI
7


