background image

7

HOW TO OPERATE THE CONSOLE

Note: If there is a piece of clear plastic on the face of
the console, remove it before operating the console.

1. To turn on the power, press the console button or

simply begin pedaling. When the power is turned
on, the entire display will appear for two seconds.
The console will then be ready for operation.  

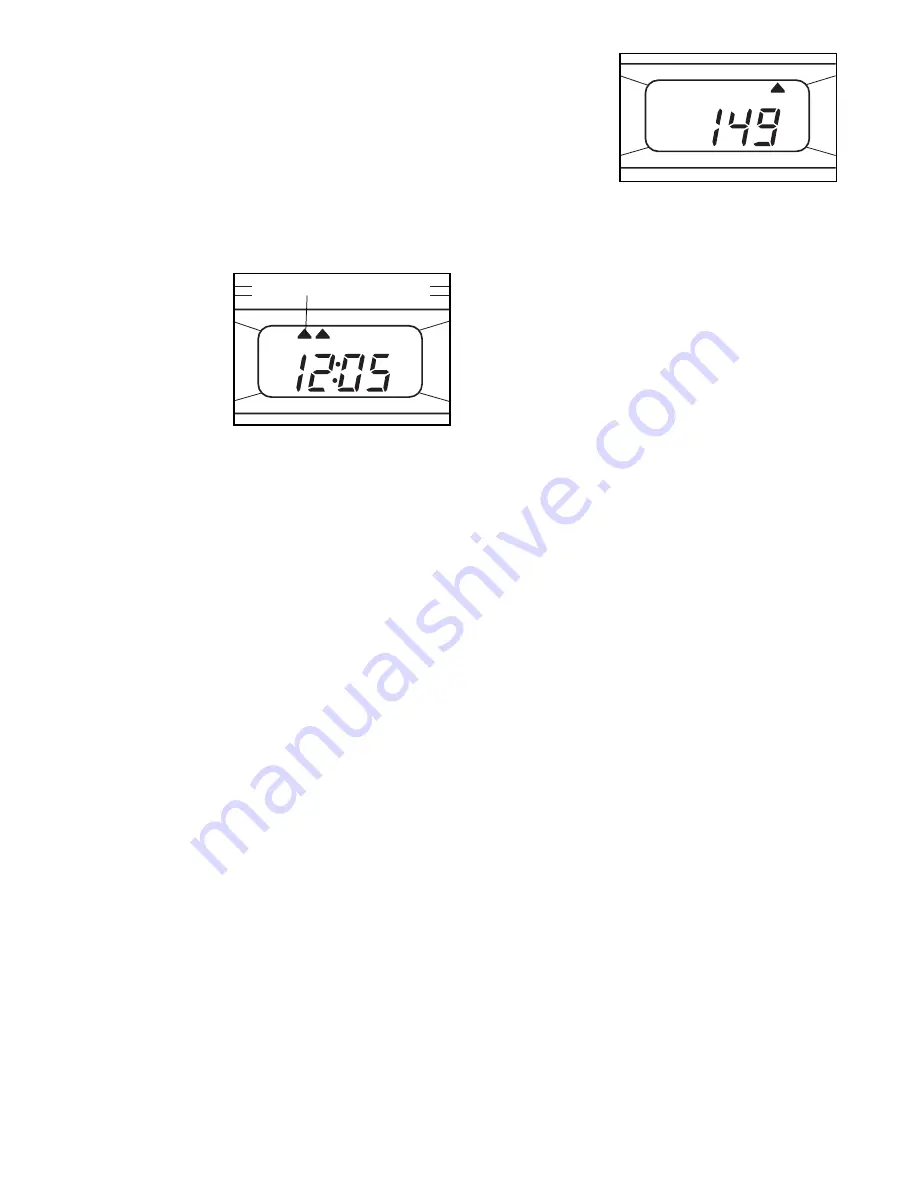
2. Select one of the five modes:

Scan modeÑ

When the power
is turned on, the
scan mode will
automatically be
selected. One
mode indicator
will show that
the scan mode
is selected, and
a flashing mode indicator will show which mode is
currently displayed. Note: If a different mode is
selected, you can select the scan mode again by
repeatedly pressing the console button.

Speed, time,
distance or
calorie modeÑ

To select one of
these modes for
continuous dis-
play, press the
console button
repeatedly. The
mode indicators will show which mode is selected.
Make sure that the scan mode is not selected.   

3. To reset the display, hold down the console button

for two seconds. After the display is reset, the scan
mode will be selected.

4. To turn off the power, simply wait for about four min-

utes. 

Note: The console has an Òauto-offÓ fea-

ture. If the pedals are not moved and the con-
sole button is not pressed for four minutes, the
power will turn off automatically in order to con-
serve the batteries. 

Mode Indicators

Содержание 831.288140

Страница 1: ...R S MANUAL CAUTION Read all precautions and instructions in this manual before using this equipment Keep this manual for future reference Model No 831 288140 SEARS ROEBUCK AND CO HOFFMAN ESTATES IL 60...

Страница 2: ...the age of 12 and pets away from the exercise cycle at all times 7 The exercise cycle should not be used by persons weighing more than 250 pounds 8 Wear appropriate clothing when exercising do not wea...

Страница 3: ...r own home For your benefit read this manual carefully before you use the LIFESTYLER DT 900 If you have questions after reading the manual please call our toll free HELPLINE at 1 800 736 6879 Monday t...

Страница 4: ...acket on the Rear Stabilizer 2 into the Frame 1 Attach the Rear Stabilizer with four Stabilizer Screws 32 3 Refer to the inset drawing Remove the indicated plastic caps from the Frame 1 Discard the ca...

Страница 5: ...Plate 9 10 R L R 22 21 6 20 6 Identify the Right Pedal 22 The Right Pedal is marked with an R Using an adjustable wrench tighten the Right Pedal clockwise into the right arm of the Crank 20 Tighten t...

Страница 6: ...YCLE Your exercise cycle features adjustable end caps on the front stabilizer If the exercise cycle tends to rock when in use adjust one or both of the endcaps by turning them until the exercise cycle...

Страница 7: ...currently displayed Note If a different mode is selected you can select the scan mode again by repeatedly pressing the console button Speed time distance or calorie mode To select one of these modes f...

Страница 8: ...tted crank nut is properly tightened retighten the crank nut HOW TO ADJUST THE RESISTANCE STRAP If there is not enough pedaling resistance when the resistance knob is turned to the highest setting the...

Страница 9: ...nsity of your exercise until your heart rate is near the middle num ber in your training zone as you exercise Aerobic Exercise If your goal is to strengthen your cardiovascular sys tem your exercise m...

Страница 10: ...er the key to success is make exercise a regular and enjoyable part of your everyday life 1 1 Frame 2 1 Rear Stabilizer 3 1 Top Handlebar 4 1 Frame Bushing 5 1 Front Stabilizer 6 2 Stabilizer Endcap 7...

Страница 11: ...19 15 12 15 15 17 6 5 6 18 30 23 12 15 15 15 22 20 35 2 32 31 4 8 9 8 9 11 29 27 26 29 7 3 34 36 25 16 19 1 33 33 37 38 14 40 41 42 13 27 28 25 27 39 39 10 25 13 EXPLODED DRAWING Model No 831 288140 R...

Страница 12: ...rs listed at the left When requesting help or service or ordering parts please be prepared to provide the following information The MODEL NUMBER of the product 831 288140 The NAME of the product LIFES...

Отзывы: