background image


12 


SP700


5.   ADJUSTMENT


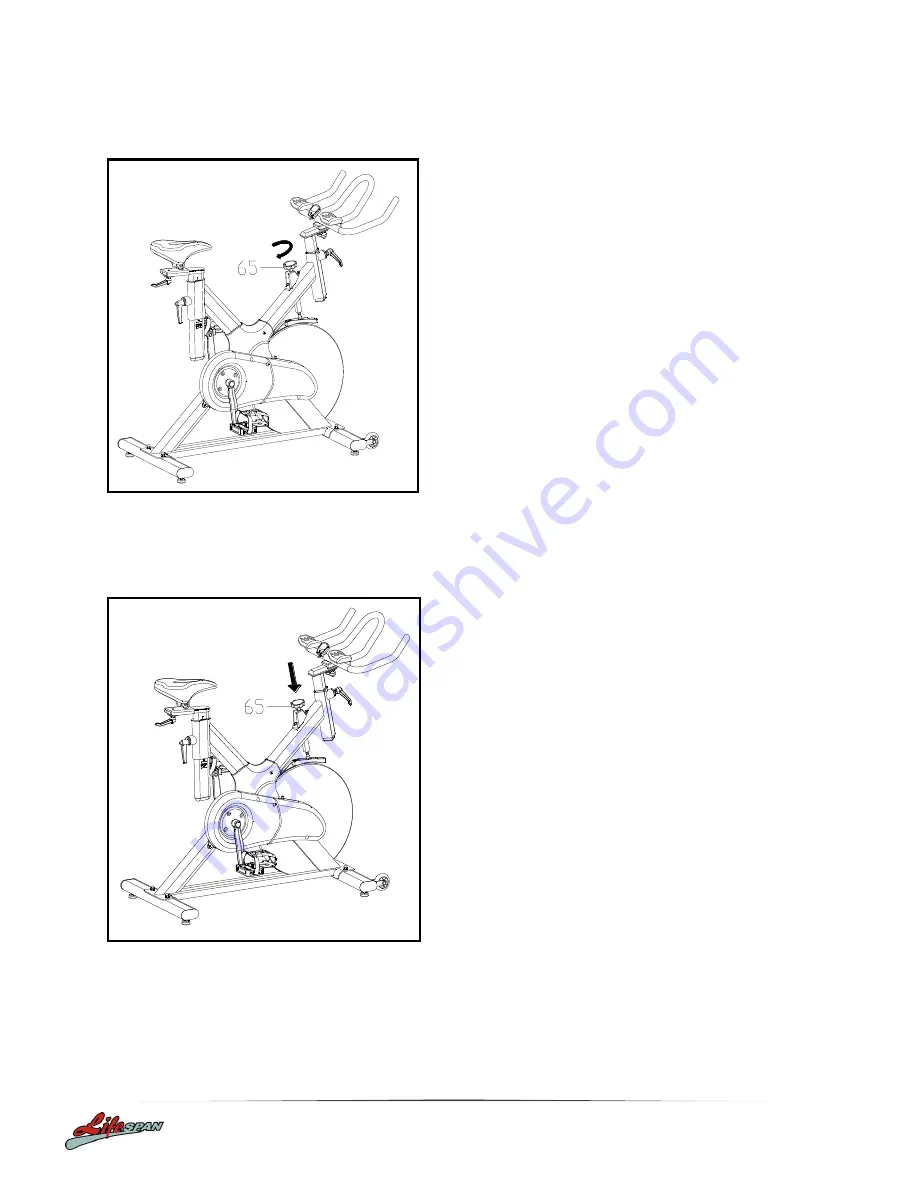
FIG.A 

FIG.B 

A.) Adjusting the Tension: 

Increasing or decreasing the tension allows you 

to add variety to your workout sessions by 

adjusting the resistance level of the bike. 


To 

increase

 tension and increase resistance 

(requiring more strength to pedal), turn the 

Emergency 

Brake & Tension Control Knob (#65) 

to the 

right


To 

decrease

 tension and increase resistance 

(requiring less strength to pedal), turn the 

Emergency 

Brake & Tension Control Knob (#65) 

to the 

left

.B.) Using the Emergency


Содержание SP700

Страница 1: ...Product may vary slightly from the item pictured due to model upgrades Read all instructions carefully before using this product Retain this owner s manual for future reference SP700 OWNER S MANUAL...

Страница 2: ...2 SP700 TABLE OF CONTENTS 1 IMPORTANT SAFETY INSTRUCTIONS 3 2 EXPLODED DIAGRAM 5 3 PARTS LIST 7 4 ASSEMBLY INSTRUCTIONS 9 5 ADJUSTMENT 12 6 EXERCISE GUIDE 13 7 WARRANTY REGISTRATION 15...

Страница 3: ...aining remove all within a radius of 2 meters from the machine DO NOT place any sharp objects around the Spinning Bike 5 Position the Spinning Bike on a clear level surface away from water and moistur...

Страница 4: ...rcising Running or aerobic shoes are also required 14 Before exercising always do stretching first 15 The power of the machine increases with increasing the speed and the reverse The machine is equipp...

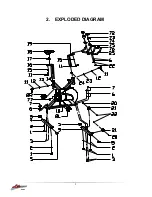
Страница 5: ...5 SP700 2 EXPLODED DIAGRAM...

Страница 6: ...6 SP700 56 57 58 59 60 57 57 61 42 53 53 51 39 29 33 49 50 54 42 64 65 38 37 33 26 27 28 39 29 40 30 31 41 22 33 35 68 67 66 26 42 62 63 45 46 47 48 10 33 52 55 32 43 51 44 36 34 70 71...

Страница 7: ...70 30 1 5 15 FLAT WASHER 1 2 45 10 5 5 16 VERTICAL SEAT POST 1 WELDING 17 SEAT POST 1 WELDING 18 SEAT 1 DD 2681 19 HANDLEBAR POST 1 WELDING 20 BOLT 1 2 GB T 5780 2000 M8 40 21 WHEEL 2 69X26 22 LOCK N...

Страница 8: ...53 FLAT WASHER 2 8 GB T 95 2002 6 54 CNC FLYWHEEL 1 460 15 20KG 55 BOLT 4 4 GB T 70 1 2000 M6 12 56 NUT 1 2 GB T 41 2000 M6 57 BOLT 5 4 GB T 70 1 2000 M6 12 58 ADJUSTING METAL 1 156 14 5 1 5 59 BLOCK...

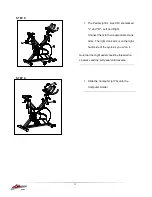
Страница 9: ...s instruction sheet you will find an explosion drawing with all single parts marked with numbers which this item consists of STEP 2 1 Remove the bolts and nut from the bottom tube 2 Attach the Front S...

Страница 10: ...ight Release the knob and retighten the knurled portion 3 Now fix the Seat pt 18 to the Seat Post pt 17 as shown and tighten the bolts around the screws under the seat 1 Slide the Handlebar Post pt 19...

Страница 11: ...and Right Connect them to their appropriate crank arms The right crank arm is on the right hand side of the cycle as you sit on it Note that the Right pedal should be threaded on clockwise and the Lef...

Страница 12: ...by adjusting the resistance level of the bike To increase tension and increase resistance requiring more strength to pedal turn the Emergency Brake Tension Control Knob 65 to the right To decrease te...

Страница 13: ...ess is to make exercise a regular and enjoyable part of your everyday life The condition of your heart and lungs and how efficient they are in delivering oxygen via your blood to your muscles is an im...

Страница 14: ...5 to 10 minutes of stretching to cool down This will increase the flexibility of your muscles and will help prevent post exercise problems Workout Guidelines TARGET ZONE THIS IS HOW YOUR PULSE SHOULD...

Страница 15: ...t or refund for a major failure and compensation for any other reasonably foreseeable loss or damage You are entitled to have the goods repaired or replaced if the goods fail to be of acceptable quali...

Отзывы: