56
206-4350
Cloning Procedures (Cont.)
(Continued from previous page)
X
< 01
xxET960H0UA_1.TLX
<
>
DATA CLONING
USB 1:
Device Name
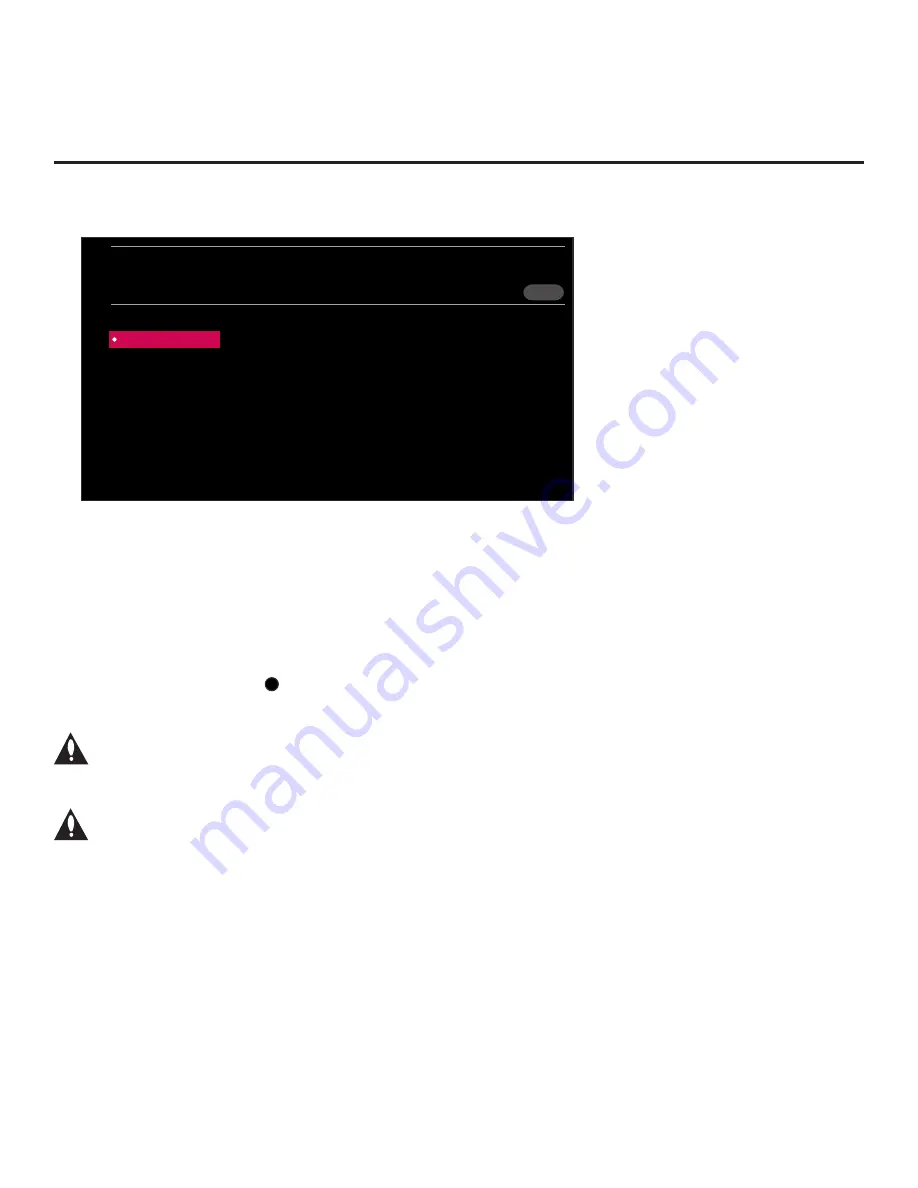
Select the filename, and then select EXPORT.
Import Clone File
Export Clone File
EXPORT
11. When you are ready to continue, i.e., when you have selected the desired filename, press the
Wheel (
OK
) button on the Installer Remote to select/activate the
EXPORT
button at the top
right of the screen, and then press the Wheel (
OK
) button on the Installer Remote once more
to export the file.
Export progress will be displayed on the screen. This process may take a few minutes. Do
NOT remove the USB device while exporting is in progress. When the export process is
complete, an “Export Clone File is completed” pop-up message will be displayed on the screen.
12. Press the Wheel (
OK
) button to return to the TV Manager / Data Cloning screen. To return to
program viewing, select the
X
button at the top right corner of the screen.
13. Remove the USB memory device from the Master TV.
Note: If the Master TV has a channel lineup, during the export process, logical
channel numbers are automatically assigned in ascending order, starting with 0
(zero), to the physical RF channels of the TV channel lineup to create an FTG
Channel Map. See also note below.
Note: If the exported Clone file is to be used for FTG Mode configuration (i.e., it
contains an FTG Channel Map), it is highly recommended that you open the file in
the Cloud Configuration Tool—BEFORE transferring (importing) the file to any
Target TVs—to verify FTG Channel Map and FTG Installer Menu settings. This will
also enable you to confirm channels and add channel attributes, labels, etc.
Importing a Clone File
This section describes how to transfer (import) a Clone or Configuration (.tlx) file from a USB
memory device to a TV using the TV Manager “Import Clone File” option. The “.tlx” file may be
created either from a Master TV Setup that was saved (exported) from a Master TV or in the
Cloud Configuration Tool.


