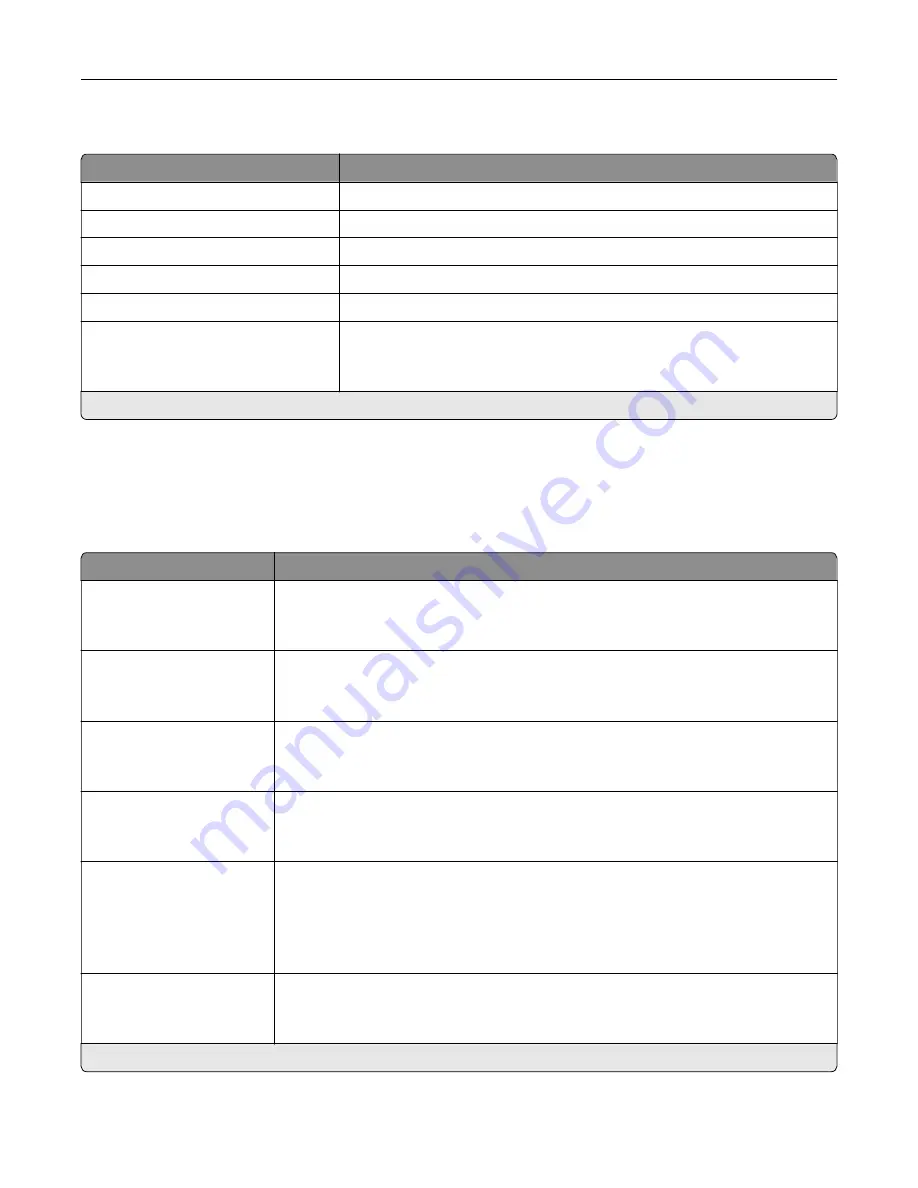
About this Printer
Menu item
Description
Asset Tag
Describe the printer. The maximum length is 32 characters.
Printer’s Location
Identify the printer location. The maximum length is 63 characters.
Contact
Personalize the printer name. The maximum length is 63 characters.
Export Configuration File to USB*
Export configuration files to a flash drive.
Export Compressed Logs to USB*
Export compressed log files to a flash drive.
Send Logs
Cancel
Send
Send diagnostic information to Lexmark.
* This menu item appears only in some printer models.
Layout
Menu item
Description
Sides
1
‑
Sided*
2
‑
Sided
Specify whether to print on one side or both sides of the paper.
Flip Style
Long Edge*
Short Edge
Determine which side of the paper is bound when performing two
‑
sided printing.
Blank Pages
Do Not Print*
Print blank pages that are included in a print job.
Collate
Off (1,1,1,2,2,2)
On (1,2,1,2,1,2)*
Keep the pages of a print job stacked in sequence, particularly when printing multiple
copies of the job.
Separator Sheets
None*
Between Copies
Between Jobs
Between Pages
Insert blank separator sheets when printing.
Separator Sheet Source
Tray [x] (1*)
Multipurpose Feeder
Specify the paper source for the separator sheet.
Note:
An asterisk (*) next to a value indicates the factory default setting.
Understanding the printer menus
85
Содержание XM3250
Страница 160: ... ADF glass pad Scanner glass Scanner glass pad 3 Close the scanner cover Maintaining the printer 160 ...
Страница 170: ...7 Close door A Replacing the staple cartridge 1 Open the stapler access door Maintaining the printer 170 ...
Страница 171: ...2 Remove the staple cartridge 3 Remove the spare staple cartridge Maintaining the printer 171 ...
Страница 173: ...4 Remove the used pick tires one after the other 5 Unpack the new pick tires Maintaining the printer 173 ...
Страница 175: ...Maintaining the printer 175 ...
Страница 177: ...7 Insert the new pick roller assembly 8 Flip the tray base and then insert the tray insert Maintaining the printer 177 ...
Страница 189: ...6 Insert the imaging unit Note Use the arrows inside the printer as guides Clearing jams 189 ...
Страница 198: ...4 Close the staple guard 5 Insert the staple cartridge holder 6 Close the staple access door Clearing jams 198 ...
Страница 262: ...b Connect the ISP extended cable to the ISP connector Upgrading and migrating 262 ...
Страница 263: ...c Install the hard disk Upgrading and migrating 263 ...


