


2
Flex, fan, and align the paper edges before loading.
3
Load paper with the printable side faceup.
Notes:
•
Load letterhead faceup with the header toward the rear of the printer for one
‑
sided printing.
•
Load letterhead facedown with the header toward the front of the printer for two
‑
sided printing.
•
Load envelopes with the flap facedown on the left side.
Warning—Potential Damage:
Do not use envelopes with stamps, clasps, snaps, windows, coated linings,
or self
‑
stick adhesives.
4
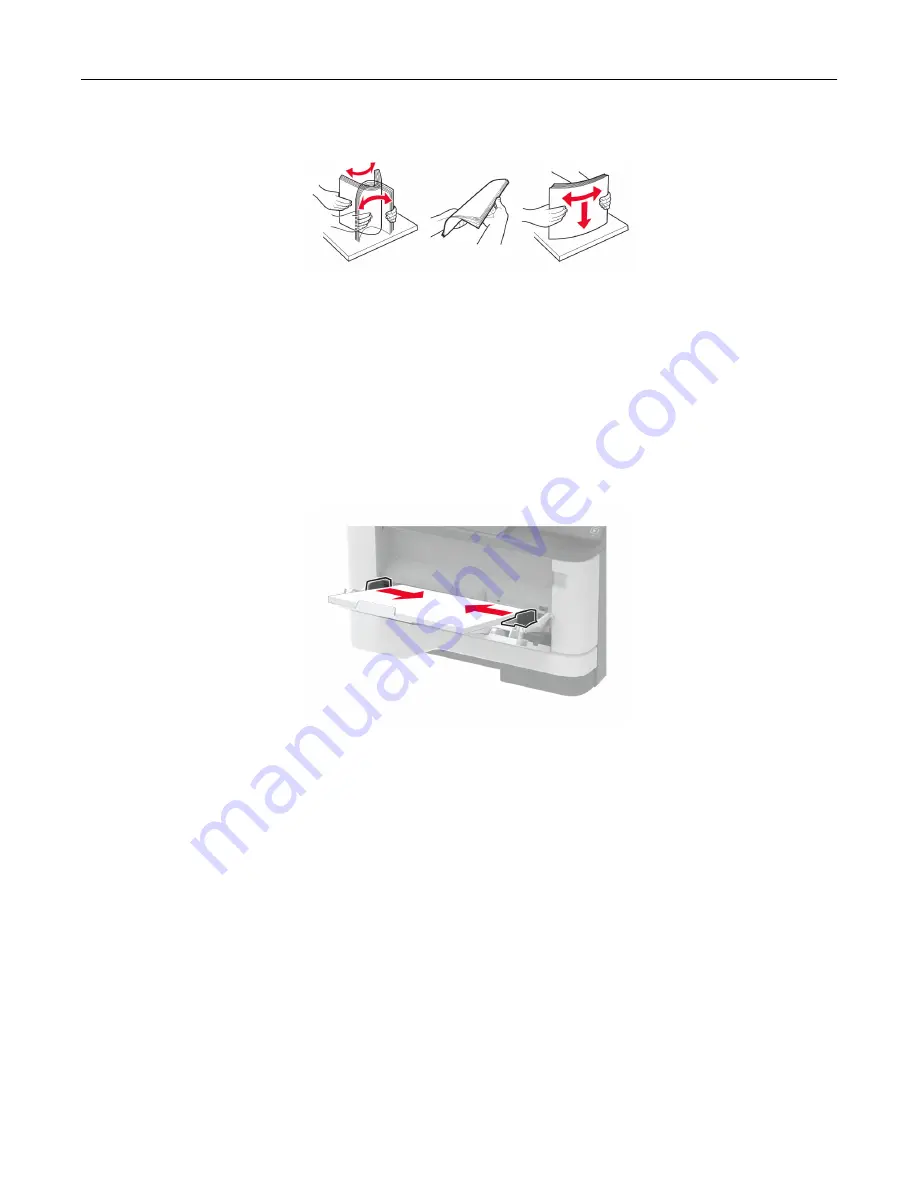
Adjust the guide to match the size of the paper that you are loading.
5
From the control panel, set the paper size and paper type to match the paper loaded.
Linking trays
1
From the home screen, touch
Settings
>
Paper
>
Tray Configuration
> select a paper source.
2
Set the same paper size and paper type for the trays that you are linking.
3
From the home screen, touch
Settings
>
Device
>
Maintenance
>
Configuration Menu
>
Tray Configuration
>
Tray Linking
.
4
Touch
Automatic
.
To unlink trays, make sure that no trays have the same paper size and paper type settings.
Warning—Potential Damage:
The temperature of the fuser varies according to the specified paper type. To
avoid printing issues, match the paper type setting in the printer with the paper loaded in the tray.
Set up, install, and configure
48
Содержание XM3142
Страница 1: ...MX432 XM3142 MFPs User s Guide October 2022 www lexmark com Machine type 7019 Models 6w6 6w9...
Страница 54: ...4 Locate the ISD connector 5 Insert the card to the ISD connector Set up install and con gure 54...
Страница 154: ...Printing the Menu Settings Page From the home screen touch Settings Reports Menu Settings Page Use printer menus 154...
Страница 161: ...2 Remove the used imaging unit Maintain the printer 161...
Страница 164: ...3 Open the front door 4 Remove the imaging unit 5 Close the front door 6 Remove the tray Maintain the printer 164...
Страница 169: ...4 Insert the new separator pad until it clicks into place 5 Close the door Maintain the printer 169...
Страница 173: ...3 Open the front door 4 Remove the imaging unit 5 Close the front door 6 Remove the tray Maintain the printer 173...
Страница 219: ...9 Open the multipurpose feeder 10 Flex fan and align the paper edges before loading Troubleshoot a problem 219...