Control panel part Function
1
Power button
•
Turn on or turn off the printer.
Note:
To turn off the printer, press and hold the power button for five seconds.
•
Set the printer to Sleep mode.
•
Wake the printer from Sleep or Hibernate mode.
2
Display
•
View the printer messages and supply status.
•
Set up and operate the printer.
3
Indicator light
Check the status of the printer.
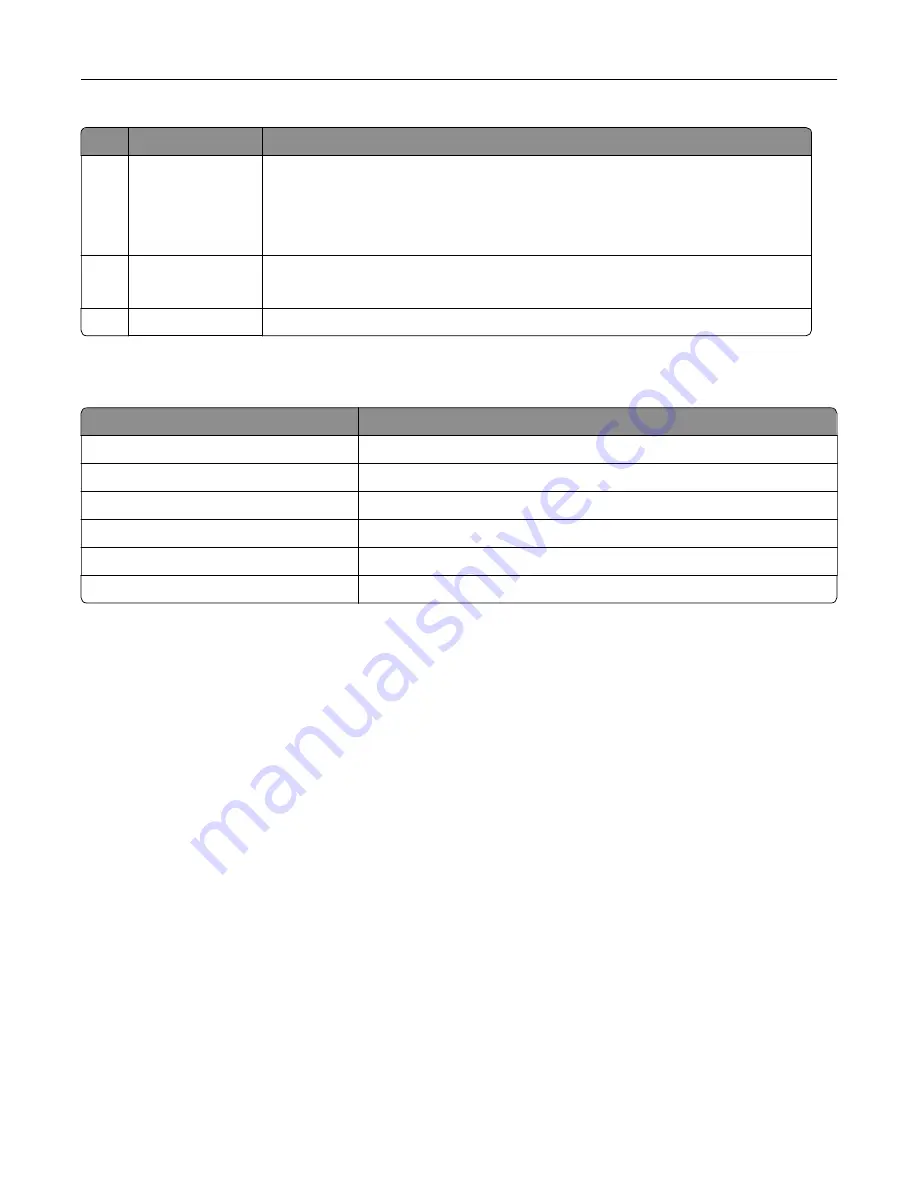
Understanding the status of the indicator light
Indicator light
Printer status
Off
The printer is off.
Solid blue
The printer is ready.
Blinking blue
The printer is printing or processing data.
Blinking red
The printer requires user intervention.
Solid amber
The printer is in Sleep mode.
Blinking amber
The printer is in Deep Sleep or Hibernate mode.
Selecting paper
Paper guidelines
Use the appropriate paper to prevent jams and help ensure trouble
‑
free printing.
•
Always use new, undamaged paper.
•
Before loading paper, know the recommended printable side of the paper. This information is usually
indicated on the paper package.
•
Do not use paper that has been cut or trimmed by hand.
•
Do not mix paper sizes, types, or weights in the same tray; mixing results in jams.
•
Do not use coated papers unless they are specifically designed for electrophotographic printing.
For more information, see the
Paper and Specialty Media Guide
.
Paper characteristics
The following paper characteristics affect print quality and reliability. Consider these factors before printing on
them.
Learn about the printer
13
Содержание XM3142
Страница 1: ...MX432 XM3142 MFPs User s Guide October 2022 www lexmark com Machine type 7019 Models 6w6 6w9...
Страница 54: ...4 Locate the ISD connector 5 Insert the card to the ISD connector Set up install and con gure 54...
Страница 154: ...Printing the Menu Settings Page From the home screen touch Settings Reports Menu Settings Page Use printer menus 154...
Страница 161: ...2 Remove the used imaging unit Maintain the printer 161...
Страница 164: ...3 Open the front door 4 Remove the imaging unit 5 Close the front door 6 Remove the tray Maintain the printer 164...
Страница 169: ...4 Insert the new separator pad until it clicks into place 5 Close the door Maintain the printer 169...
Страница 173: ...3 Open the front door 4 Remove the imaging unit 5 Close the front door 6 Remove the tray Maintain the printer 173...
Страница 219: ...9 Open the multipurpose feeder 10 Flex fan and align the paper edges before loading Troubleshoot a problem 219...


