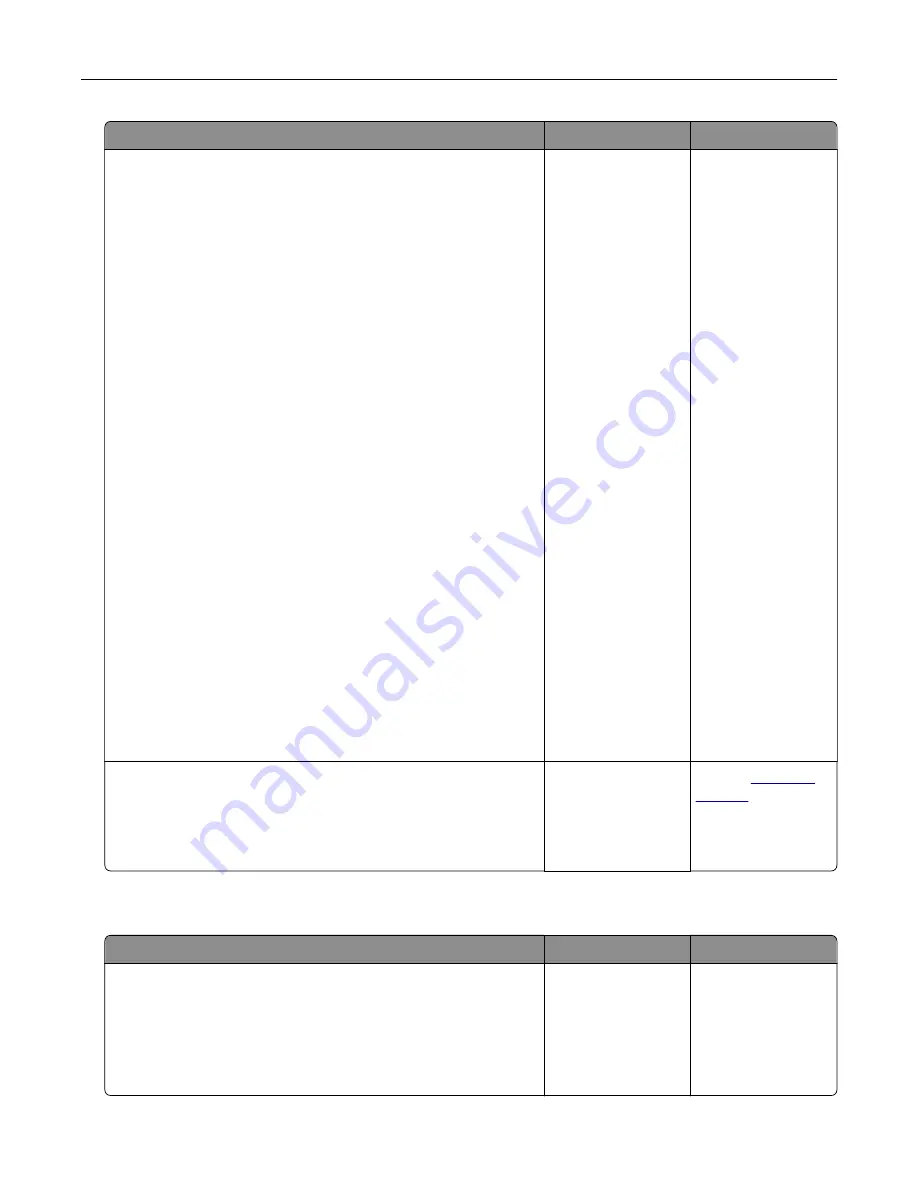
Action
Yes
No
Step 4
Update the network folder shortcut.
a
Open a web browser, and then type the printer IP address in
the address field.
Notes:
•
View the printer IP address on the home screen. The IP
address appears as four sets of numbers separated by
periods, such as 123.123.123.123.
•
If you are using a proxy server, then temporarily disable it
to load the web page correctly.
b
Click
Shortcuts
, and then select a shortcut.
Note:
If you have multiple shortcut types, then select
Network Folder.
c
In the Share Path field, type the network folder path.
Notes:
•
If your share path is
\\server_hostname
\foldername\path
, then
type
//server_hostname/foldername/path
.
•
Make sure that you use forward slashes when typing the
share path.
d
From the Authentication menu, select your authentication
method.
Note:
If Authentication is set to “Use assigned username and
password,” then in the User Name and Password fields, type
your credentials.
e
Click
Save
.
Can you scan a document and save it to a network folder?
The problem is
solved.
Go to step 5.
Step 5
Make sure that the printer and the network folder are connected
to the same network.
Can you scan a document and save it to a network folder?
The problem is
solved.
Contact
Partial copies of document or photo
Action
Yes
No
Step 1
a
Make sure that the document or photo is loaded facedown on
the upper left corner of the scanner glass.
b
Copy the document or photo.
Is the document or photo copied correctly?
The problem is
solved.
Go to step 2.
Troubleshoot a problem
210
Содержание XM1342
Страница 134: ...4 Unpack the new toner cartridge 5 Shake the toner cartridge to redistribute the toner Maintain the printer 134...
Страница 136: ...2 Remove the used imaging unit Maintain the printer 136...
Страница 139: ...3 Open the front door 4 Remove the imaging unit 5 Close the front door 6 Remove the tray Maintain the printer 139...
Страница 144: ...4 Insert the new separator pad until it clicks into place 5 Close the ADF cover Maintain the printer 144...
Страница 148: ...3 Open the front door 4 Remove the imaging unit 5 Close the front door 6 Remove the tray Maintain the printer 148...


