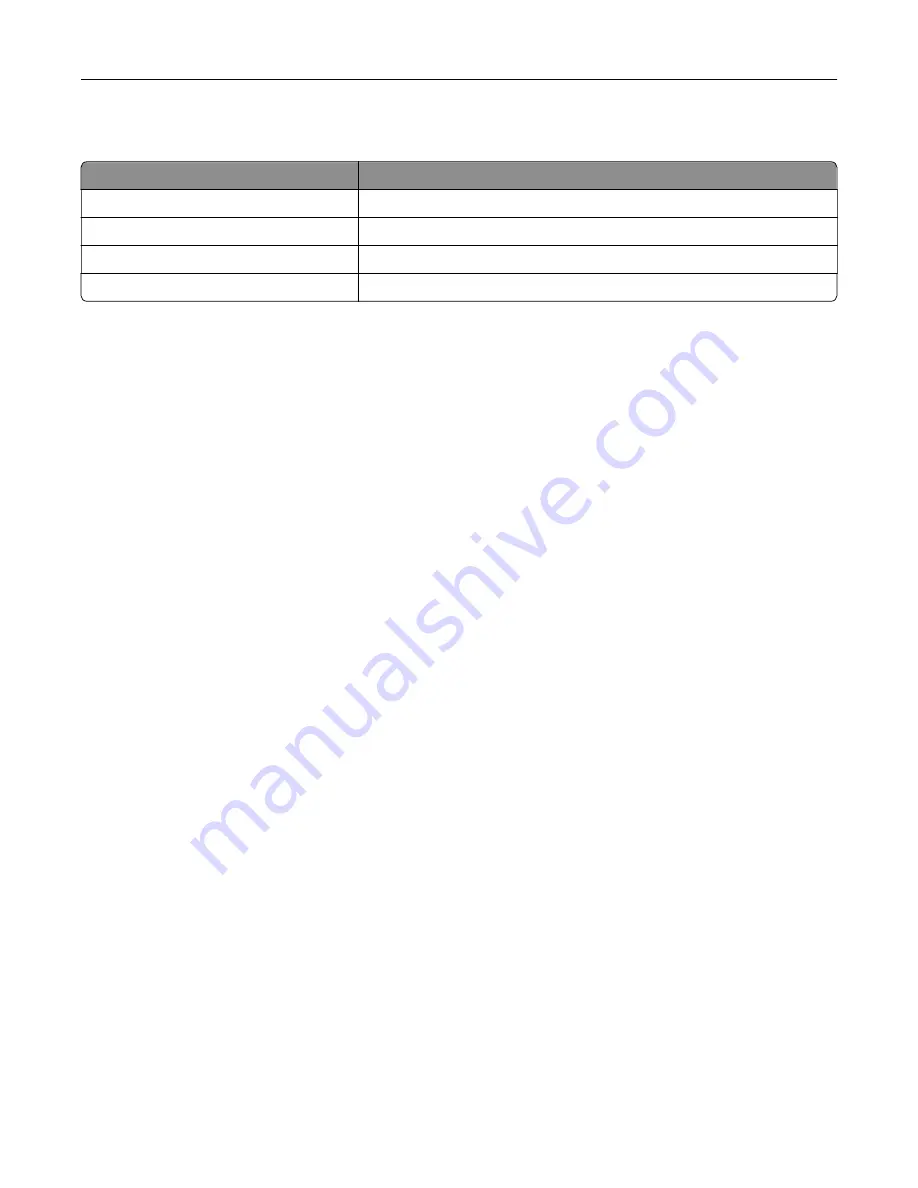
Understanding the status of the indicator light
Indicator light
Printer status
Off
The printer is off or in Hibernate mode.
Blue
The printer is ready or processing data.
Blinking red
The printer requires user intervention.
Solid amber
The printer is in Sleep mode.
Selecting paper
Paper guidelines
Use the appropriate paper to prevent jams and help ensure trouble
‑
free printing.
•
Always use new, undamaged paper.
•
Before loading paper, know the recommended printable side of the paper. This information is usually
indicated on the paper package.
•
Do not use paper that has been cut or trimmed by hand.
•
Do not mix paper sizes, types, or weights in the same tray; mixing results in jams.
•
Do not use coated papers unless they are specifically designed for electrophotographic printing.
Paper characteristics
The following paper characteristics affect print quality and reliability. Consider these factors before printing on
them.
Weight
The standard tray can feed paper weights from 60 to 120 g/m
2
(16 to 32 lb) grain long paper. Paper lighter than
60 g/m
2
(16 lb) may not be stiff enough to feed properly, and may cause jams.
Curl
Curl is the tendency for paper to curl at its edges. Excessive curl can cause paper feeding problems. Curl can
occur after the paper passes through the printer, where it is exposed to high temperatures. Storing paper
unwrapped in hot, humid, cold, or dry conditions can contribute to paper curling before printing and can cause
feeding problems.
Smoothness
Paper smoothness directly affects print quality. If paper is too rough, toner cannot fuse to it properly. If paper
is too smooth, it can cause paper feeding or print quality issues. We recommend the use of paper with 50
Sheffield points.
Learn about the printer
13
Содержание XM1342
Страница 134: ...4 Unpack the new toner cartridge 5 Shake the toner cartridge to redistribute the toner Maintain the printer 134...
Страница 136: ...2 Remove the used imaging unit Maintain the printer 136...
Страница 139: ...3 Open the front door 4 Remove the imaging unit 5 Close the front door 6 Remove the tray Maintain the printer 139...
Страница 144: ...4 Insert the new separator pad until it clicks into place 5 Close the ADF cover Maintain the printer 144...
Страница 148: ...3 Open the front door 4 Remove the imaging unit 5 Close the front door 6 Remove the tray Maintain the printer 148...


