Faxing
Setting up the printer to fax
Notes:
•
The following connection methods are applicable only in some countries or regions.
•
During the initial printer setup, clear the fax function check box and any other function you plan to set up
later, and then touch
Continue
.
•
The indicator light may blink red if the fax function is enabled and not fully set up.
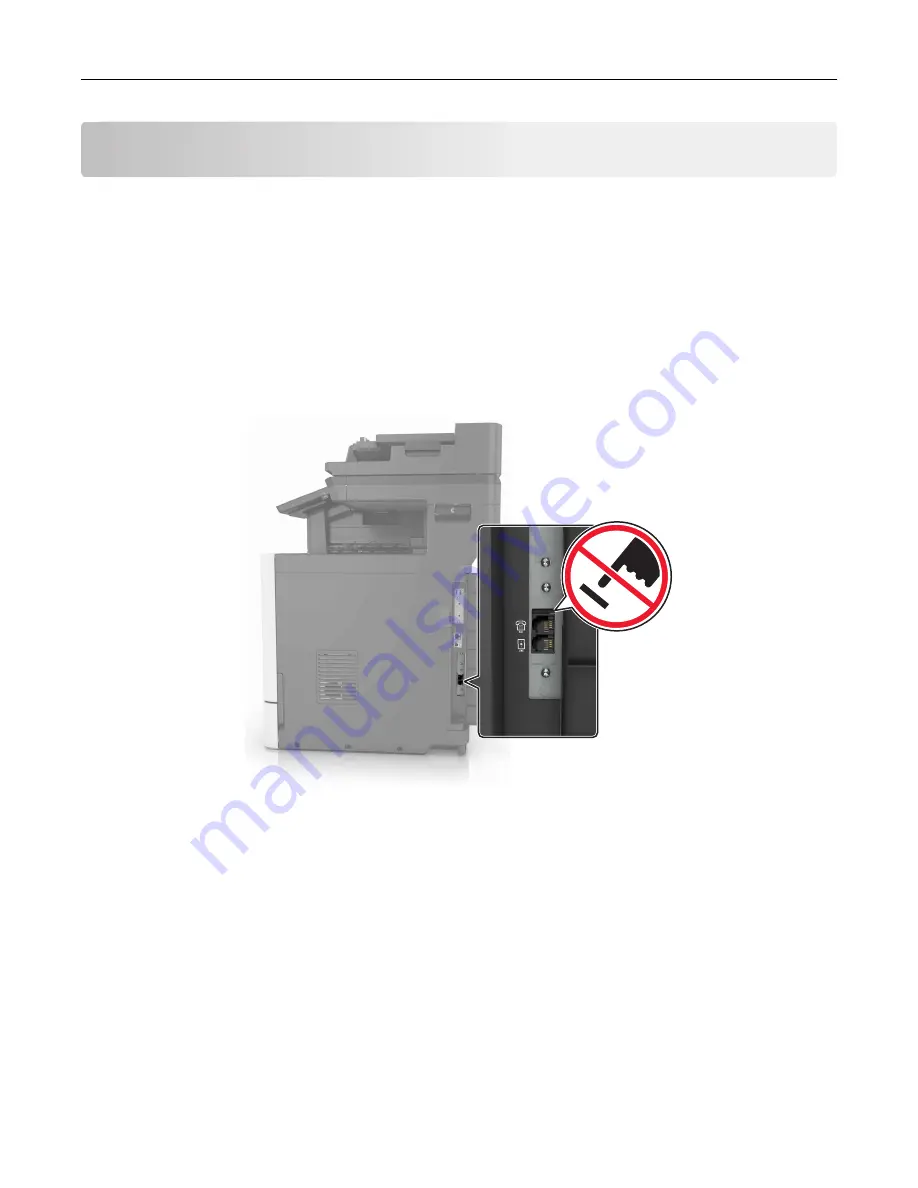
Warning—Potential Damage:
Do not touch cables or the printer in the area shown while actively sending or
receiving a fax.
Configuring the SMTP server for fax
From the control panel
1
From the control panel, touch
Settings
>
Fax
>
Fax Server Setup
>
Fax Server E
‑
mail Settings
.
2
Configure the settings.
Note:
To use the SMTP server setting for e
‑
mail, enable
Use E
‑
mail SMTP Server
.
From the Embedded Web Server
1
Open a web browser, and then type the printer IP address in the address field.
Faxing
51
Содержание XC8155
Страница 66: ...5 Touch Scan Here If necessary change the scan settings 6 Scan the document Scanning 66 ...
Страница 159: ... Scanner glass pad 3 Close the scanner cover Emptying the hole punch box 1 Open door J Maintaining the printer 159 ...
Страница 160: ...2 Remove and empty the hole punch box 3 Insert the hole punch box 4 Close door J Maintaining the printer 160 ...
Страница 170: ...2 Remove the waste toner bottle 3 Remove the imaging unit 4 Remove the photoconductor unit Maintaining the printer 170 ...
Страница 172: ...Replacing an imaging unit 1 Open door A 2 Remove the waste toner bottle Maintaining the printer 172 ...
Страница 176: ...3 Remove the pick roller 4 Unpack the new pick roller Maintaining the printer 176 ...
Страница 186: ...4 Insert the new transfer roller 5 Remove the white packing material 6 Close door B Maintaining the printer 186 ...
Страница 193: ...2 Open door G 3 Remove the staple cartridge 4 Unpack the new staple cartridge Maintaining the printer 193 ...
Страница 195: ...2 Open door G 3 Pull out the staple cartridge holder Maintaining the printer 195 ...
Страница 218: ...2 Open door G 3 Pull out the staple cartridge holder Clearing jams 218 ...
Страница 222: ... Area J1 Areas J3 and J4 Areas J5 and J6 3 Close door J Clearing jams 222 ...
Страница 227: ...5 Insert the staple cartridge holder 6 Close door J Clearing jams 227 ...
Страница 284: ...Installing the staple finisher 1 Turn off the printer 2 Open door C 3 Remove the paper bail Upgrading and migrating 284 ...
Страница 287: ...4 Open the covers at the side of the caster base 5 Open door C Upgrading and migrating 287 ...


