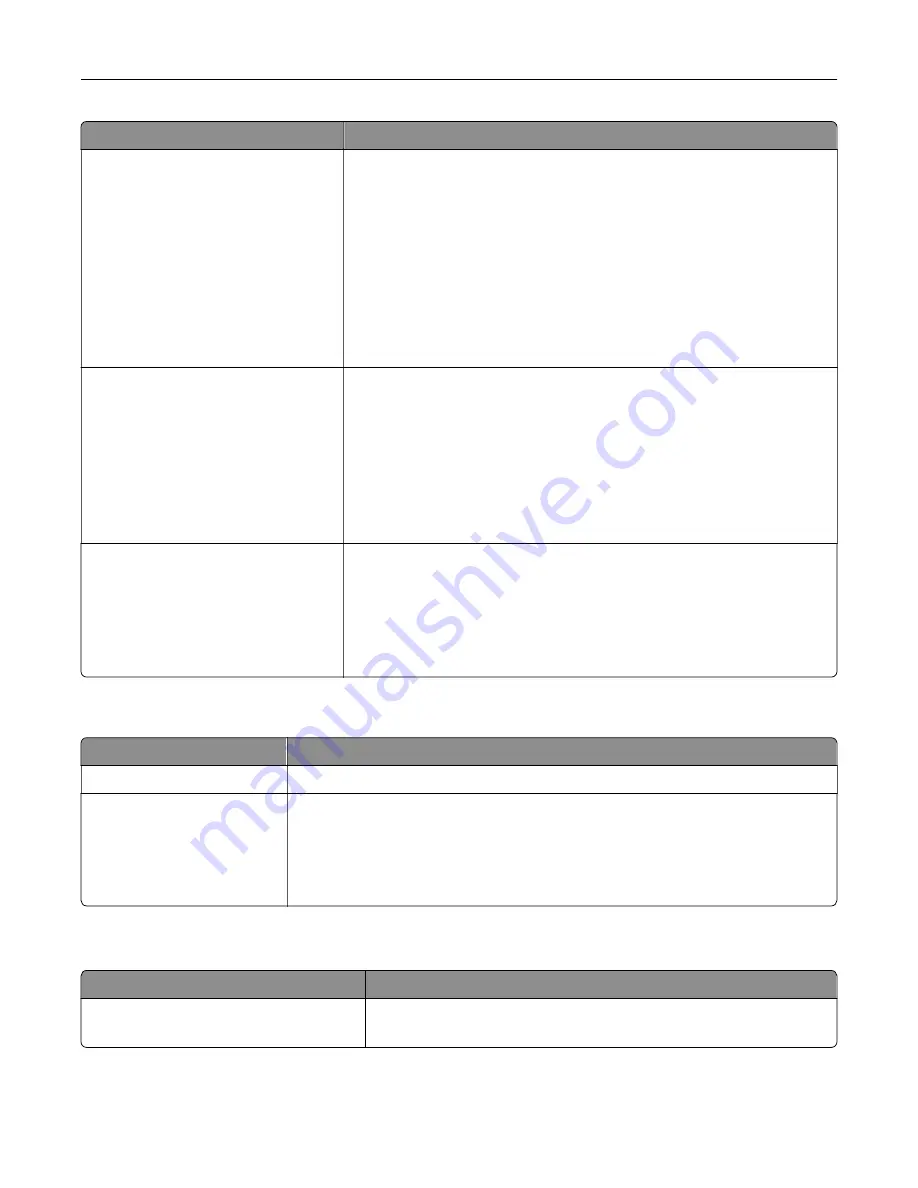
Menu item
Description
Administrative Menus
Security Menu
Network/Ports Menu
Paper Menu
Reports Menu
Function Configuration Menus
Supplies Menu
Option Card Menu
SE Menu
Device Menu
Control access to the printer menu settings.
Device Management
Remote Management
Firmware Updates
Apps Configuration
Operator Panel Lock
Import / Export All Settings
Embedded Web Server Access
Out of Service Erase
Control access to the printer management options.
Apps
New Apps
Card Copy
Scan Center
Scan Center Custom [x]
Forms and Favorites
Control access to printer applications.
Local Accounts
Menu item
Description
Manage Groups/Permissions
Show a list of all saved groups in the printer.
Add User
User Name/Password
User Name
Password
PIN
Create local accounts and specify their access to the printer functions,
administrative menus, printer management options, and applications.
Schedule USB Devices
Menu item
Description
Schedules
Add New Schedule
Schedule access to the front USB port.
Understanding the printer menus
141
Содержание XC8155
Страница 66: ...5 Touch Scan Here If necessary change the scan settings 6 Scan the document Scanning 66 ...
Страница 159: ... Scanner glass pad 3 Close the scanner cover Emptying the hole punch box 1 Open door J Maintaining the printer 159 ...
Страница 160: ...2 Remove and empty the hole punch box 3 Insert the hole punch box 4 Close door J Maintaining the printer 160 ...
Страница 170: ...2 Remove the waste toner bottle 3 Remove the imaging unit 4 Remove the photoconductor unit Maintaining the printer 170 ...
Страница 172: ...Replacing an imaging unit 1 Open door A 2 Remove the waste toner bottle Maintaining the printer 172 ...
Страница 176: ...3 Remove the pick roller 4 Unpack the new pick roller Maintaining the printer 176 ...
Страница 186: ...4 Insert the new transfer roller 5 Remove the white packing material 6 Close door B Maintaining the printer 186 ...
Страница 193: ...2 Open door G 3 Remove the staple cartridge 4 Unpack the new staple cartridge Maintaining the printer 193 ...
Страница 195: ...2 Open door G 3 Pull out the staple cartridge holder Maintaining the printer 195 ...
Страница 218: ...2 Open door G 3 Pull out the staple cartridge holder Clearing jams 218 ...
Страница 222: ... Area J1 Areas J3 and J4 Areas J5 and J6 3 Close door J Clearing jams 222 ...
Страница 227: ...5 Insert the staple cartridge holder 6 Close door J Clearing jams 227 ...
Страница 284: ...Installing the staple finisher 1 Turn off the printer 2 Open door C 3 Remove the paper bail Upgrading and migrating 284 ...
Страница 287: ...4 Open the covers at the side of the caster base 5 Open door C Upgrading and migrating 287 ...


