Scanning
Using the automatic document feeder and scanner glass
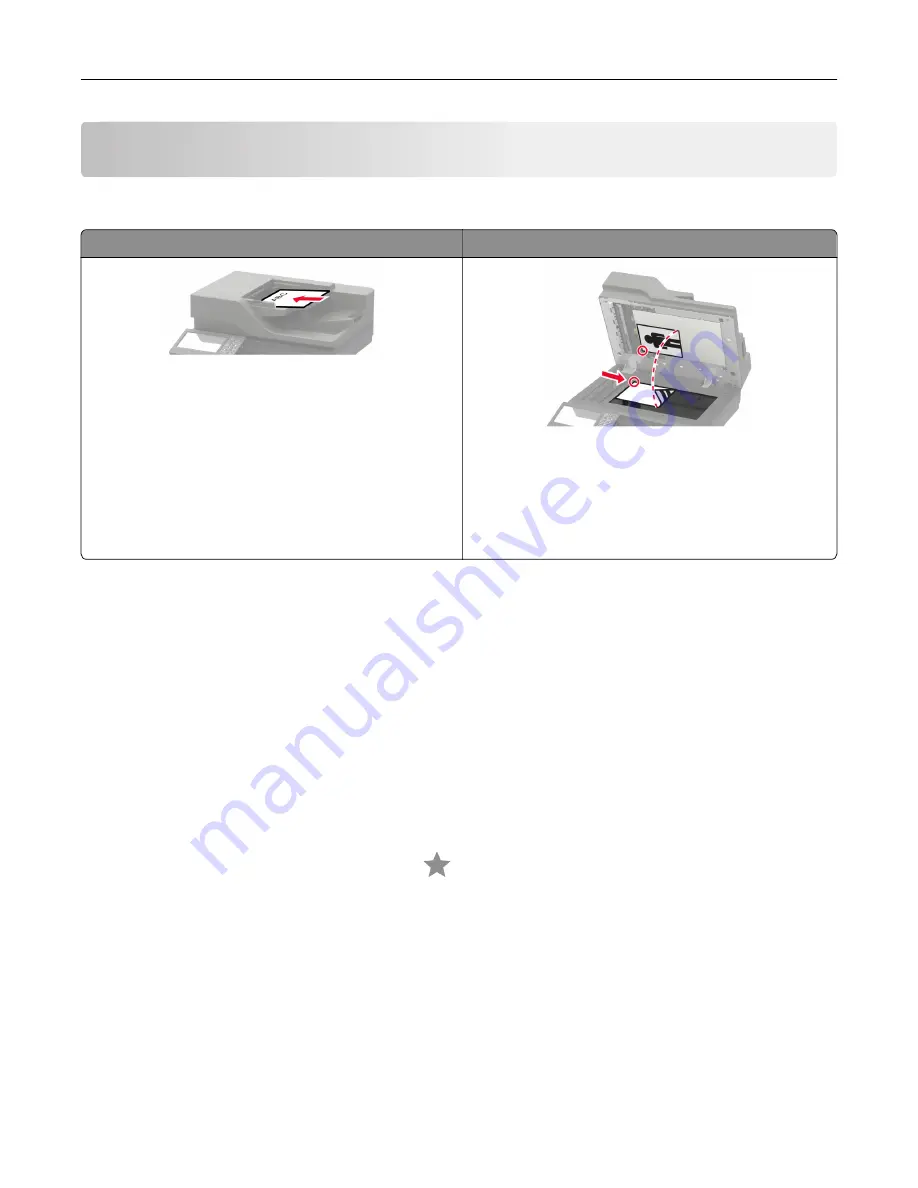
Automatic document feeder (ADF)
Scanner glass
•
Use the ADF for multiple
‑
page or two-sided
documents.
•
Load an original document faceup. For multiple
‑
page
documents, make sure to align the leading edge
before loading.
•
Make sure to adjust the ADF guides to match the width
of the paper that you are loading.
•
Use the scanner glass for single
‑
page documents,
book pages, small items (such as postcards or
photos), transparencies, photo paper, or thin media
(such as magazine clippings).
•
Place the document facedown in the corner with the
arrow.
Scanning to an FTP server
1
Load the original document into the ADF tray or on the scanner glass.
2
From the home screen, touch
FTP
, and then enter the needed information.
3
If necessary, configure other FTP settings.
4
Send the FTP job.
Creating an FTP shortcut
1
From the home screen, touch
FTP
.
2
Enter the FTP server address, and then touch
.
3
Create a shortcut.
Creating a network folder shortcut
1
Open a web browser, and then type the printer IP address in the address field.
Notes:
•
View the printer IP address on the printer home screen. The IP address appears as four sets of
numbers separated by periods, such as 123.123.123.123.
Scanning
57
Содержание XC4140
Страница 60: ...5 Touch Scan Here If necessary change the scan settings 6 Scan the document Scanning 60 ...
Страница 154: ...4 Insert the new toner cartridge 5 Close door B Replacing the imaging unit 1 Open door B Maintaining the printer 154 ...
Страница 155: ...2 Remove the waste toner bottle 3 Remove the imaging kit Maintaining the printer 155 ...
Страница 157: ...8 Insert the black toner cartridge 9 Insert the imaging kit Maintaining the printer 157 ...
Страница 158: ...10 Insert the waste toner bottle 11 Close door B Replacing the imaging kit 1 Open door B Maintaining the printer 158 ...
Страница 159: ...2 Remove the waste toner bottle 3 Remove the imaging kit Maintaining the printer 159 ...
Страница 161: ...8 Insert the toner cartridges 9 Insert the new imaging kit Maintaining the printer 161 ...
Страница 173: ...4 Insert the new ADF separator roller until it clicks into place 5 Close door E Maintaining the printer 173 ...
Страница 187: ...2 Remove the jammed paper Note Make sure that all paper fragments are removed Clearing jams 187 ...
Страница 189: ...2 Open the duplex cover 3 Remove the jammed paper Note Make sure that all paper fragments are removed Clearing jams 189 ...
Страница 190: ...4 Close the duplex cover and door A Clearing jams 190 ...
Страница 236: ...4 Insert the memory card until it clicks into place Upgrading and migrating 236 ...
Страница 239: ...5 ISP extended cable 4 Install the ISP into its housing Upgrading and migrating 239 ...
Страница 240: ...5 Attach the housing to the controller board access cover Upgrading and migrating 240 ...
Страница 246: ...5 Open door B 6 Open door C Upgrading and migrating 246 ...


