


Network
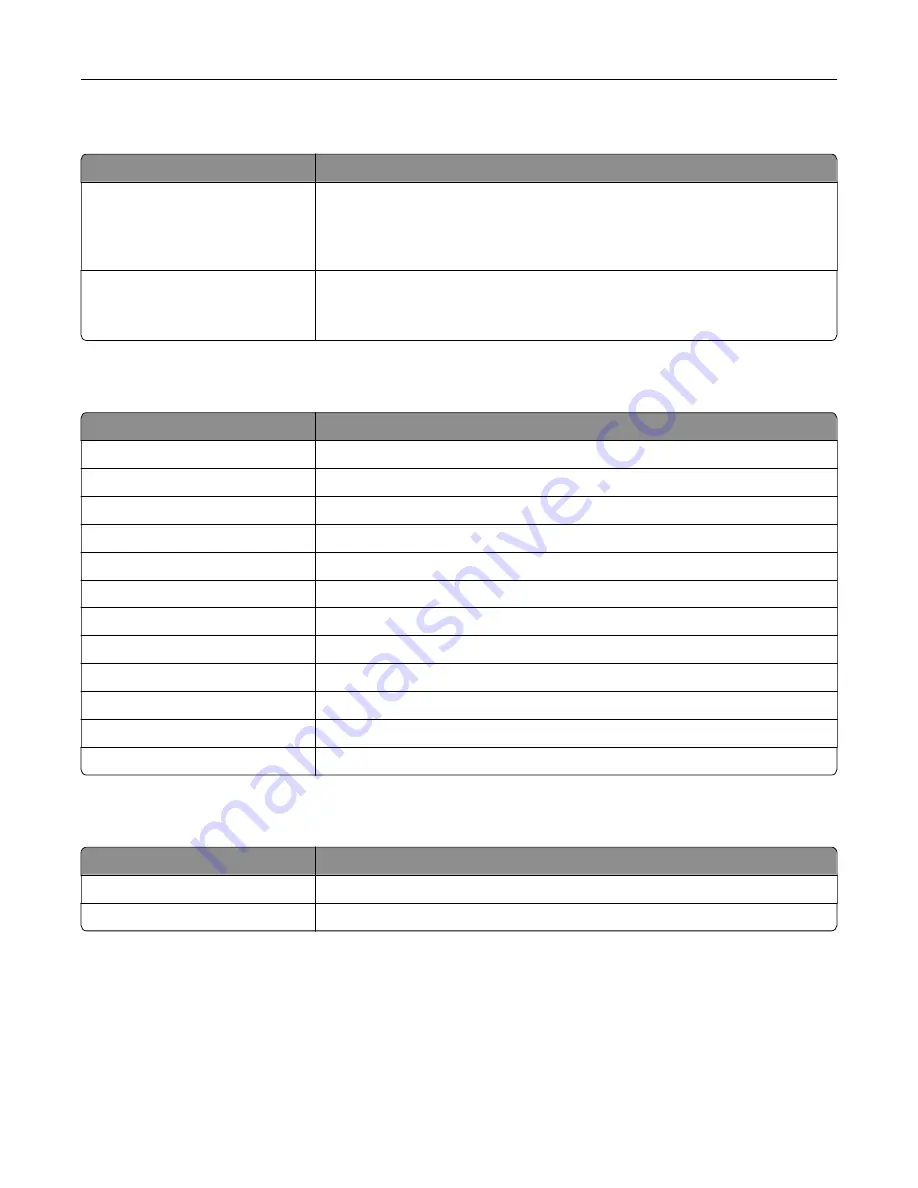
Menu item
Description
Network Setup Page
Print a page that shows the configured network and wireless settings on the
printer.
Note:
This menu item appears only in network printers or printers connected
to print servers.
Wi
‑
Fi Direct Connected Clients
Print a page that shows the list of devices that are connected to the printer using
Wi
‑
Fi Direct.
Note:
This menu item appears only when Enable Wi
‑
Fi Direct is set to On.
Help
Menu item
Description
Print All Guides
Prints all the guides
Color Quality Guide
Provides information about solving color quality issues
Connection Guide
Provides information about connecting the printer locally (USB) or to a network
Copy Guide
Provides information about making a copy and configuring the settings
E
‑
mail Guide
Provides information about sending an e
‑
mail and configuring the settings
Fax Guide
Provides information about sending a fax and configuring the settings
Information Guide
Provides information about the printer
Media Guide
Provides information about loading paper and specialty media
Moving Guide
Provides information about moving, locating, or shipping the printer
Print Quality Guide
Provides information about solving print quality issues
Scan Guide
Provides information about scanning a document and configuring the settings
Supplies Guide
Provides information about ordering supplies
Troubleshooting
Menu item
Description
Print Quality Test Pages
Print sample pages to identify and correct print quality defects.
Cleaning the Scanner
Print instructions on how to clean the scanner.
Printing the Menu Settings Page
From the home screen, touch
Settings
>
Reports
>
Menu Settings Page
.
Understanding the printer menus
140
Содержание XC4140
Страница 60: ...5 Touch Scan Here If necessary change the scan settings 6 Scan the document Scanning 60 ...
Страница 154: ...4 Insert the new toner cartridge 5 Close door B Replacing the imaging unit 1 Open door B Maintaining the printer 154 ...
Страница 155: ...2 Remove the waste toner bottle 3 Remove the imaging kit Maintaining the printer 155 ...
Страница 157: ...8 Insert the black toner cartridge 9 Insert the imaging kit Maintaining the printer 157 ...
Страница 158: ...10 Insert the waste toner bottle 11 Close door B Replacing the imaging kit 1 Open door B Maintaining the printer 158 ...
Страница 159: ...2 Remove the waste toner bottle 3 Remove the imaging kit Maintaining the printer 159 ...
Страница 161: ...8 Insert the toner cartridges 9 Insert the new imaging kit Maintaining the printer 161 ...
Страница 173: ...4 Insert the new ADF separator roller until it clicks into place 5 Close door E Maintaining the printer 173 ...
Страница 187: ...2 Remove the jammed paper Note Make sure that all paper fragments are removed Clearing jams 187 ...
Страница 189: ...2 Open the duplex cover 3 Remove the jammed paper Note Make sure that all paper fragments are removed Clearing jams 189 ...
Страница 190: ...4 Close the duplex cover and door A Clearing jams 190 ...
Страница 236: ...4 Insert the memory card until it clicks into place Upgrading and migrating 236 ...
Страница 239: ...5 ISP extended cable 4 Install the ISP into its housing Upgrading and migrating 239 ...
Страница 240: ...5 Attach the housing to the controller board access cover Upgrading and migrating 240 ...
Страница 246: ...5 Open door B 6 Open door C Upgrading and migrating 246 ...


