Warning—Potential Damage:
Use of third-party supplies or parts can affect warranty coverage.
Damage caused by the use of third-party supplies or parts may not be covered by the warranty.
To accept any and all of these risks and to proceed with the use of non-genuine supplies or parts in your
printer, do either of the following:
For touch
‑
screen printer models, press
twice, and then press
twice.
For non
‑
touch
‑
screen printer models, press and hold
X
and
simultaneously for 15 seconds.
If you do not want to accept these risks, then remove the third-party supply or part from your printer and
install a genuine Lexmark supply or part. For more information, see
“Using genuine Lexmark parts and
.
For touch
‑
screen printer models, if the printer does not print after pressing
twice, and then
pressing
twice, then reset the supply usage counter.
For non
‑
touch
‑
screen printer models, if the printer does not print after pressing and holding
X
and
simultaneously for 15 seconds, then reset the supply usage counter.
1
From the control panel, navigate to:
Settings
>
Device
>
Maintenance
>
Config Menu
>
Supply Usage And Counters
For non
‑
touch
‑
screen printer models, press
to navigate through the settings.
2
Select the part or supply that you want to reset.
3
To clear the message, do either of the following:
•
For touch
‑
screen printer models, press
twice, and then press
twice.
•
For non
‑
touch
‑
screen printer models, press and hold
X
and
simultaneously for 15 seconds.
Note:
If you are unable to reset the supply usage counters, then return the item to the place of
purchase.
Clearing jams
Avoiding jams
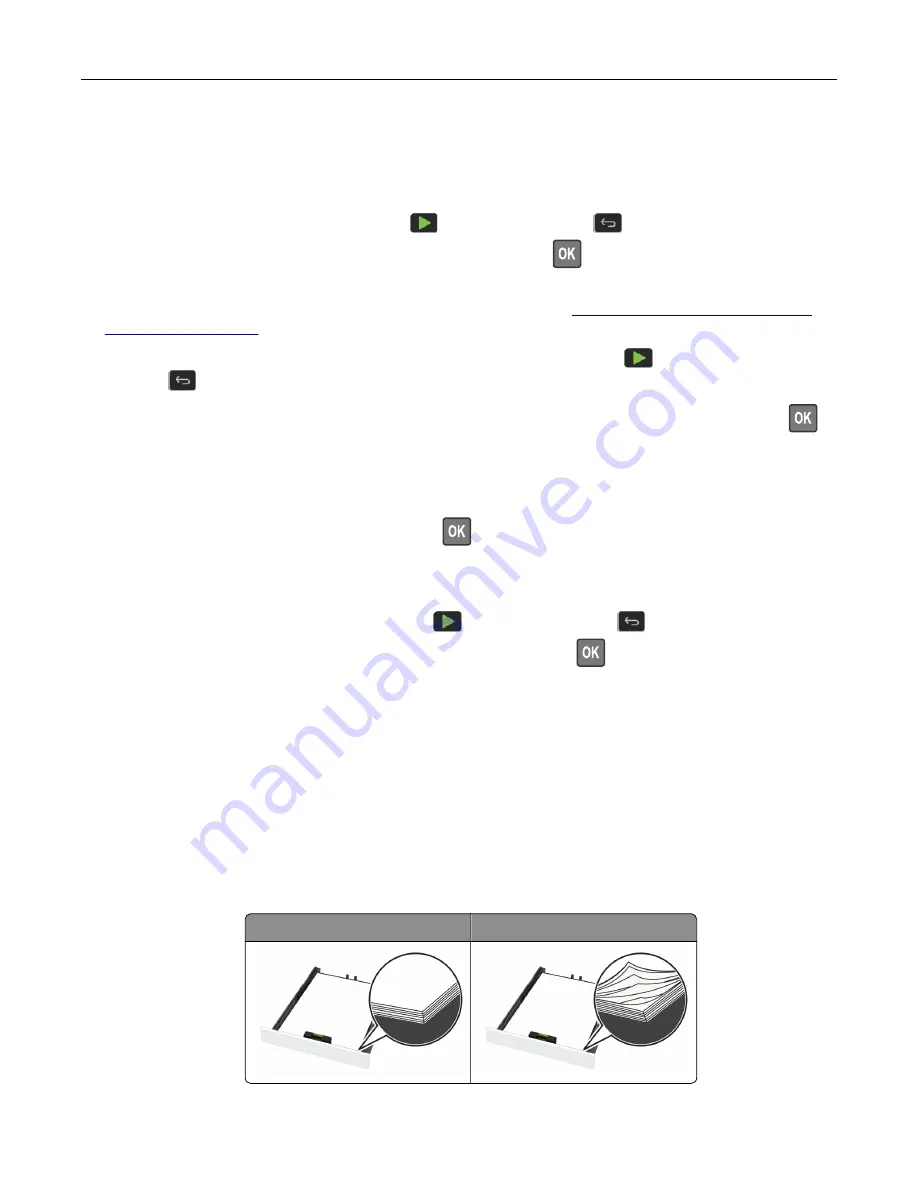
Load paper properly
•
Make sure that the paper lies flat in the tray.
Correct loading of paper
Incorrect loading of paper
•
Do not load or remove a tray while the printer is printing.
Troubleshoot a problem
198
Содержание XC2326
Страница 145: ...5 Insert the new print cartridge 6 Insert the print cartridge tray and then close the door Maintain the printer 145 ...
Страница 148: ...4 Insert the new manual feeder 5 Insert the tray Replacing the ADF tray 1 Open the ADF cover Maintain the printer 148 ...
Страница 149: ...2 Remove the used ADF tray 3 Unpack the new ADF tray Maintain the printer 149 ...
Страница 156: ...4 Insert the new separator pad until it clicks into place 5 Close the ADF cover Maintain the printer 156 ...
Страница 205: ...2 Lower the scanner Troubleshoot a problem 205 ...
Страница 208: ... Below the fuser area Duplex unit 3 Close the door Troubleshoot a problem 208 ...
Страница 254: ...Wi Fi Protected Setup wireless network 50 Index 254 ...


