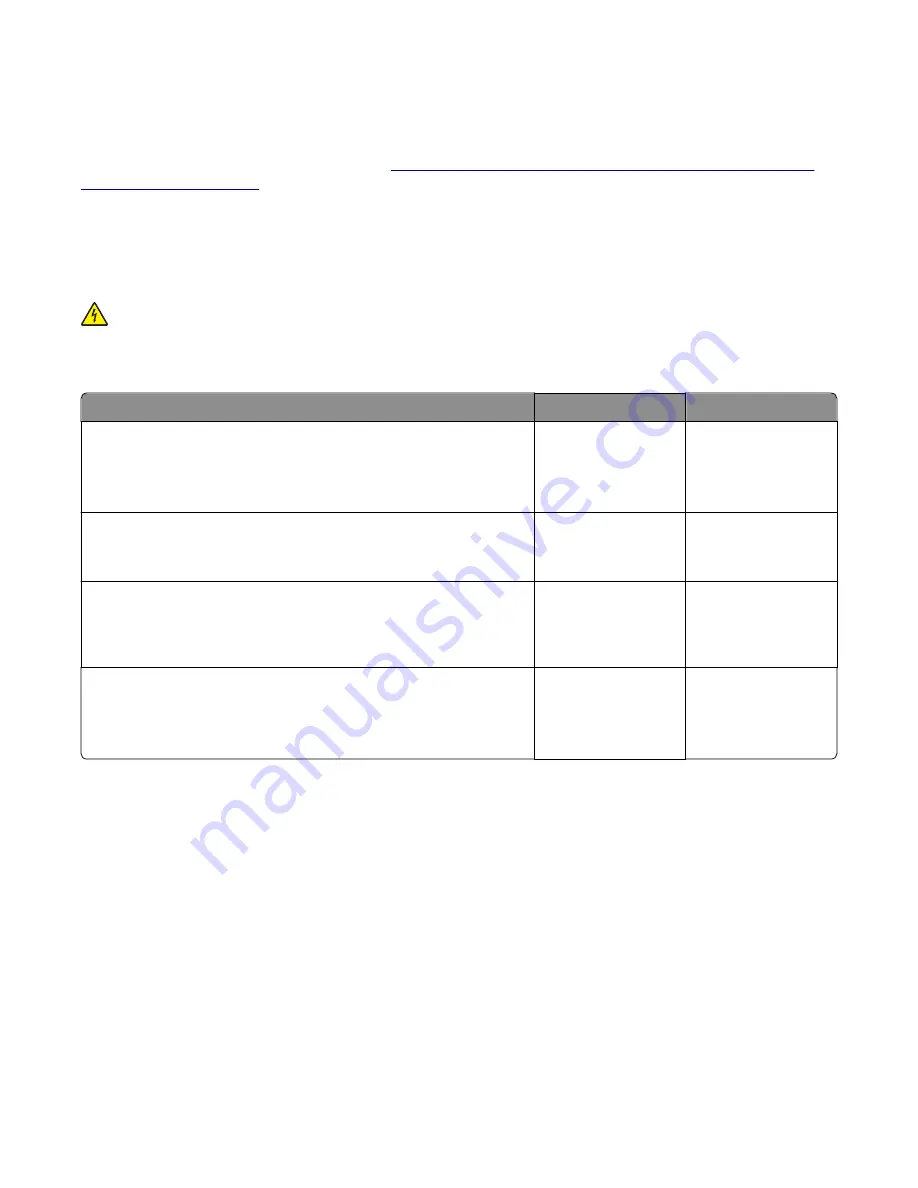
Dead printer service check
A dead printer is one which, when powered on from a known good electrical outlet, displays no indication of power to
the printer by changes to the LCD, LED, or any movement of the fan or motors. If the printer appears dead but makes
a
beeping
sound, check the operator panel. See
“Operator panel (displays all diamonds, no beeps, or five beeps)
If a 650-sheet Duo Drawer is installed, then remove the option and check the base printer for correct operation. If the
base printer operates correctly, replace the 650-sheet Duo Drawer.
Warning—Potential Damage:
Observe all necessary ESD precautions when removing and handling the controller
board or any installed option cards or assemblies.
CAUTION—SHOCK HAZARD:
When you see this symbol, there is a danger from hazardous voltage in the area of
the product where you are working. Unplug the product before you begin, or use caution if the product must
receive power to perform the task.
Note:
Remove any input paper-handling options from the printer.
Actions
Yes
No
Step 1
Check the AC power voltage.
Is the line voltage correct?
Go to step 2.
There may be issues
with the line voltage.
Inform the customer.
Step 2
Is the AC power cord damaged?
Replace the power
cord.
Go to step 3.
Step 3
Are the USB ground contacts attached to the USB connections on the
controller board and controller board cage?
Go to step 5.
Go to step 4.
Step 4
Install the USB ground contacts in the controller board.
Did this fix the problem?
Problem solved.
Go to step 5.
7527
Diagnostic information
121
Содержание XC2132
Страница 18: ...7527 18 ...
Страница 22: ...7527 22 ...
Страница 34: ...7527 34 ...
Страница 54: ...2 Open the top door 7527 Diagnostic information 54 ...
Страница 184: ...7527 184 ...
Страница 226: ...7527 226 ...
Страница 314: ...5 Disconnect the belt C 6 Disconnect the fan and remove 7527 Repair information 314 ...
Страница 317: ...3 Pull out the legs of the exit bail one at a time and lift to remove 7527 Repair information 317 ...
Страница 342: ...Dust cover removal 1 Slightly raise the dust cover 2 Pull the dust cover to remove 7527 Repair information 342 ...
Страница 344: ...Note Feel each rubber surface to verify it turns properly in the direction shown 7527 Repair information 344 ...
Страница 345: ...Component locations Controller board CX310 models 7527 Component locations 345 ...
Страница 346: ...CX410 models 7527 Component locations 346 ...
Страница 352: ...7527 352 ...
Страница 359: ...7527 359 ...
Страница 361: ...Assembly 1 Covers 7527 Parts catalog 361 ...
Страница 363: ...Assembly 2 Scanner 7527 Parts catalog 363 ...
Страница 365: ...Assembly 3 Paperpath 7527 Parts catalog 365 ...
Страница 368: ...7527 Parts catalog 368 ...
Страница 369: ...Assembly 4 Operator panels 7527 Parts catalog 369 ...
Страница 372: ...7527 Parts catalog 372 ...
Страница 373: ...Assembly 5 Electronics 7527 Parts catalog 373 ...
Страница 376: ...7527 Parts catalog 376 ...
Страница 377: ...Assembly 6 Cables and sensors 7527 Parts catalog 377 ...
Страница 379: ...Assembly 7 Media drawers and trays 7527 Parts catalog 379 ...
Страница 382: ...7527 382 ...
Страница 390: ...7527 390 ...
Страница 404: ...7527 404 ...
Страница 422: ...7527 Part number index 422 ...
Страница 428: ...7527 Part name index 428 ...


