Action
Yes
No
Step 2
Fix slow printing problems. For more information, see
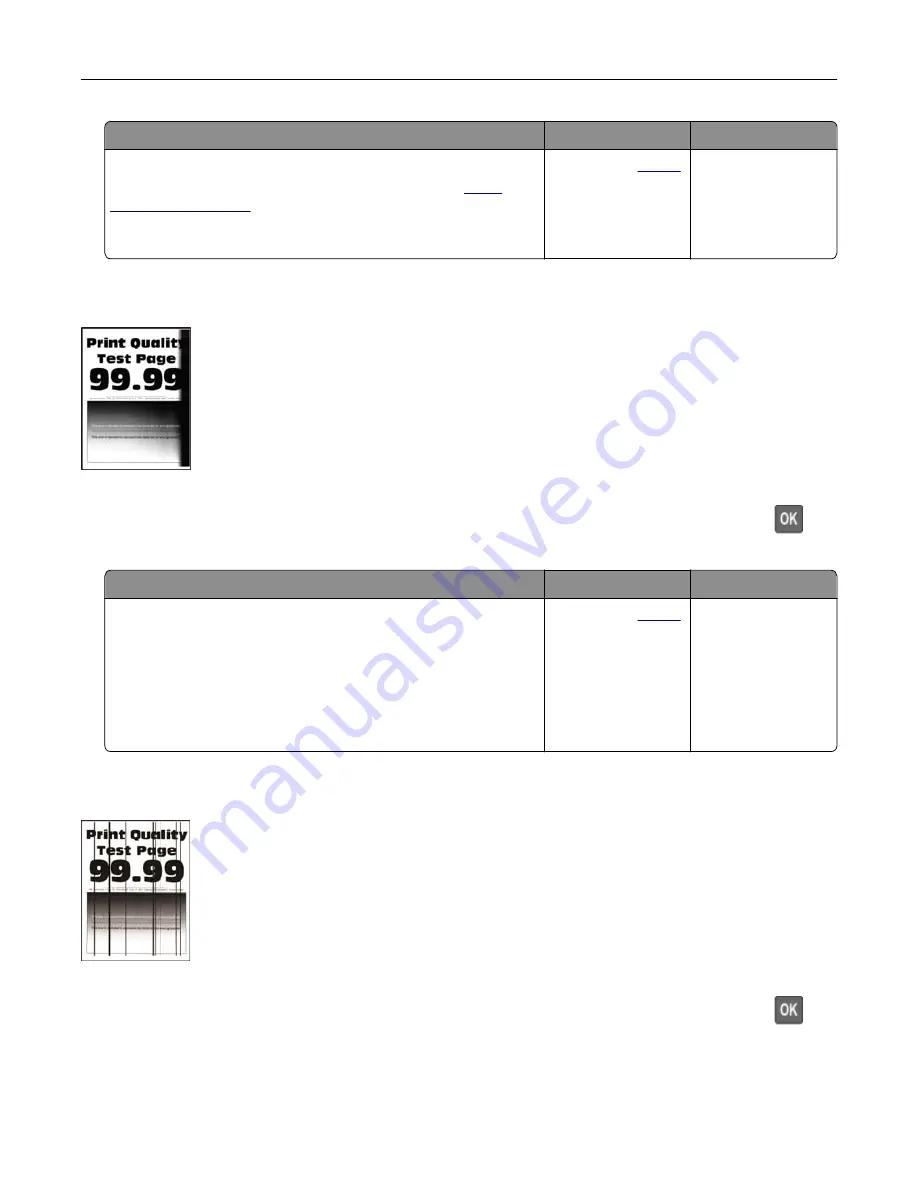
Do vertical white lines appear on prints?
Contact your
. The problem is
solved.
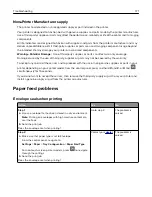
Vertical dark bands
Note:
Before solving the problem, print the Print Quality Test Pages. From the control panel, navigate to
Settings
>
Troubleshooting
>
Print Quality Test Pages
. For non
‑
touch
‑
screen printer models, press
to
navigate through the settings.
Action
Yes
No
a
Check if the printer is using a genuine and supported toner
cartridge.
Note:
If the toner cartridge is not supported, then install a
supported one.
b
Print the document.
Do vertical dark bands appear on prints?
Contact your
. The problem is
solved.
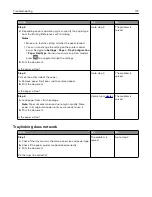
Vertical dark lines or streaks
Note:
Before solving the problem, print the Print Quality Test Pages. From the control panel, navigate to
Settings
>
Troubleshooting
>
Print Quality Test Pages
. For non
‑
touch
‑
screen printer models, press
to
navigate through the settings.
Troubleshooting
160
Содержание MX-B557P
Страница 1: ...LASER PRINTER MX B557P MX B707P User s Guide October 2021 Machine type 4064 Models 29H 69H ...
Страница 5: ...Upgrading and migrating 176 Hardware 176 Software 200 Firmware 202 Notices 204 Index 213 Contents 5 ...
Страница 90: ...For non touch screen printer models press to navigate through the settings Understanding the printer menus 90 ...
Страница 103: ...5 Insert the pick roller 6 Close the multipurpose feeder 7 Turn on the printer Maintaining the printer 103 ...
Страница 109: ...2 Unlock the fuser 3 Remove the used fuser 4 Unpack the new fuser Maintaining the printer 109 ...
Страница 110: ...5 Insert the new fuser until it clicks into place 6 Lock the fuser 7 Close the door Maintaining the printer 110 ...
Страница 114: ...3 Remove the used hot roll fuser wiper Maintaining the printer 114 ...
Страница 120: ...2 Remove the used pick roller 3 Unpack the new pick roller Maintaining the printer 120 ...
Страница 121: ...4 Install the new pick roller 5 Close the multipurpose feeder Maintaining the printer 121 ...
Страница 142: ...2 Remove the staple cartridge holder 3 Remove the loose staples Clearing jams 142 ...
Страница 146: ...5 Insert the staple cartridge holder until it clicks into place 6 Close the door Clearing jams 146 ...
Страница 193: ...b Insert the tabs of the guide bar into the output expander Upgrading and migrating 193 ...


