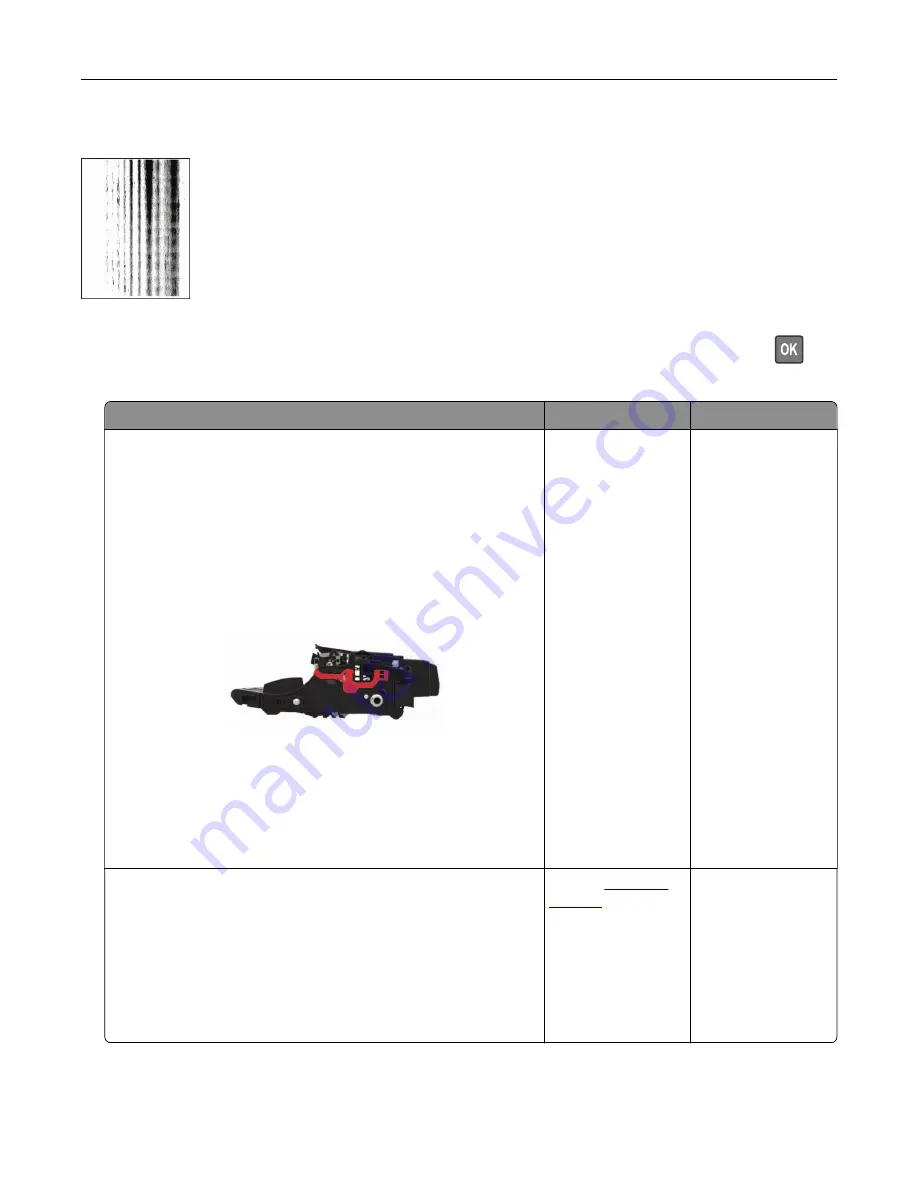
Vertical dark streaks with print missing
Note:
Before solving the problem, print the Print Quality Test Pages. From the control panel, navigate to
Settings
>
Troubleshooting
>
Print Quality Test Pages
. For non
‑
touch
‑
screen printer models, press
to
navigate through the settings.
Action
Yes
No
Step 1
a
Remove the imaging unit.
Warning—Potential Damage:
Do not expose the imaging unit
to direct light for more than 10 minutes. Extended exposure
to light may cause print quality problems.
Warning—Potential Damage:
Do not touch the
photoconductor drum under the imaging unit. Doing so may
affect the quality of future print jobs.
b
Remove any packing material that is stuck on the imaging unit.
Note:
Make sure to remove any obstruction between the
charge roller and photoconductor drum.
c
Insert the imaging unit.
d
Print the document.
Do vertical dark streaks with missing images appear on prints?
Go to step 2.
The problem is
solved.
Step 2
a
Check if the printer is using a genuine and supported Lexmark
toner cartridge.
Note:
If the toner cartridge is not supported, then install a
supported one.
b
Print the document.
Do vertical dark streaks with missing images appear on prints?
Contact
The problem is
solved.
Troubleshooting
146
Содержание M3250
Страница 1: ...M3250 MS622 User s Guide April 2018 www lexmark com Machine type s 4600 Model s 835 895 ...
Страница 5: ...Notices 171 Index 183 Contents 5 ...
Страница 97: ...4 Remove the used pick tires one after the other 5 Unpack the new pick tires Maintaining the printer 97 ...
Страница 99: ...4 Remove the tray insert and then flip the tray base Maintaining the printer 99 ...
Страница 100: ...5 Remove the used pick roller assembly 6 Unpack the new pick roller assembly Maintaining the printer 100 ...
Страница 101: ...7 Insert the new pick roller assembly 8 Flip the tray base and then insert the tray insert Maintaining the printer 101 ...
Страница 107: ...Jam location 1 Standard bin 2 Rear door 3 Tray x 4 Multipurpose feeder 5 Door A Clearing jams 107 ...
Страница 108: ...Paper jam in door A 1 Remove the tray 2 Open door A 3 Remove the toner cartridge Clearing jams 108 ...
Страница 115: ...3 Flex fan and align the paper edges before loading 4 Reload paper and then adjust the paper guide Clearing jams 115 ...
Страница 163: ...7 Attach the ISP kit to the printer Upgrading and migrating 163 ...
Страница 165: ...b Connect the ISP extended cable to the ISP connector Upgrading and migrating 165 ...
Страница 166: ...c Install the hard disk Upgrading and migrating 166 ...


