


What are you looking for?
Find it here
The latest supplemental information, updates, and customer
support:
•
Documentation
•
Driver downloads
•
Live chat support
•
E
‑
mail support
•
Voice support
Go to
Note:
Select your country or region, and then
select your product to view the appropriate
support site.
Support contact information for your country or
region can be found on the website or on the
printed warranty that came with the printer.
Have the following information ready when you
contact customer support:
•
Place and date of purchase
•
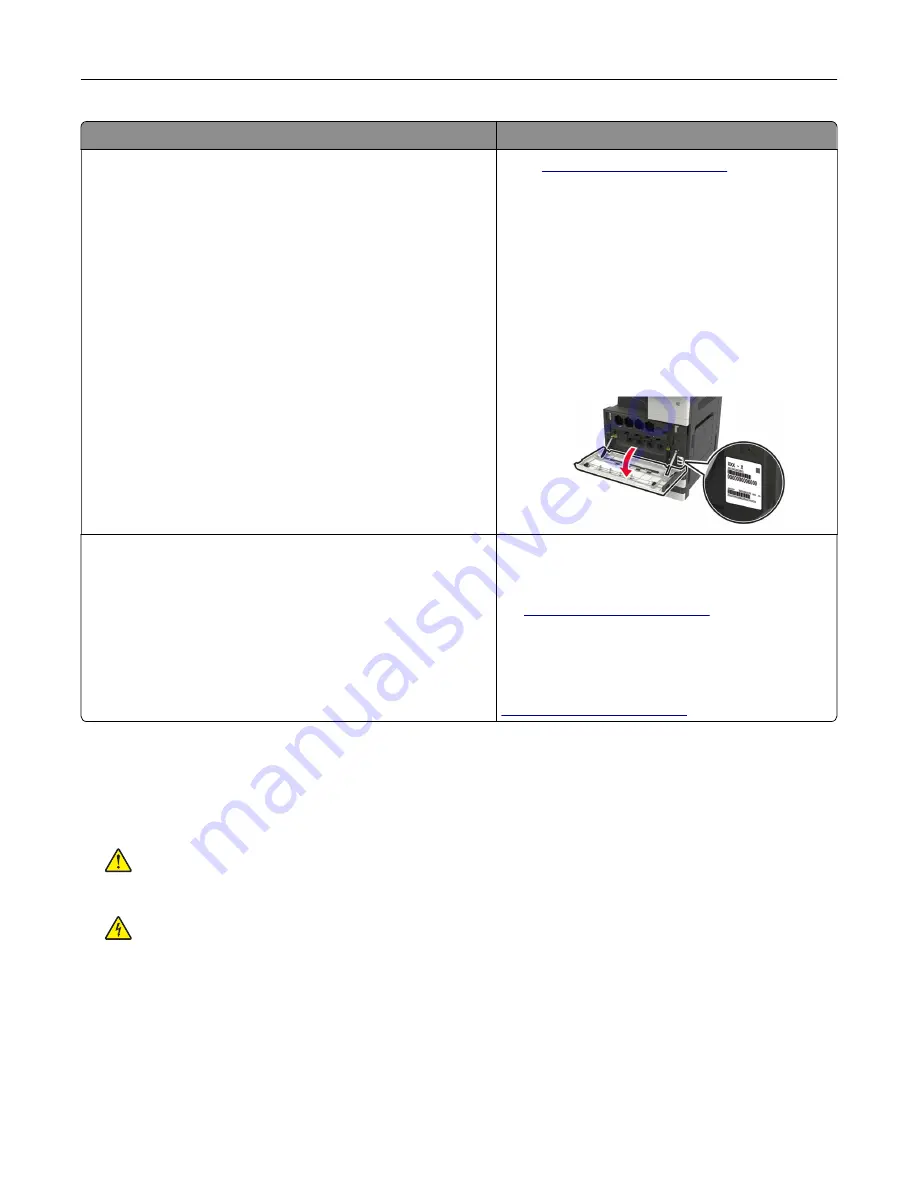
Machine type and serial number
•
Safety information
•
Regulatory information
•
Warranty information
•
Environmental information
Warranty information varies by country or region:
•
In the U.S.
—See the Statement of Limited
Warranty included with the printer, or go to
•
In other countries and regions
—See the
printed warranty that came with the printer.
Product Information Guide
—See the
documentation that came with the printer or go to
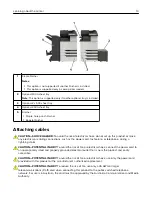
Selecting a location for the printer
•
Leave enough room to open trays, covers, and doors and to install hardware options.
•
Set up the printer near an electrical outlet.
CAUTION—POTENTIAL INJURY:
To avoid the risk of fire or electrical shock, connect the power cord
to an appropriately rated and properly grounded electrical outlet that is near the product and easily
accessible.
CAUTION—SHOCK HAZARD:
To avoid the risk of electrical shock, do not place or use this product
near water or wet locations.
•
Make sure that airflow in the room meets the latest revision of the ASHRAE 62 standard or the CEN Technical
Committee 156 standard.
•
Provide a flat, sturdy, and stable surface.
•
Keep the printer:
–
Clean, dry, and free of dust
–
Away from stray staples and paper clips
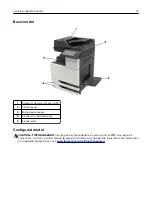
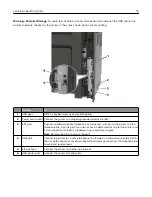
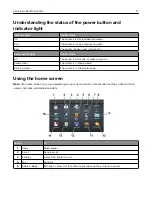
Learning about the printer
11
Содержание CX920
Страница 164: ... Scanner glass Scanner glass pad 3 Close the scanner cover Maintaining the printer 164 ...
Страница 167: ...2 Remove and then empty the hole punch box 3 Insert the hole punch box 4 Close the door Maintaining the printer 167 ...
Страница 172: ...5 Insert the new toner cartridge 6 Remove the waste toner bottle Maintaining the printer 172 ...
Страница 177: ...8 Insert the waste toner bottle and then close the door Maintaining the printer 177 ...
Страница 189: ...Replacing the ADF separator roller 1 Turn off the printer 2 Remove the ADF separator pad Maintaining the printer 189 ...
Страница 192: ...2 Open door B 3 Remove the ADF pick and feed rollers 4 Unpack the new pick and feed rollers Maintaining the printer 192 ...
Страница 194: ...2 Remove the empty staple cartridge 3 Unpack the new staple cartridge Maintaining the printer 194 ...
Страница 207: ... Below the fuser area Duplex area Clearing jams 207 ...
Страница 212: ...2 Open door J Clearing jams 212 ...
Страница 214: ... Areas H1 and H2 Area H6 Clearing jams 214 ...
Страница 218: ...2 Remove the staple cartridge holder 3 Remove the loose staples Clearing jams 218 ...
Страница 220: ...2 Remove the staple cartridge holder 3 Remove the loose staples Clearing jams 220 ...
Страница 222: ...2 Remove the staple cartridge holder 3 Remove the loose staples Clearing jams 222 ...
Страница 272: ...6 Remove the controller board shield 7 Unpack the printer hard disk Upgrading and migrating 272 ...
Страница 276: ...6 Remove the controller board shield Upgrading and migrating 276 ...
Страница 279: ...4 Remove the controller board shield Upgrading and migrating 279 ...
Страница 281: ...8 Attach the thumbscrews 9 Connect the wireless print server to the controller board Upgrading and migrating 281 ...
Страница 285: ...7 Connect the tray connector to the printer 8 Open trays 2 and 3 Upgrading and migrating 285 ...
Страница 290: ...9 Remove the stabilizing feet from the tray Upgrading and migrating 290 ...
Страница 294: ...17 Secure the tray cable with the clamp Upgrading and migrating 294 ...
Страница 295: ...18 Connect the tray cable to the printer 19 Attach the tray cable cover Upgrading and migrating 295 ...
Страница 296: ...20 Slide the tray until it clicks into place 21 Attach the stabilizing feet to the printer Upgrading and migrating 296 ...
Страница 301: ...7 Remove the paper guides 8 Attach the sensor cover Upgrading and migrating 301 ...
Страница 307: ...8 Attach the finisher to the printer Upgrading and migrating 307 ...


