Action
Yes
No
Step 2
a
From the home screen, touch
Settings
>
Paper
>
Tray
Configuration
>
Paper Size/Type
.
b
Set the paper size and type to match the paper loaded in the
linked trays.
c
Print the document.
Do the trays link correctly?
The problem is
solved.
Contact
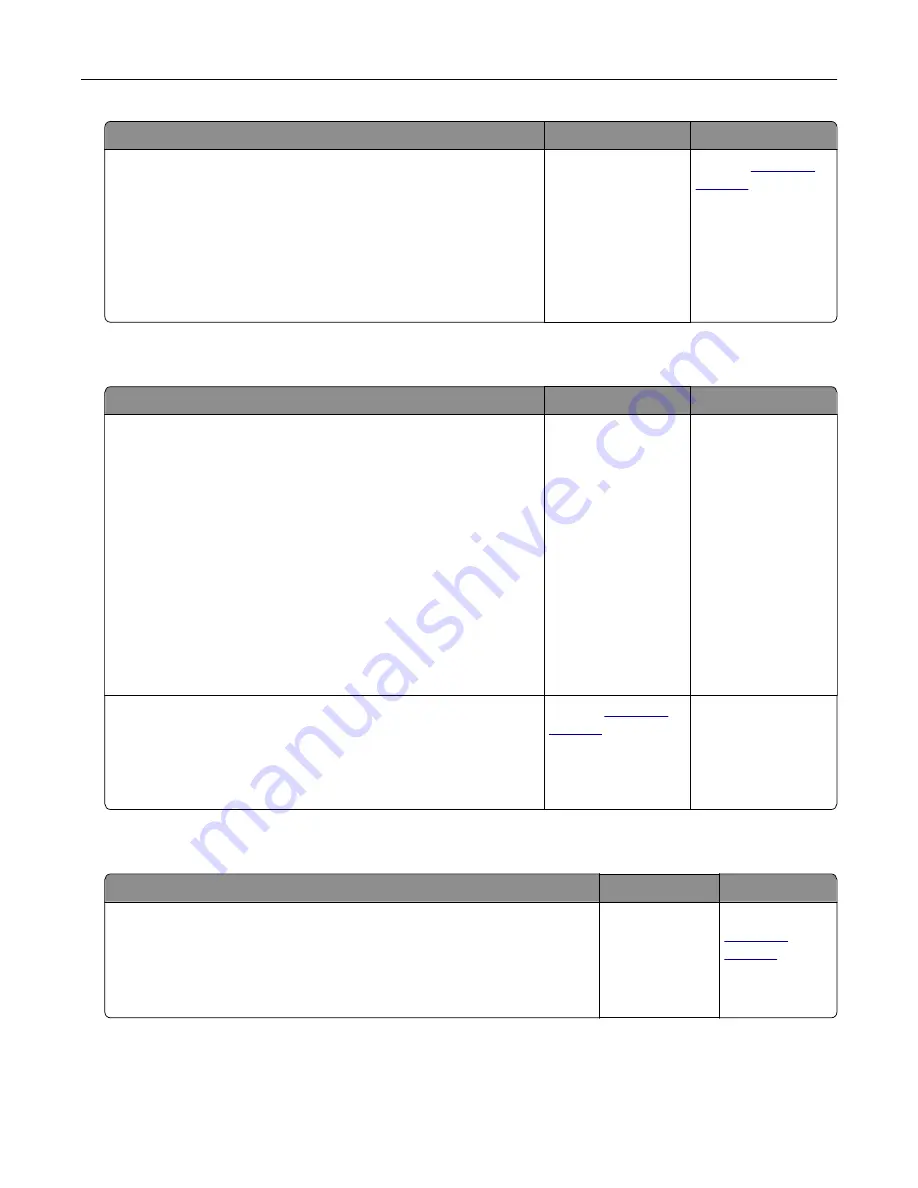
Paper frequently jams
Action
Yes
No
Step 1
a
Pull out the tray.
b
Check if the paper is loaded correctly.
Notes:
•
Make sure that the paper guides are positioned correctly.
•
Make sure that the stack height is below the maximum
paper fill indicator.
•
Make sure to print on recommended paper size and type.
c
Insert the tray.
d
Print the document.
Do paper jams still occur frequently?
Go to step 2.
The problem is
solved.
Step 2
a
Load paper from a fresh package.
b
Print the document.
Do paper jams still occur frequently?
Contact
The problem is
solved.
Jammed pages are not reprinted
Action
Yes
No
1
From the home screen, touch
Settings
>
Notifications
>
Jam Content
Recovery
.
2
From the Jam Recovery menu, select
On
or
Auto
.
3
Apply the changes.
Are the jammed pages reprinted?
The problem is
solved.
Contact
.
Troubleshooting
136
Содержание CX820 Series
Страница 1: ...XC8100 Series User s Guide March 2016 www lexmark com Machine type s 7564 Model s 596 598 ...
Страница 60: ...2 Remove and empty the hole punch box 3 Insert the hole punch box 4 Close door J Maintaining the printer 60 ...
Страница 64: ...2 Open door A 3 Remove the waste toner bottle Maintaining the printer 64 ...
Страница 69: ...2 Open door A 3 Remove the waste toner bottle Maintaining the printer 69 ...
Страница 72: ...2 Open door A 3 Remove the waste toner bottle Maintaining the printer 72 ...
Страница 76: ...3 Remove the pick roller 4 Unpack the new pick roller Maintaining the printer 76 ...
Страница 83: ...4 Remove the waste toner bottle 5 Open door A1 6 Remove the transfer belt Maintaining the printer 83 ...
Страница 93: ...2 Open door G 3 Remove the staple cartridge 4 Unpack the new staple cartridge Maintaining the printer 93 ...
Страница 95: ...2 Open door G 3 Pull out the staple cartridge holder Maintaining the printer 95 ...
Страница 113: ...2 Remove the jammed paper Note Make sure that all paper fragments are removed Clearing jams 113 ...
Страница 119: ...2 Open door G 3 Pull out the staple cartridge holder Clearing jams 119 ...
Страница 123: ... Area J1 Areas J3 and J4 Areas J5 and J6 3 Close door J Clearing jams 123 ...
Страница 127: ...Staple jam in door J 1 Open door J 2 Remove the staple cartridge holder Clearing jams 127 ...
Страница 129: ...5 Insert the staple cartridge holder 6 Close door J Clearing jams 129 ...
Страница 179: ...Installing the staple finisher 1 Turn off the printer 2 Open door C 3 Remove the paper bail Upgrading and migrating 179 ...
Страница 182: ...4 Open the covers at the right side of the caster base 5 Open door C Upgrading and migrating 182 ...


