background image


Setup Guide

June 2003

www.lexmark.com

Lexmark and Lexmark with diamond design are trademarks of Lexmark 
International, Inc., registered in the United States and/or other countries.
© 2003 Lexmark International, Inc.
740 West New Circle Road
Lexington, Kentucky 40550


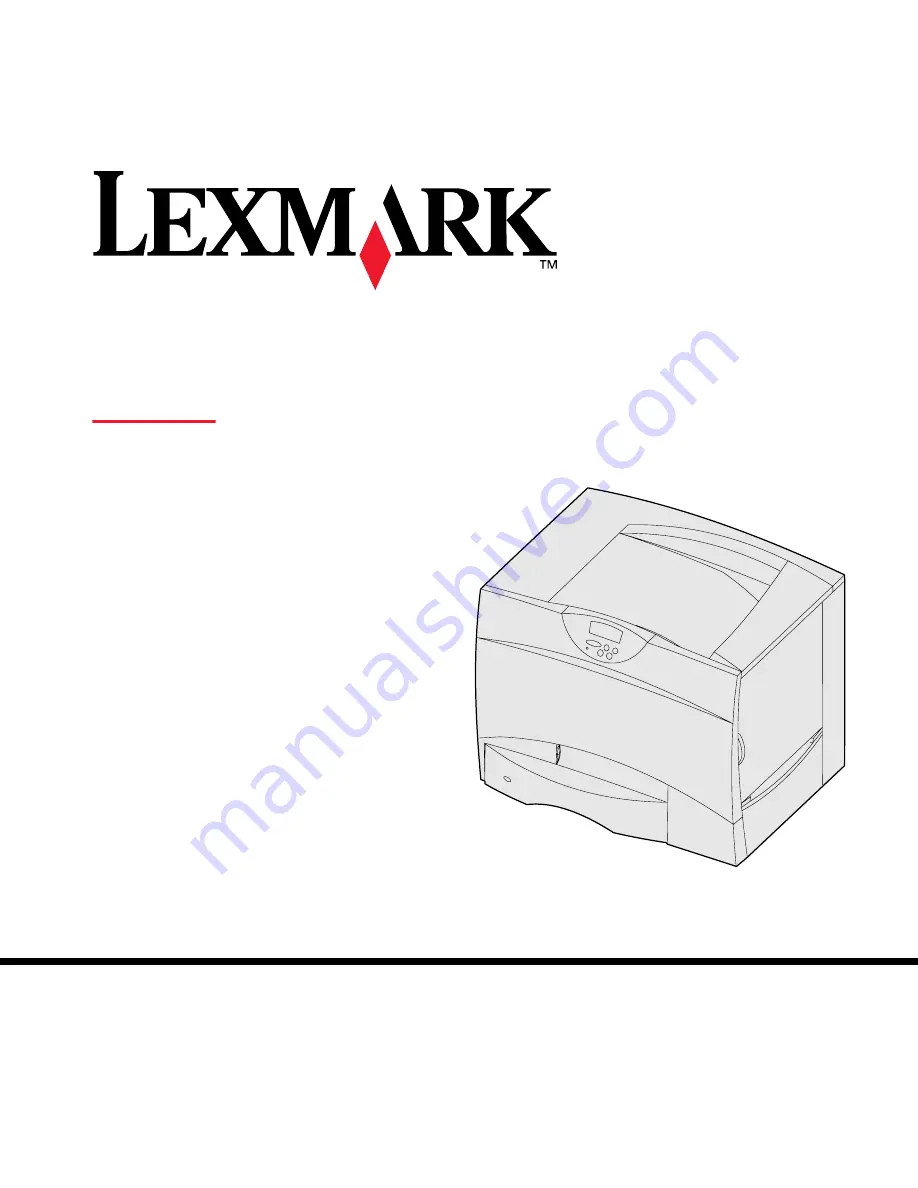
C752

Содержание 752e - X MFP Color Laser

Страница 1: ...rk com Lexmark and Lexmark with diamond design are trademarks of Lexmark International Inc registered in the United States and or other countries 2003 Lexmark International Inc 740 West New Circle Roa...

Страница 2: ......

Страница 3: ...English...

Страница 4: ...mmands Other trademarks are the property of their respective owners 2003 Lexmark International Inc All rights reserved UNITED STATES GOVERNMENT RIGHTS This software and any accompanying documentation...

Страница 5: ...plex unit 7 Positioning the printer 8 Installing an output expander 10 Installing a 5 bin mailbox 12 Step 3 Set up the print supplies 14 Setting up the print cartridges 14 Attaching an adhesive operat...

Страница 6: ...indows 45 Macintosh 49 UNIX Linux 51 Step 8 Verify printer setup 52 Printing a menu settings page 52 Printing a network setup page 53 Printing Quick Reference information 53 Step 9 Configure for TCP I...

Страница 7: ...n mailbox see Page 12 Printer see Page 8 Duplex unit see Page 7 2000 sheet drawer see Page 4 or 500 sheet drawer see Page 6 Lexmark C752 base model 1200 dots per inch dpi resolution 128MB of standard...

Страница 8: ...ling maintenance kits and troubleshooting It also provides general information for administrators In addition the publications CD contains copies of the printer s Quick Reference pages The information...

Страница 9: ...th your printer Quick Reference and Clearing Jams sheets The Quick Reference card and Clearing Jams sheets provide easy access to information about loading print media understanding common printer mes...

Страница 10: ...be set up first Unpacking CAUTION The printer weighs 47 7 kg 105 lb and requires at least two people to lift it safely 1 Select a location for your Lexmark C752 printer Leave enough room to open the p...

Страница 11: ...items Printer with one 500 sheet tray Power cord Four print cartridges preinstalled Setup Guide with a publications CD Quick Reference and Clearing Jams sheets Drivers CD If any items are missing or d...

Страница 12: ...page 8 Note Be sure to set up the items in the order listed in the table Use the following table to locate the instructions you need to set up your printer and any paper handling options you may have...

Страница 13: ...r 1 Unpack the 2000 sheet drawer and remove any packing material 2 Place the drawer in the location you have chosen for your printer 3 If you are installing a 500 sheet drawer on top of the 2000 sheet...

Страница 14: ...4 Adjust the four leveling feet on the bottom of the drawer if necessary 5 Continue with Installing a 500 sheet drawer on page 6 or Positioning the printer on page 8 Note You will install the power co...

Страница 15: ...cation you have chosen for your printer or install it on another drawer a Align the holes in the 500 sheet drawer with the positioning posts on the lower drawer b Lower the 500 sheet drawer into place...

Страница 16: ...nstall a 500 sheet drawer between the duplex unit and the 2000 sheet drawer 1 Unpack the duplex unit and remove any packing material 2 Place the duplex unit in the location you have chosen for your pr...

Страница 17: ...ocation and set up any optional drawers or a duplex unit you are ready to position the printer CAUTION The printer weighs 47 7 kg 105 lb and requires at least two people to lift it safely 1 Have someo...

Страница 18: ...ional drawer or a duplex unit align the positioning posts on the option with the holes in the printer Make sure the printer is seated securely on the option 3 Remove any tape or packing material from...

Страница 19: ...the mounting brackets could damage tabletops or fabrics 1 Unpack the output expander and remove any packing material 2 Remove the printer top cover Warning The output expander tray is designed to hol...

Страница 20: ...up the printer and paper handling options 5 Attach the printer top cover to the output expander 6 Attach the output expander paper bail to the top cover 7 Go to Step 3 Set up the print supplies on pa...

Страница 21: ...ely Otherwise the edges of the mounting brackets could damage tabletops or fabrics 1 Unpack the mailbox and remove any packing material 2 Remove the printer top cover Warning The mailbox is designed t...

Страница 22: ...13 Set up the printer and paper handling options 5 Attach the printer top cover to the mailbox 6 Attach the mailbox paper bail to the top cover...

Страница 23: ...pplies Warning Be sure to remove all packing materials or the printer may be damaged This step describes how to prepare the print cartridges and remove the packing materials inside the printer Setting...

Страница 24: ...the cartridges 3 Remove the print cartridges For each cartridge a Pull up slightly on the handhold b Pull the cartridge straight out and use the handle to lift it off the guides c Set the cartridge o...

Страница 25: ...transfer unit belt a Grasp the detensioner located on the right side on the inside of the machine b Gently but firmly pull the detensioner and the attached sheet up and out of the printer Warning Do n...

Страница 26: ...distribute the toner b Turn the cartridge over so that the handle is on the bottom Warning Failure to remove the packing material from the print cartridges damages the printer c Remove the plastic pac...

Страница 27: ...of the print cartridge e Holding the cartridge by the handle rest the spokes on the cartridge on top of the guides inside the printer Be sure to match the cartridge color with the colored label in th...

Страница 28: ...lay If English is not your preferred language and your printer shipped with an adhesive operator panel overlay attach the overlay that has the appropriately translated button names 1 Locate the adhesi...

Страница 29: ...nt supplies Refer to the publications CD for instructions on changing the language of the text displayed on the operator panel What do I do next Task Go to page Install memory firmware or option cards...

Страница 30: ...me after setting up the printer turn the printer off and unplug the power cord before continuing The instructions in this section help you install any of the following Memory cards Printer memory Firm...

Страница 31: ...ystem board access cover 1 Locate the access cover on the back of the printer 2 Remove the four access cover screws two at top two at bottom 3 Remove the access cover 4 Use the illustration on Page 23...

Страница 32: ...e the following table to locate the instructions you need Hard disk connector Option card connector Firmware and flash memory card connectors Memory card connector To install a Go to page Memory card...

Страница 33: ...you touch a card 2 Unpack the memory card Avoid touching the connection points along the edge of the card Save the packaging 3 Push open the latches on both ends of the memory connector 4 Align the n...

Страница 34: ...y Touch something metal on the printer before you touch a card 1 Remove the system board access cover see Page 22 2 Unpack the card Avoid touching the metal pins on the bottom of the card Save the pac...

Страница 35: ...disk If an option card has been installed you may need to remove it before installing the hard disk 1 Remove the system board access cover see Page 22 2 Remove the mounting plate hard disk ribbon cab...

Страница 36: ...the connector on the system board 8 Flip the hard disk over and then press the three posts on the mounting plate into the holes on the system board The hard disk snaps into place What do I do now Task...

Страница 37: ...or slot and then lift the plate off Save the screw Warning Option cards are easily damaged by static electricity Touch something metal on the printer before you touch an option card 3 Unpack the optio...

Страница 38: ...the option card with the connector on the system board The cable connectors on the side of the option card must fit through the connector slot 5 Push the option card firmly into the option card connec...

Страница 39: ...ews at the top of the cover 3 Insert and tighten the four screws to the bottom of the cover If you installed a firmware card in your printer see the following section for information about applying th...

Страница 40: ...heets of 20 lb paper 34 Multipurpose feeder Letter A4 A5 Legal Executive JIS B5 Folio Statement Universalb c Paper transparencies labels card stock 100 sheets of 20 lb paper 75 transparenciese 40 shee...

Страница 41: ...ays while a print job is printing It could damage the tray or the printer 1 Remove the tray 2 Squeeze the front guide lever and slide the guide to the front of the tray 3 Squeeze the side guide lever...

Страница 42: ...t the back left corner of the tray print side down Do not load bent or wrinkled paper Note Do not exceed the maximum stack height indicated on the front guide Overfilling the tray may cause jams 6 Squ...

Страница 43: ...ese instructions to load a 2000 sheet tray Do not load any print media other than paper in the 2000 sheet tray 1 Pull open the tray 2 Squeeze the side guide lever lift the guide and place it into the...

Страница 44: ...size paper you are loading 4 Slide the bottom support toward the front of the tray until it touches the front guide 5 Flex the sheets back and forth to loosen them and then fan them Do not fold or cre...

Страница 45: ...the tray may cause jams Loading the multipurpose feeder You can use the multipurpose feeder one of two ways Paper tray As a paper tray you can load paper in the feeder with the intention of leaving it...

Страница 46: ...ultipurpose feeder 2 Squeeze the paper guide lever and slide the guide all the way toward the front of the printer 3 Flex the sheets back and forth to loosen them and then fan them Do not fold or crea...

Страница 47: ...cialty media print side up along the left side of the multipurpose feeder and then push it in as far as it will easily go Do not force the paper or specialty media Note Do not exceed the maximum stack...

Страница 48: ...ll models Windows 98 SE Windows Me Windows 2000 Windows XP and Windows Server 2003 operating systems support USB connections Some UNIX Linux and Macintosh computers also support USB connections Refer...

Страница 49: ...ck of the drawer and then plug the drawer s cord into a properly grounded outlet 3 Turn on your printer After the printer completes its internal tests the Ready message indicates that the printer is r...

Страница 50: ...l printing on page 44 Serial If you have installed an optional Serial Interface Card you can locally attach the printer with a serial cable With serial printing data is transferred one bit at a time A...

Страница 51: ...to a LAN drop or hub using standard cabling that is compatible with your network The printer automatically adjusts for the network speed 3 Plug one end of the printer power cord into the socket at the...

Страница 52: ...optic Fiber optic is a type of Ethernet but uses different cables Various fiber optic Ethernet ports are available on optional MarkNet print server cards that can be installed in your printer If you p...

Страница 53: ...mputer communicate with your printer The procedure to install drivers depends on the operating system you are using Select your operating system and cable from the following table to find driver insta...

Страница 54: ...nstall the custom printer driver using the drivers CD that shipped with the printer Drivers are also available in downloadable software packages on our Lexmark Web site at www lexmark com Using Window...

Страница 55: ...must install both a USB port driver and an enhanced custom print driver When the Found New Hardware Wizard screen appears Note Depending on the software and printers already installed on your compute...

Страница 56: ...lect Search for the best driver for your device recommended and then click Next 3 Select only CD ROM drive and then click Next 4 After the wizard finds the USB port driver click Next 5 After the USB p...

Страница 57: ...now ready to print Using Windows 95 with a parallel cable When the Update Device Driver Wizard screen appears 1 Insert the drivers CD If the CD auto launches exit the CD If a system compatible driver...

Страница 58: ...Choose a default paper size g On the Easy Install screen click Install All the necessary files are installed on your computer h Click Quit when installation is complete Note A PPD for your printer is...

Страница 59: ...r you view the Readme file f Click Agree to accept the license agreement g Select a Destination and then click Continue h On the Easy Install screen click Install All the necessary files are installed...

Страница 60: ...ng Lexmark printers in UNIX and Linux environments All the printer driver packages support local printing using a parallel connection The driver package for Sun Solaris supports USB connections to Sun...

Страница 61: ...printer options are installed correctly Note For more information about using the printer operator panel and changing menu settings refer to the publications CD 1 Make sure the printer is on 2 Press M...

Страница 62: ...d your LAN drop may not be active or your network cable may be malfunctioning Consult your network support person for a solution and then print another network setup page to verify that you are connec...

Страница 63: ...tation Network Printer Install If your network is not using DHCP then you must manually assign an IP address to the printer One of the easiest ways is to use the operator panel 1 Press Menu until you...

Страница 64: ...up page on page 53 if you need help Note On Windows computers click Start Programs Command prompt or Accessories Command prompt if using Windows 2000 2 Ping the printer and verify that it responds For...

Страница 65: ...drivers are available on the drivers CD Updated system and custom drivers are available on our Lexmark Web site at www lexmark com Supported network printer ports Microsoft IP port Windows NT 4 0 Win...

Страница 66: ...that you associate with the printer such as Color1 lab4 After the port is created this name appears in the list of available ports on the Method of Connection screen Printing configuration Operating...

Страница 67: ...to a Windows NT 4 0 Windows 2000 Windows XP or Windows Server 2003 computer which will act as a server follow these steps to configure your network printer for shared printing Step 1 Install a custom...

Страница 68: ...ns much faster With this method a subset of driver information is copied from the server to the client computer This is just enough information to send a print job to the printer 1 On the Windows desk...

Страница 69: ...e assigned during the server installation process 5 Click OK 6 Select whether you want this printer to be the default printer for the client and then click Finish 7 Print a test page to verify printer...

Страница 70: ...list If you don t know which zone to select look on the Network Setup page under AppleTalk for Zone 3 Select the new printer from the list 4 If you don t know which printer to select look on the Netwo...

Страница 71: ...select look on the Network Setup page under AppleTalk for Zone 5 Select the new printer from the list and then click Add Note If you don t know which printer to select look on the Network Setup page u...

Страница 72: ...age for each supported UNIX and Linux platform The User s Guide in each package gives detailed instructions for installing and using Lexmark printers in UNIX and Linux environments You can download th...

Страница 73: ...g jams information and store it near the printer for easy access when needed See Printing Quick Reference information on page 53 for printing instructions You can also give the publications CD to a sy...

Отзывы: