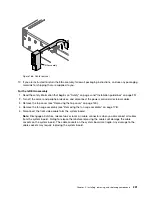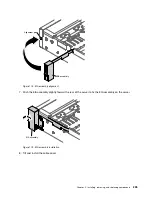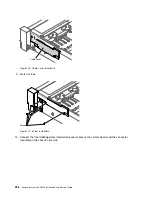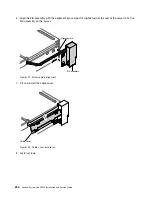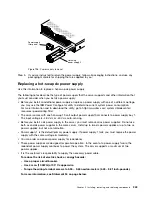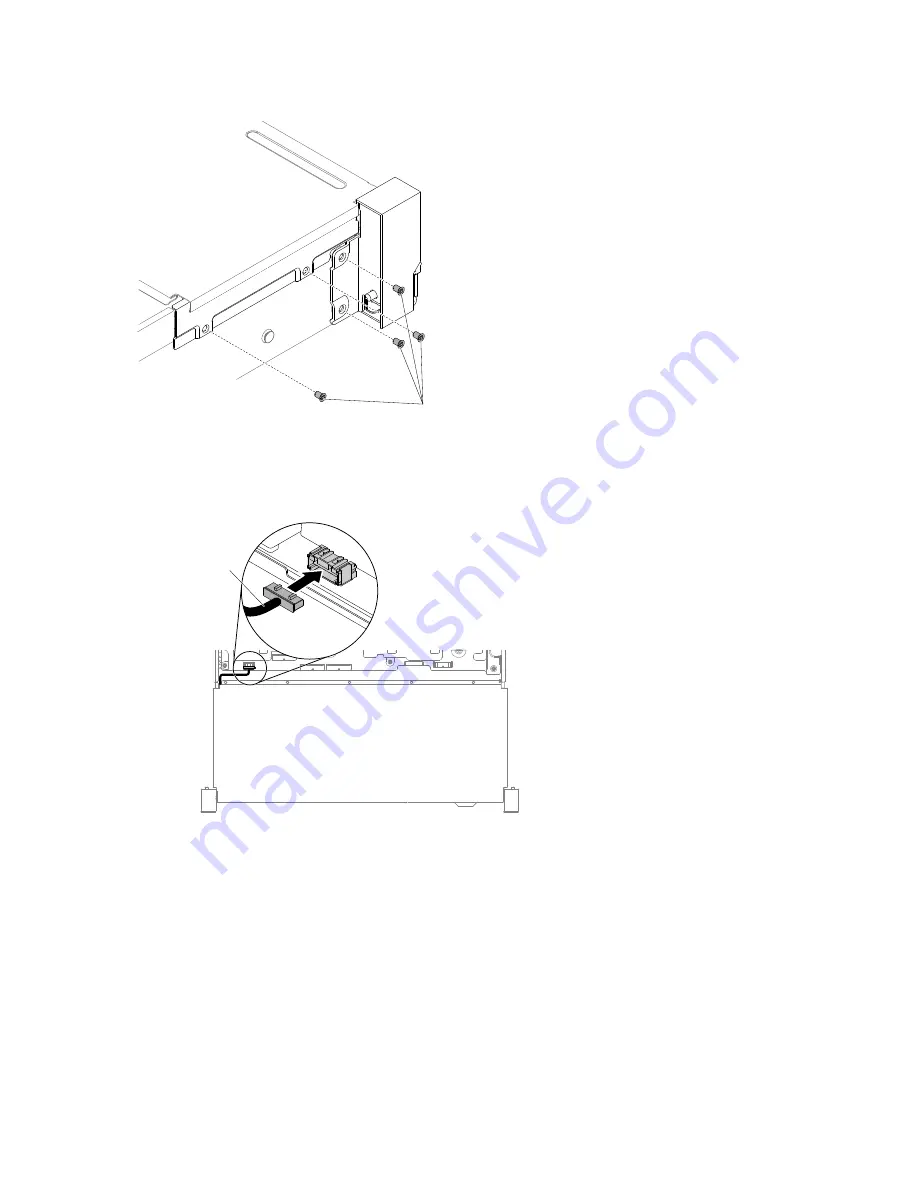
Screws
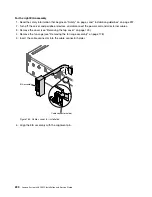
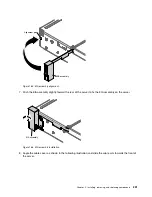
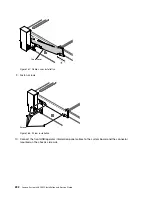
Figure 193. Screw installation
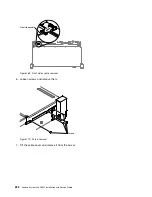
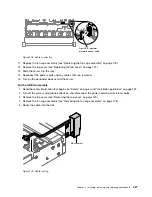
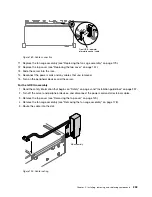
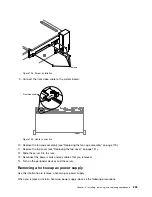
9. Connect the front video cable to the system board.
Front video cable
Figure 194. Cable connection
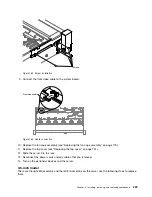
10. Replace the fan cage assembly (see “Replacing the fan cage assembly” on page 179).
11. Replace the top cover (see “Replacing the top cover” on page 151).
12. Slide the server into the rack.
13. Reconnect the power cords and any cables that you removed.
14. Turn on the peripheral devices and the server.
Removing a hot-swap ac power supply
Use this information to remove a hot-swap ac power supply.
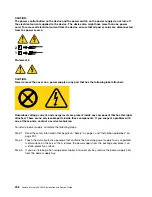
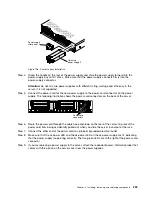
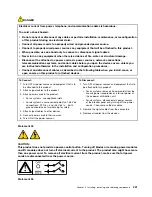
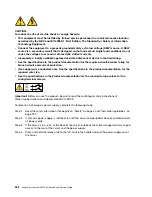
When you remove or install a hot-swap power supply, observe the following precautions.
Installing, removing, and replacing components
235
Содержание x3650 M5
Страница 1: ...Lenovo System x3650 M5 Installation and Service Guide Machine Type 8871 ...
Страница 47: ...Figure 35 System board switches jumpers and buttons Chapter 1 The System x3650 M5 server 35 ...
Страница 60: ...48 Lenovo System x3650 M5 Installation and Service Guide ...
Страница 80: ...68 Lenovo System x3650 M5 Installation and Service Guide ...
Страница 124: ...112 Lenovo System x3650 M5 Installation and Service Guide ...
Страница 146: ...134 Lenovo System x3650 M5 Installation and Service Guide ...
Страница 1322: ...1310 Lenovo System x3650 M5 Installation and Service Guide ...
Страница 1329: ...People s Republic of China Class A electronic emission statement Taiwan Class A compliance statement Appendix E Notices 1317 ...
Страница 1330: ...Taiwan BSMI RoHS declaration 1318 Lenovo System x3650 M5 Installation and Service Guide ...
Страница 1339: ......
Страница 1340: ......

