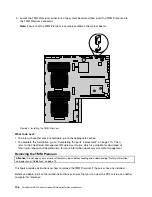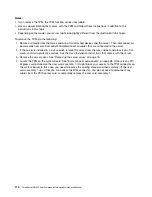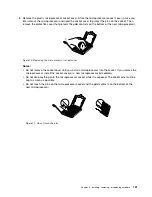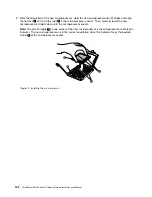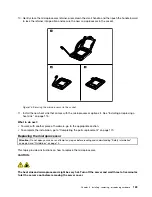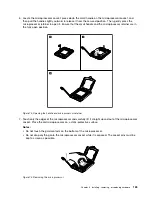
5. Remove the TPM from the TPM connector by lifting it straight up.
Note:
Carefully handle the TPM by its edges.
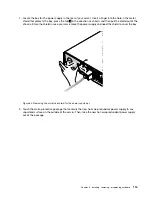
Figure 63. Removing the TPM
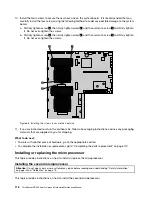
6. If you have lifted the riser card assembly 1, reinstall it into the chassis. See “Replacing the riser card
7. If you are instructed to return the old TPM, follow all packaging instructions and use any packaging
materials that are supplied to you for shipping.
What to do next:
• To work with another piece of hardware, go to the appropriate section.
• To complete the removal procedure, go to “Completing the parts replacement” on page 170.
Installing or replacing a hot-swap redundant power supply
This topic provides instructions on how to install or replace a hot-swap redundant power supply.
On each hot-swap redundant power supply, there is a status LED near the power cord connector. For
information about the status LED, see “Hot-swap redundant power supply status LED” on page 30. If your
server comes with an Intelligent Diagnostics Module, you also can view the LEDs on the panel of the module
to locate the failing power supply. See “Intelligent Diagnostics Module” on page 22.
Installing, removing, or replacing hardware
111
Содержание ThinkServer RD340
Страница 18: ...6 ThinkServer RD340 User Guide and Hardware Maintenance Manual ...
Страница 84: ...72 ThinkServer RD340 User Guide and Hardware Maintenance Manual ...
Страница 188: ...176 ThinkServer RD340 User Guide and Hardware Maintenance Manual ...
Страница 198: ...186 ThinkServer RD340 User Guide and Hardware Maintenance Manual ...
Страница 214: ...202 ThinkServer RD340 User Guide and Hardware Maintenance Manual ...
Страница 215: ......
Страница 216: ......

