Chapter 2.
2-3
Adjusting your monitor image
This section describes the control features to adjust your monitor image.
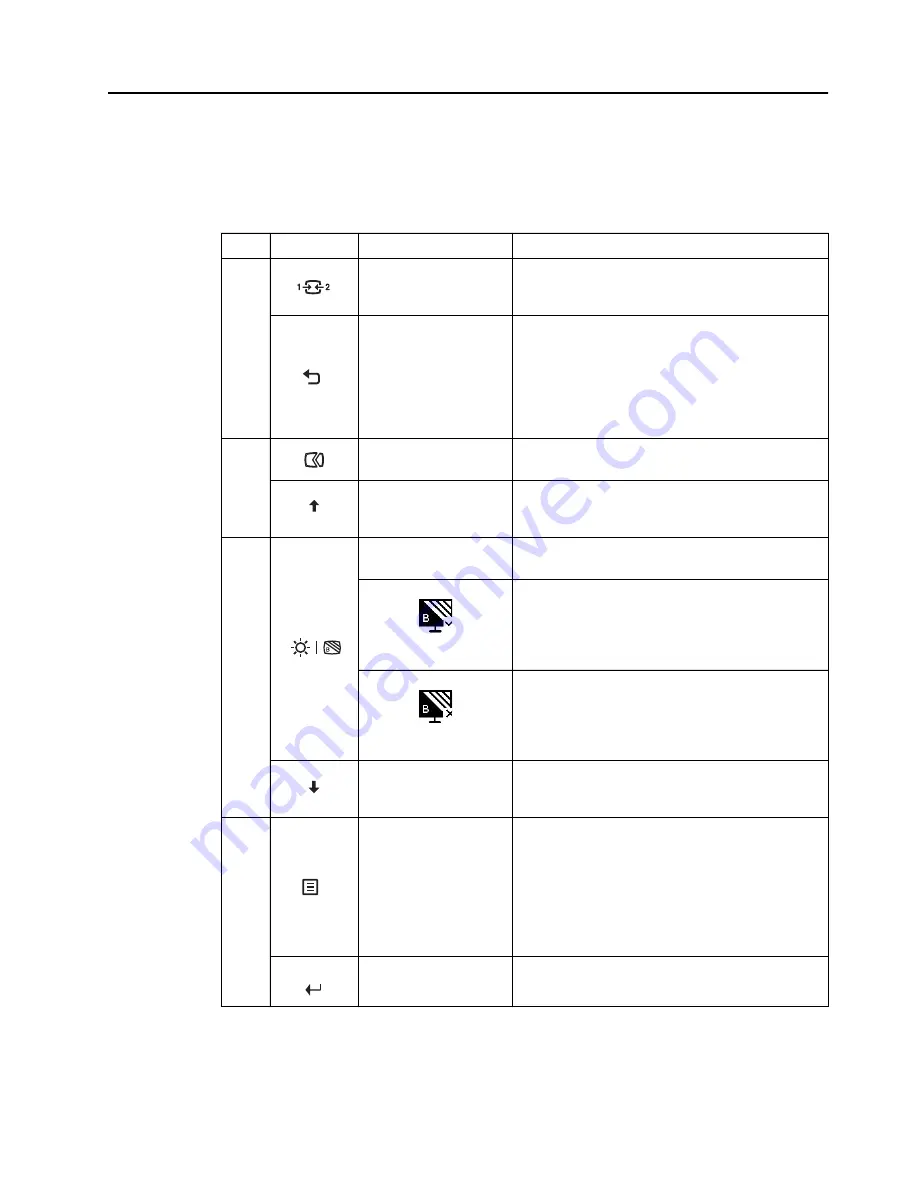
Using the direct access controls
The direct access controls can be used when the On-Screen Display (OSD) is not displayed.
Icon
Control
Description
1
Input Source
Switches the video input source
Shift back to previous level when in OSD mode
Exit
Shortcut key for directly opening the menu of source-
selecting while there is no any OSD on the screen.
Press to exit current OSD or return to previous level.
Press and hold for 10 seconds, then the DDC/CI
function will be Enabled/Disabled.
2
Auto Adjustment
Optimizes image (size, position, phase and clock) (For
analog [VGA] source only)
Increase
Press to move to last item on menu.
Press to Increase current value on adjustment bar.
3
Brightness
Shortcut key for directly opening brightness adjustment
bar while there is no any OSD on the screen.
Enable Low Blue Light
Press and hold for 3 seconds to enable Low Blue Light
Disable Low Blue Light
Press and hold for 3 seconds to disable Low Blue Light
Decrease
Press to move to next item on menu.
Press to decrease current value on adjustment bar.
4
Menu/OK
Press to open main menu while there is no any OSD on
the screen.
Press to enter next level on main menu or sub menu , or
enter previous level on adjustment bar.
Press and hold for 10 seconds, then Main menu will be
Locked/un-Locked.
Enter
Press to enter next level on main menu/sub menu status
or enter previous level on adjustment bar
Содержание C24-20
Страница 1: ...Lenovo C24 20 User Guide ...


