


Chapter 6: Using the Web Interface
162
Creating Roles
A role is a combination of permissions. Each user must have at least one
role.
The SRC provides two built-in roles.
Built-in role
Description
Admin
Provide full permissions.
Operator
Provide frequently-used permissions, including:
Acknowledge Alarms
Change Own Password
Change SRC Configuration
View Event Settings
View Local Event Log
If the two do not satisfy your needs, add new roles. SRC supports up to 64
roles.
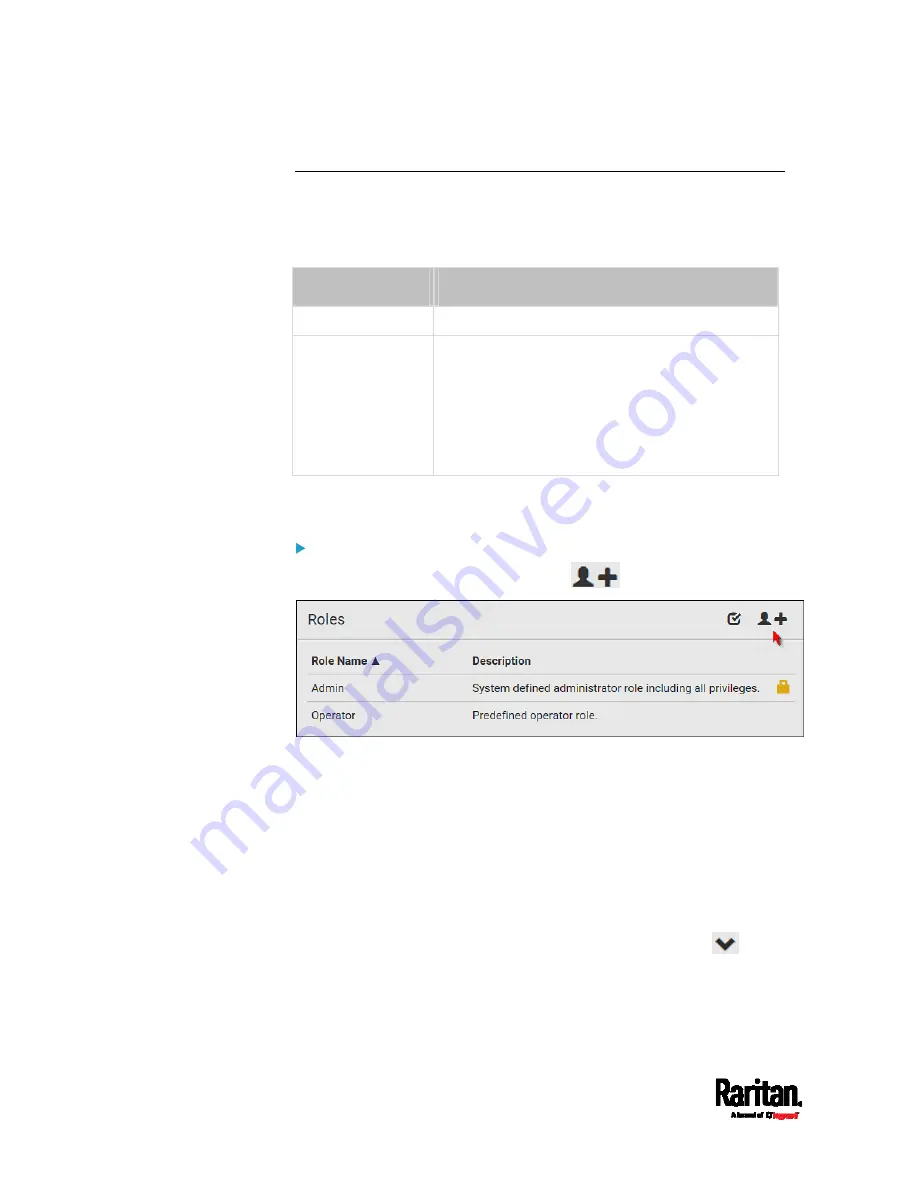
To create a role:
1.
Choose User Management > Roles >
.
2.
Assign a role name.
1 to 32 characters long
Case sensitive
Spaces are permitted
3.
Type a description for the role in the Description field.
4.
Select the desired privilege(s).
The 'Administrator Privileges' includes all privileges.
The 'Unrestricted View Privileges' includes all 'View' privileges.
5.
If any privilege requires the argument setting, the symbol
displays in the rightmost edge of that privilege's row. To select such
a privilege:
Содержание Raritan SRC-0100
Страница 42: ...Chapter 3 Initial Installation and Configuration 30 Number Device role Master device Slave 1 Slave 2 Slave 3...
Страница 113: ...Chapter 6 Using the Web Interface 101 4 To return to the main menu and the Dashboard page click on the top left corner...
Страница 114: ...Chapter 6 Using the Web Interface 102...
Страница 128: ...Chapter 6 Using the Web Interface 116 Go to an individual sensor s or actuator s data setup page by clicking its name...
Страница 290: ...Chapter 6 Using the Web Interface 278 If wanted you can customize the subject and content of this email in this action...
Страница 291: ...Chapter 6 Using the Web Interface 279...
Страница 301: ...Chapter 6 Using the Web Interface 289 6 Click Create to finish the creation...
Страница 311: ...Chapter 6 Using the Web Interface 299...
Страница 312: ...Chapter 6 Using the Web Interface 300 Continued...
Страница 625: ...Appendix H RADIUS Configuration Illustration 613 Note If your SRC uses PAP then select PAP...
Страница 626: ...Appendix H RADIUS Configuration Illustration 614 10 Select Standard to the left of the dialog and then click Add...
Страница 627: ...Appendix H RADIUS Configuration Illustration 615 11 Select Filter Id from the list of attributes and click Add...
Страница 630: ...Appendix H RADIUS Configuration Illustration 618 14 The new attribute is added Click OK...
Страница 631: ...Appendix H RADIUS Configuration Illustration 619 15 Click Next to continue...
Страница 661: ...Appendix I Additional SRC Information 649...


