


Chapter 4: Connecting External Equipment (Optional)
72
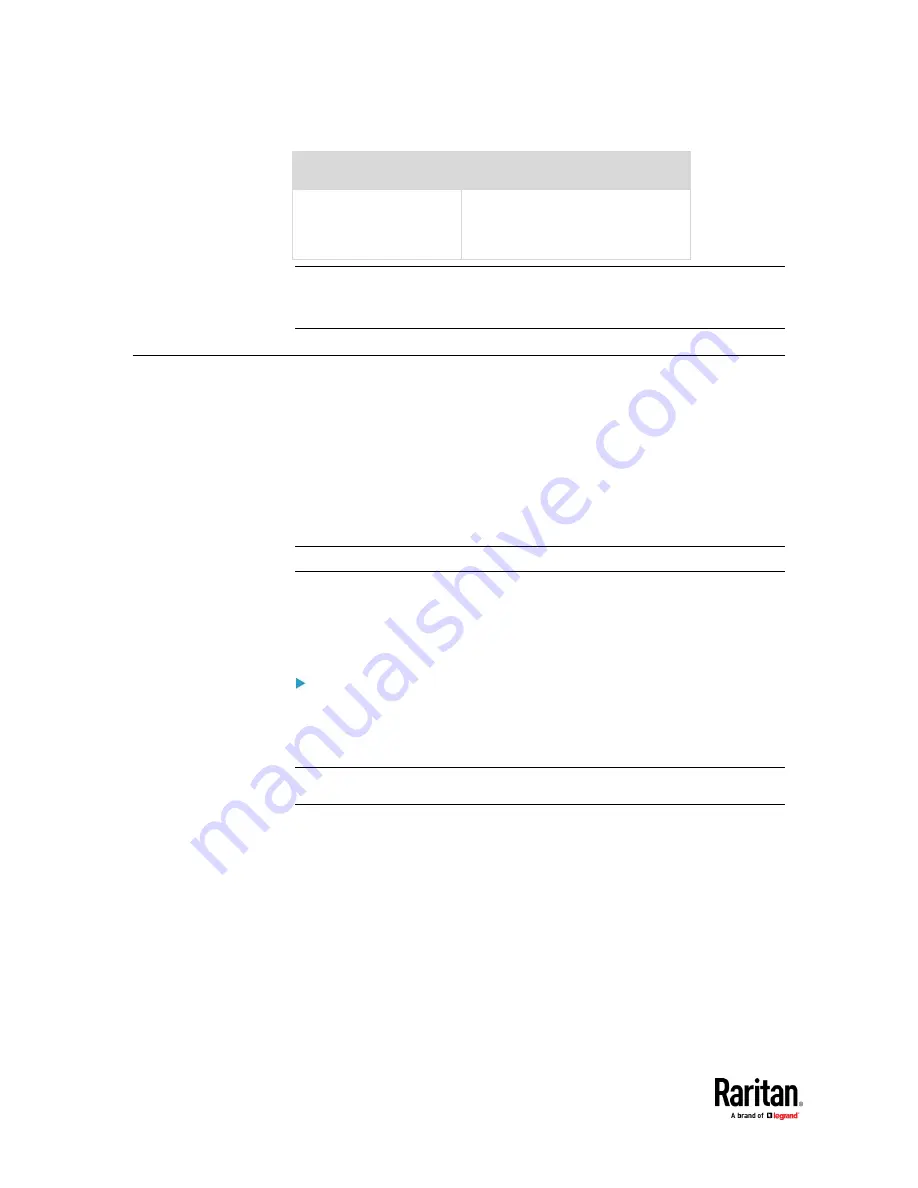
Raritan devices
Maximum strips per chain
PX3 PDUs,
PX3TS transfer switches
PMC (BCM2 series)
Note: In case you hot swap or hot plug any AMS-Mx-Z in a chain, causing the
FEATURE port of the PX3TS to malfunction, you can power cycle or reset the
PX3TS to restore the FEATURE port.
Connecting a Logitech Webcam
Connect webcams to PX3TS in order to view videos or snapshots of the
webcam's surrounding area.
The following USB Video Class (UVC) compliant webcam is supported:
•
Logitech
®
HD pro C920
•
Logitech
®
Webcam
®
Pro 9000, Model 960-000048
Other UVC-compliant webcams may also work. However, Raritan has neither
tested them nor claimed that they will work properly.
Tip: You can easily find a list of UVC-compliant webcams on the Internet.
The PX3TS supports up to two webcams. After connecting a webcam, you can
retrieve visual information from anywhere through the PX3TS web interface.
For more information on the Logitech webcam, refer to the user
documentation accompanying it.
To connect a webcam:
1.
Connect the webcam to the USB-A port on the PX3TS. The PX3TS
automatically detects the webcam.
2.
Position the webcam properly.
Important: If a USB hub is used to connect the webcam, make sure it is a
"powered" hub.
Snapshots or videos captured by the webcam are immediately displayed in the
PX3TS web interface after the connection is complete. See
Configuring
Webcams and Viewing Live Images
(on page 495).
Содержание Raritan PX3TS
Страница 4: ......
Страница 6: ......
Страница 20: ......
Страница 52: ...Chapter 3 Initial Installation and Configuration 32 Number Device role Master device Slave 1 Slave 2 Slave 3...
Страница 80: ...Chapter 4 Connecting External Equipment Optional 60...
Страница 109: ...Chapter 5 PDU Linking 89...
Страница 117: ...Chapter 5 PDU Linking 97...
Страница 440: ...Chapter 7 Using the Web Interface 420 If wanted you can customize the subject and content of this email in this action...
Страница 441: ...Chapter 7 Using the Web Interface 421...
Страница 464: ...Chapter 7 Using the Web Interface 444...
Страница 465: ...Chapter 7 Using the Web Interface 445 Continued...
Страница 746: ...Appendix A Specifications 726...
Страница 823: ...Appendix I RADIUS Configuration Illustration 803 Note If your PX3TS uses PAP then select PAP...
Страница 824: ...Appendix I RADIUS Configuration Illustration 804 10 Select Standard to the left of the dialog and then click Add...
Страница 825: ...Appendix I RADIUS Configuration Illustration 805 11 Select Filter Id from the list of attributes and click Add...
Страница 828: ...Appendix I RADIUS Configuration Illustration 808 14 The new attribute is added Click OK...
Страница 829: ...Appendix I RADIUS Configuration Illustration 809 15 Click Next to continue...
Страница 860: ...Appendix J Additional PX3TS Information 840...
Страница 890: ...Appendix K Integration 870 3 Click OK...
Страница 900: ......


