


Chapter 7: Using the Web Interface
513
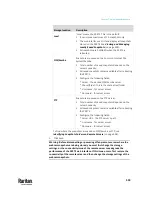
2.
Go to the proper door handle section, and click Open or Close to open or
close the door handle lock.
3.
Confirm the operation when prompted.
4.
Now you can physically open the cabinet door with the opened door
handle.
Tip: You can click Close to re-close the door handle lock when you change your
mind before the door is physically opened, or when the door handle lock is
mistakenly opened, or when someone opens it without pulling out the door
handle. If not, then PX3TS will automatically close the door handle lock after its
timeout expires.
DX2-DH2C2 LED information:
•
For information on DX2-DH2C2 LED, refer to 'Environmental Sensors and
Actuators Guide' (or its Online Help version) on the Raritan
Support page
http://www.raritan.com/support/
).
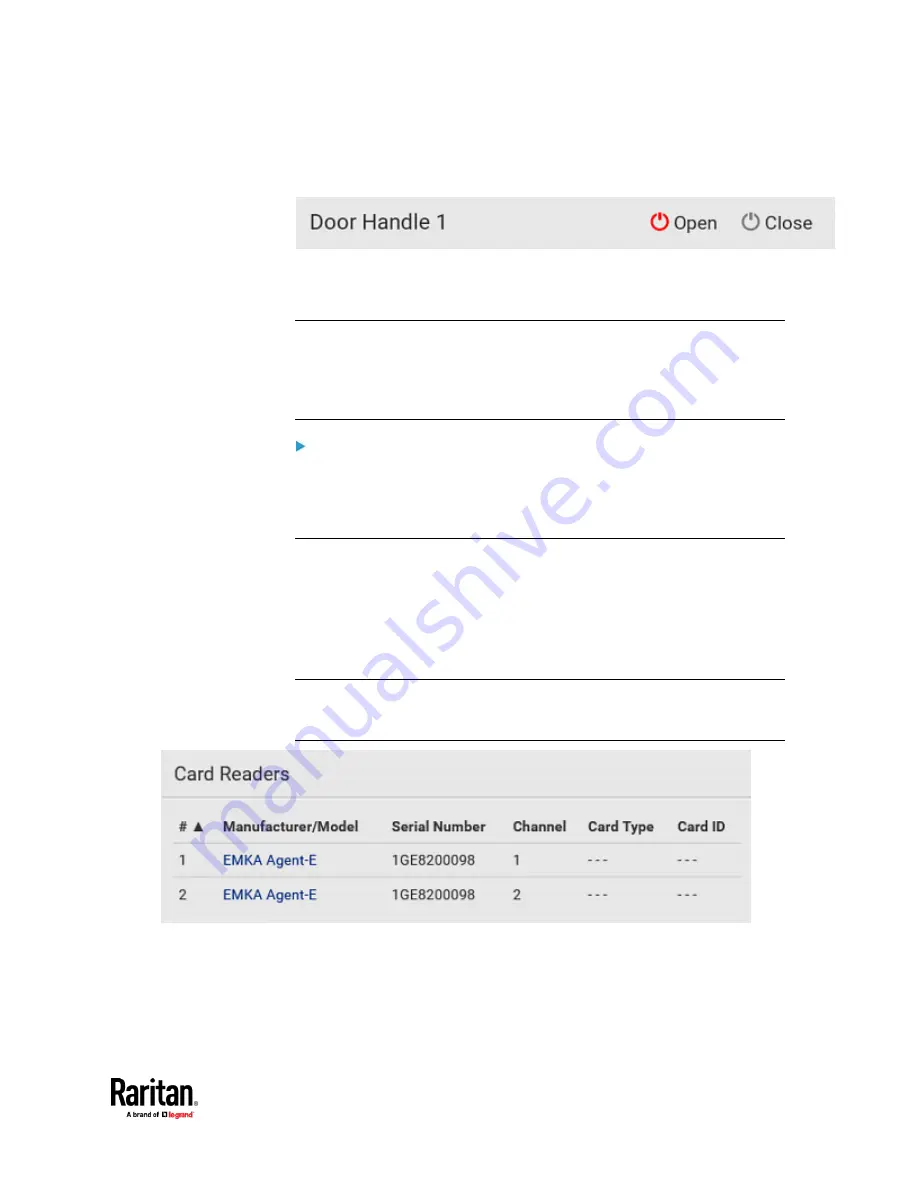
Card Readers
To open the Card Readers page, choose Card Readers in the
Menu
(on page
176).
This page lists all card readers connected to PX3TS, including:
•
Standalone USB card readers
•
Card readers integrated with door handles
Note: To have card readers integrated with door handles display on this page,
you must first configure the door handle properly on the page of
SmartLock
(on
Содержание Raritan PX3TS
Страница 4: ......
Страница 6: ......
Страница 20: ......
Страница 52: ...Chapter 3 Initial Installation and Configuration 32 Number Device role Master device Slave 1 Slave 2 Slave 3...
Страница 80: ...Chapter 4 Connecting External Equipment Optional 60...
Страница 109: ...Chapter 5 PDU Linking 89...
Страница 117: ...Chapter 5 PDU Linking 97...
Страница 440: ...Chapter 7 Using the Web Interface 420 If wanted you can customize the subject and content of this email in this action...
Страница 441: ...Chapter 7 Using the Web Interface 421...
Страница 464: ...Chapter 7 Using the Web Interface 444...
Страница 465: ...Chapter 7 Using the Web Interface 445 Continued...
Страница 746: ...Appendix A Specifications 726...
Страница 823: ...Appendix I RADIUS Configuration Illustration 803 Note If your PX3TS uses PAP then select PAP...
Страница 824: ...Appendix I RADIUS Configuration Illustration 804 10 Select Standard to the left of the dialog and then click Add...
Страница 825: ...Appendix I RADIUS Configuration Illustration 805 11 Select Filter Id from the list of attributes and click Add...
Страница 828: ...Appendix I RADIUS Configuration Illustration 808 14 The new attribute is added Click OK...
Страница 829: ...Appendix I RADIUS Configuration Illustration 809 15 Click Next to continue...
Страница 860: ...Appendix J Additional PX3TS Information 840...
Страница 890: ...Appendix K Integration 870 3 Click OK...
Страница 900: ......


