


Chapter 7: Using the Web Interface
492
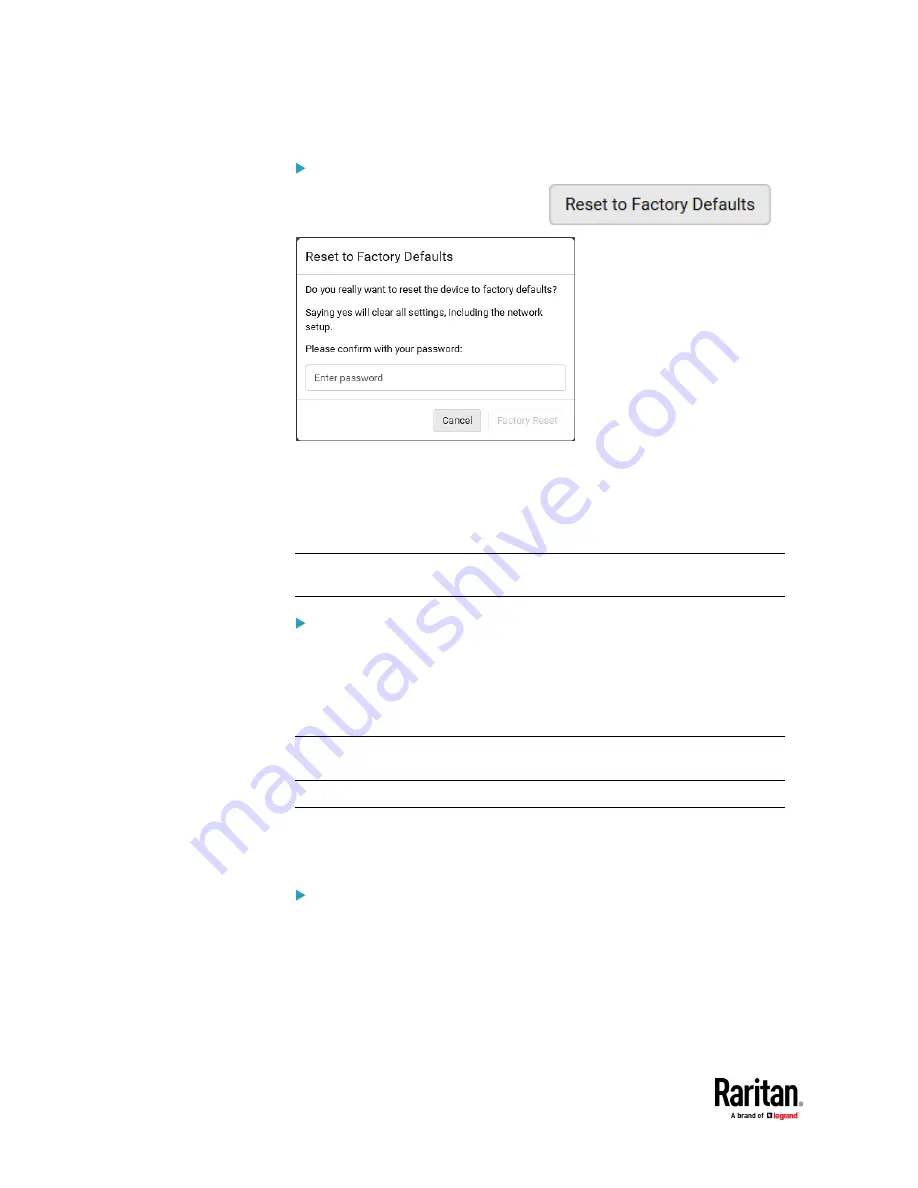
To reset the device to factory defaults:
1.
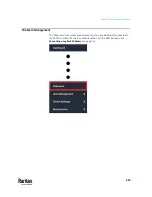
Choose Maintenance > Unit Reset >
.
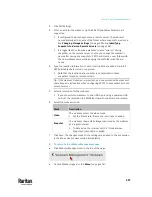
2.
Type your password and then click Factory Reset to reset the PX3TS to
factory defaults.
3.
A message appears, with a countdown timer showing the remaining time
of the operation. It takes about two minutes to complete.
4.
When the reset is complete, the login page opens.
Tip: If you are not redirected to the login page after the reset is complete, click
the text "this link" in the countdown message.
Alternative:
There are two more methods to reset the device to factory defaults.
•
Use the "mechanical" reset button
•
Perform the CLI command
For details, see
Resetting to Factory Defaults
(on page 775).
Note: Device reset will cause CLI communications over an "USB" connection to
be lost. Therefore, re-connect the USB cable after the reset is complete.
Retrieving Software Packages Information
You can check the current firmware version and the information of all open
source packages embedded in the PX3TS through the web interface.
To retrieve the embedded software packages information:
1.
Choose Maintenance > About PDU. A list of open source packages is
displayed.
2.
You can click any link to access related information or download any
software package.
Содержание Raritan PX3TS
Страница 4: ......
Страница 6: ......
Страница 20: ......
Страница 52: ...Chapter 3 Initial Installation and Configuration 32 Number Device role Master device Slave 1 Slave 2 Slave 3...
Страница 80: ...Chapter 4 Connecting External Equipment Optional 60...
Страница 109: ...Chapter 5 PDU Linking 89...
Страница 117: ...Chapter 5 PDU Linking 97...
Страница 440: ...Chapter 7 Using the Web Interface 420 If wanted you can customize the subject and content of this email in this action...
Страница 441: ...Chapter 7 Using the Web Interface 421...
Страница 464: ...Chapter 7 Using the Web Interface 444...
Страница 465: ...Chapter 7 Using the Web Interface 445 Continued...
Страница 746: ...Appendix A Specifications 726...
Страница 823: ...Appendix I RADIUS Configuration Illustration 803 Note If your PX3TS uses PAP then select PAP...
Страница 824: ...Appendix I RADIUS Configuration Illustration 804 10 Select Standard to the left of the dialog and then click Add...
Страница 825: ...Appendix I RADIUS Configuration Illustration 805 11 Select Filter Id from the list of attributes and click Add...
Страница 828: ...Appendix I RADIUS Configuration Illustration 808 14 The new attribute is added Click OK...
Страница 829: ...Appendix I RADIUS Configuration Illustration 809 15 Click Next to continue...
Страница 860: ...Appendix J Additional PX3TS Information 840...
Страница 890: ...Appendix K Integration 870 3 Click OK...
Страница 900: ......


