


Chapter 7: Using the Web Interface
367
Note: Whenever PX3TS is successfully connected to one external
authentication server, it STOPS trying access to remaining servers in the
authentication list regardless of the user authentication result.
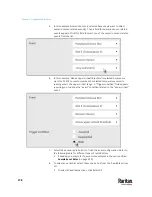
To enable both external and local authentication:
1.
In the 'Authentication type' field, select the external authentication you
want -- LDAP or RADIUS.
2.
Select the following checkbox. Then the PX3TS always tries external
authentication first. Whenever the external authentication fails, the PX3TS
switches to local authentication.
3.
Click Save.
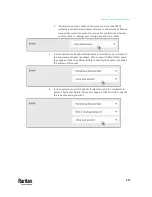
To disable external authentication:
1.
In the 'Authentication type' field, select Local.
2.
Click Save.
Configuring Login Settings
Choose Device Settings > Security > Login Settings to open the Login Settings
page, where you can:
•
Configure the user blocking feature.
Note: The user blocking function applies only to local authentication
instead of external authentication through AA servers.
•
Determine the timeout period for any inactive user.
•
Prevent simultaneous logins using the same login name.
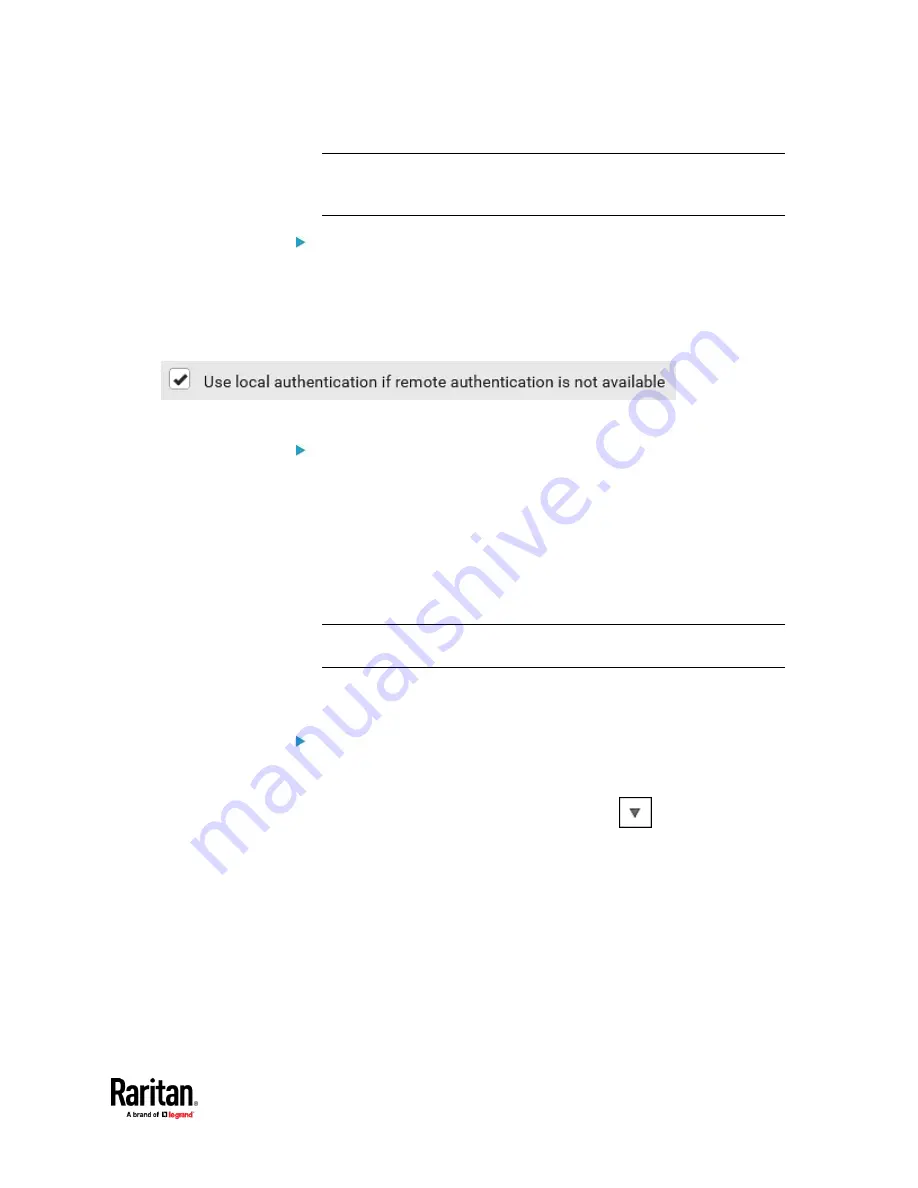
To configure user blocking:
1.
To enable the user blocking feature, select the 'Block user on login failure'
checkbox.
2.
In the 'Block timeout' field, type a value or click
to select a time
option. This setting determines how long the user is blocked.
▪
If you type a value, the value must be followed by a time unit, such as
'4 min.' See
Time Units
(on page 214).
3.
In the 'Maximum number of failed logins' field, type a number. This is the
maximum number of login failure the user is permitted before the user is
blocked from accessing the PX3TS.
4.
Click Save.
Содержание Raritan PX3TS
Страница 4: ......
Страница 6: ......
Страница 20: ......
Страница 52: ...Chapter 3 Initial Installation and Configuration 32 Number Device role Master device Slave 1 Slave 2 Slave 3...
Страница 80: ...Chapter 4 Connecting External Equipment Optional 60...
Страница 109: ...Chapter 5 PDU Linking 89...
Страница 117: ...Chapter 5 PDU Linking 97...
Страница 440: ...Chapter 7 Using the Web Interface 420 If wanted you can customize the subject and content of this email in this action...
Страница 441: ...Chapter 7 Using the Web Interface 421...
Страница 464: ...Chapter 7 Using the Web Interface 444...
Страница 465: ...Chapter 7 Using the Web Interface 445 Continued...
Страница 746: ...Appendix A Specifications 726...
Страница 823: ...Appendix I RADIUS Configuration Illustration 803 Note If your PX3TS uses PAP then select PAP...
Страница 824: ...Appendix I RADIUS Configuration Illustration 804 10 Select Standard to the left of the dialog and then click Add...
Страница 825: ...Appendix I RADIUS Configuration Illustration 805 11 Select Filter Id from the list of attributes and click Add...
Страница 828: ...Appendix I RADIUS Configuration Illustration 808 14 The new attribute is added Click OK...
Страница 829: ...Appendix I RADIUS Configuration Illustration 809 15 Click Next to continue...
Страница 860: ...Appendix J Additional PX3TS Information 840...
Страница 890: ...Appendix K Integration 870 3 Click OK...
Страница 900: ......


