Chapter 7: Using the Web Interface
224
▪
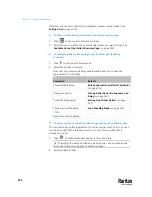
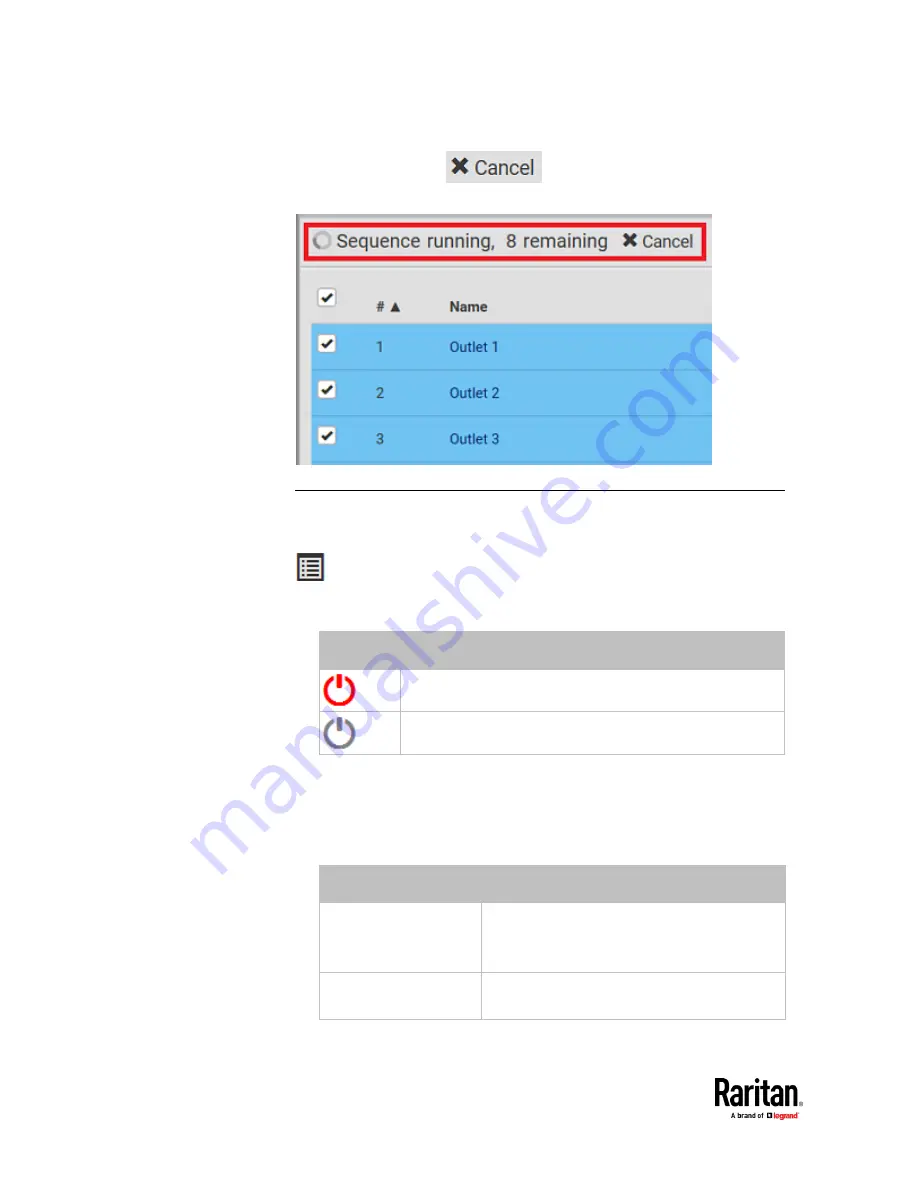
If needed, click
to stop the outlet-switching
operation.
Available Data of the Outlets Overview Page
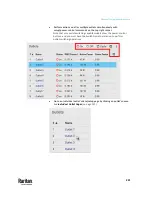
All or some of the following outlet data is displayed on the outlets overview
page based on your model and selection. To show or hide specific data, click
. See
Outlets
(on page 220).
•
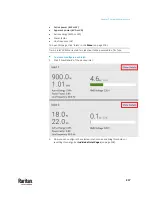
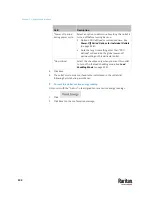
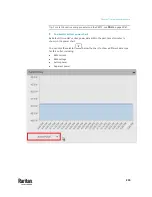
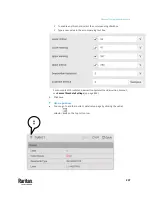
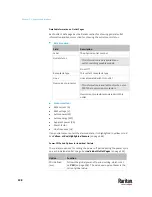
Outlet status, which is marked with either icon below. This information is
available on outlet-switching capable models only.
Icon
Outlet status
Outlet turned on
Outlet turned off
•
RMS current (A)
•
Active power (W)
•
Power factor
•
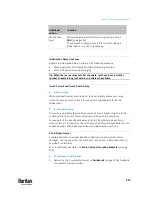
Non-critical setting for indicating whether the outlet is a non-critical outlet.
This information is available on outlet-switching capable models only.
Non-critical setting
Description
true
The outlet is a non-critical outlet, which will be
turned OFF in the load shedding mode.
See
Load Shedding Mode
(on page 229).
false
The outlet is a critical outlet, which will remain
unchanged in the load shedding mode.
Содержание Raritan PX3TS
Страница 4: ......
Страница 6: ......
Страница 20: ......
Страница 52: ...Chapter 3 Initial Installation and Configuration 32 Number Device role Master device Slave 1 Slave 2 Slave 3...
Страница 80: ...Chapter 4 Connecting External Equipment Optional 60...
Страница 109: ...Chapter 5 PDU Linking 89...
Страница 117: ...Chapter 5 PDU Linking 97...
Страница 440: ...Chapter 7 Using the Web Interface 420 If wanted you can customize the subject and content of this email in this action...
Страница 441: ...Chapter 7 Using the Web Interface 421...
Страница 464: ...Chapter 7 Using the Web Interface 444...
Страница 465: ...Chapter 7 Using the Web Interface 445 Continued...
Страница 746: ...Appendix A Specifications 726...
Страница 823: ...Appendix I RADIUS Configuration Illustration 803 Note If your PX3TS uses PAP then select PAP...
Страница 824: ...Appendix I RADIUS Configuration Illustration 804 10 Select Standard to the left of the dialog and then click Add...
Страница 825: ...Appendix I RADIUS Configuration Illustration 805 11 Select Filter Id from the list of attributes and click Add...
Страница 828: ...Appendix I RADIUS Configuration Illustration 808 14 The new attribute is added Click OK...
Страница 829: ...Appendix I RADIUS Configuration Illustration 809 15 Click Next to continue...
Страница 860: ...Appendix J Additional PX3TS Information 840...
Страница 890: ...Appendix K Integration 870 3 Click OK...
Страница 900: ......


