


Chapter 4: Connecting External Equipment (Optional)
59
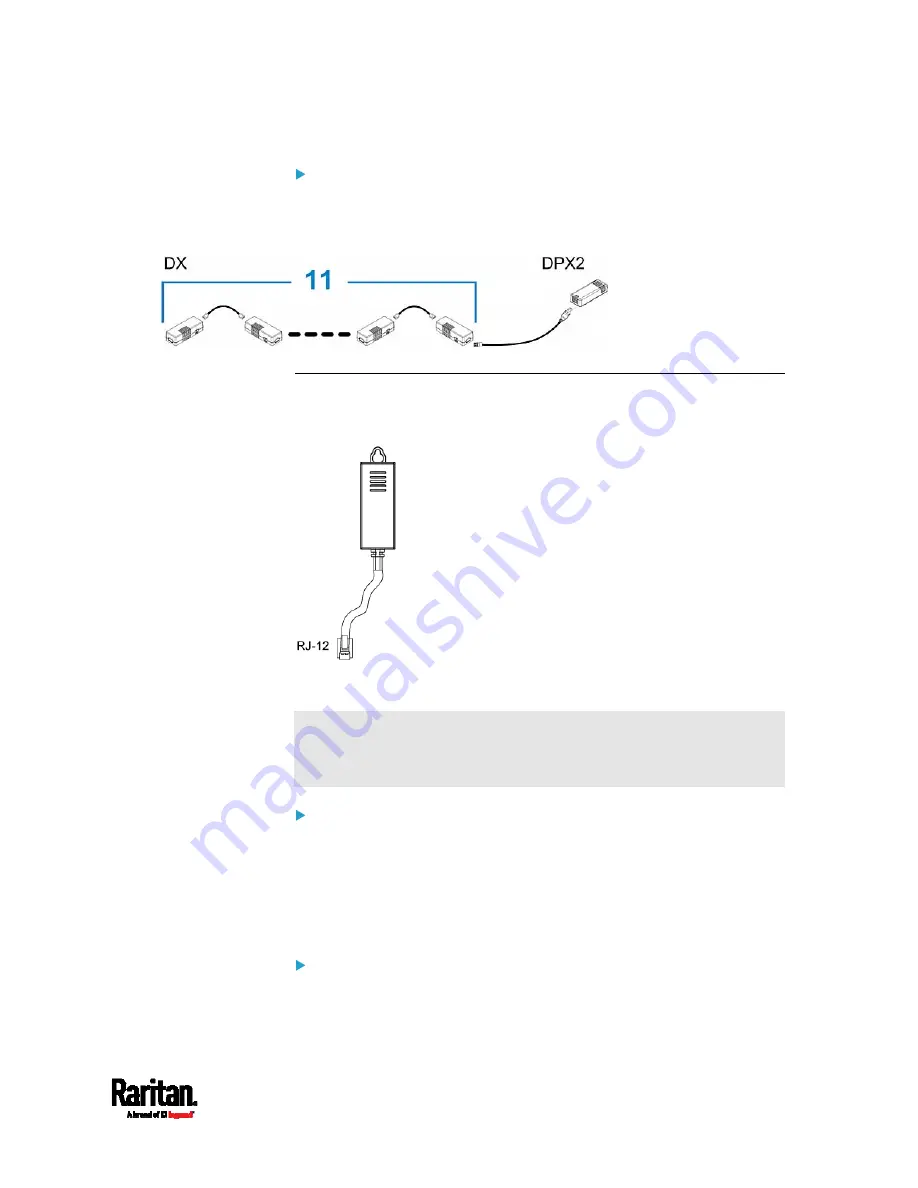
When connecting a DPX2 sensor package containing "one" DPX2
sensor:
A maximum of eleven DX sensor packages can be cascaded because
12-1=11.
DPX Sensor Packages
Most DPX sensor packages come with a factory-installed sensor cable,
whose sensor connector is RJ-12.
For the cabling length restrictions, see
Supported Maximum DPX
Sensor Distances
(on page 63).
Warning: For proper operation, wait for 15-30 seconds between each
connection operation or each disconnection operation of
environmental sensor packages.
To directly connect a DPX with a factory-installed sensor cable:
An RJ-12 to RJ-45 adapter is required to connect a DPX sensor package
to PX3.
a.
Connect the adapter's RJ-12 connector to the DPX sensor cable.
b.
Connect the adapter's RJ-45 connector to the RJ-45 SENSOR
port of the PX3.
To directly connect a differential air pressure sensor:
1.
Connect a Raritan-provided phone cable to the IN port of a
differential air pressure sensor.
Содержание Raritan PX3-3000 Series
Страница 5: ......
Страница 62: ...Chapter 3 Initial Installation and Configuration 41 Number Device role Master device Slave 1 Slave 2 Slave 3 ...
Страница 90: ...Chapter 4 Connecting External Equipment Optional 69 ...
Страница 423: ...Chapter 6 Using the Web Interface 402 If wanted you can customize the subject and content of this email in this action ...
Страница 424: ...Chapter 6 Using the Web Interface 403 ...
Страница 447: ...Chapter 6 Using the Web Interface 426 ...
Страница 448: ...Chapter 6 Using the Web Interface 427 Continued ...
Страница 885: ...Appendix K RADIUS Configuration Illustration 864 Note If your PX3 uses PAP then select PAP ...
Страница 886: ...Appendix K RADIUS Configuration Illustration 865 10 Select Standard to the left of the dialog and then click Add ...
Страница 887: ...Appendix K RADIUS Configuration Illustration 866 11 Select Filter Id from the list of attributes and click Add ...
Страница 890: ...Appendix K RADIUS Configuration Illustration 869 14 The new attribute is added Click OK ...
Страница 891: ...Appendix K RADIUS Configuration Illustration 870 15 Click Next to continue ...
Страница 921: ...Appendix L Additional PX3 Information 900 ...
Страница 954: ...Appendix M Integration 933 3 Click OK ...


