


Chapter 8: Using the Command Line Interface
711
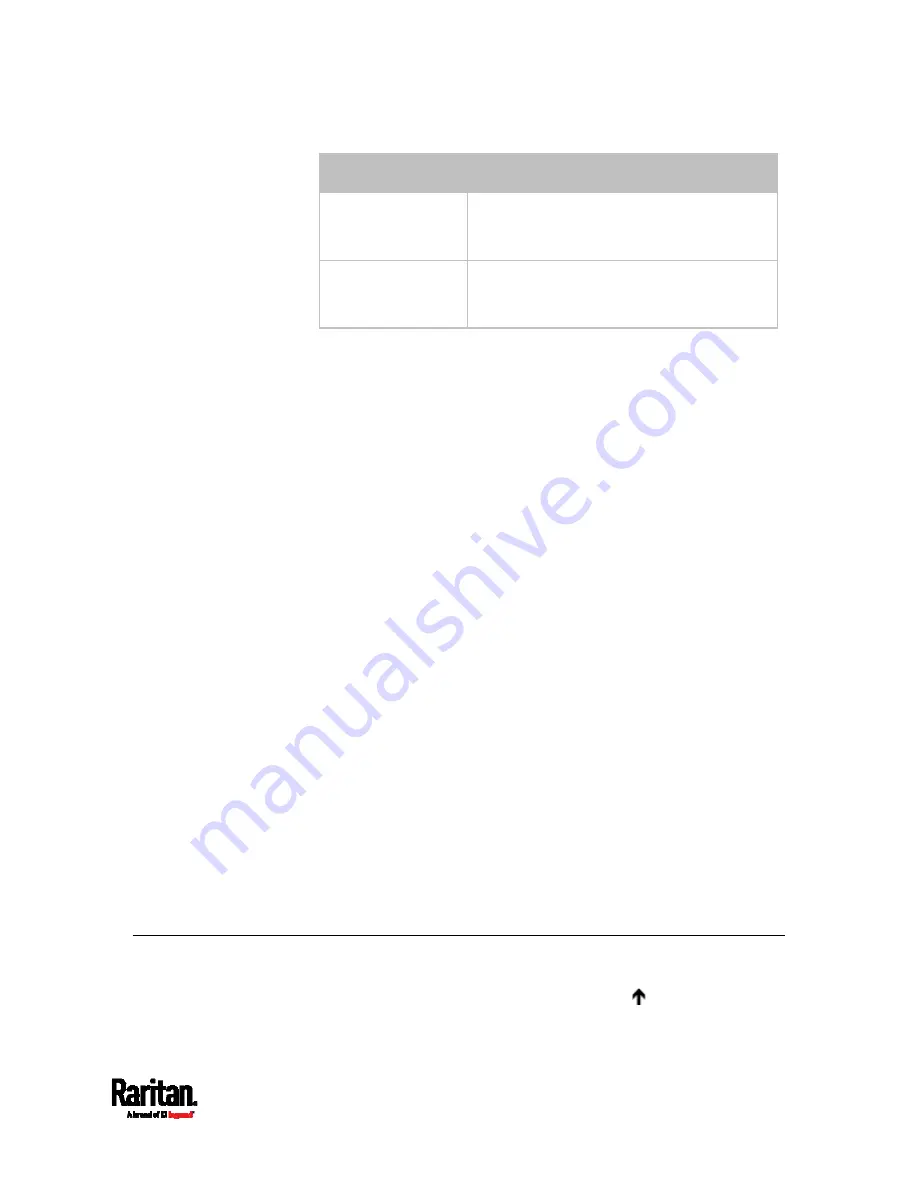
Options
Description
size <number2>
Determines the packet size. <number2> is an
integer number in bytes between 1 and
65468.
timeout <number3> Determines the waiting period before
timeout. <number3> is an integer number in
seconds ranging from 1 to 600.
The command looks like the following when it includes all options:
diag>
ping <host> count <number1> size <number2> timeout <number3>
Tracing the Route
This command syntax traces the network route between your PX3 and a
network host.
diag>
traceroute <host> <useICMP>
Variables:
<host> is the name or IP address of the host you want to trace.
<useICMP> is optional. It has only one value --
useICMP
. Type
useICMP
in the end of this command only when you want to use
ICMP packets rather than UDP packets.
Example - Ping Command
The following command checks the network connectivity of the host
192.168.84.222 by sending the ICMP ECHO_REQUEST message to the
host for 5 times.
diag>
ping 192.168.84.222 count 5
Retrieving Previous Commands
If you would like to retrieve any command that was previously typed in
the same connection session, press the Up arrow ( ) on the keyboard
several times until the desired command is displayed.
Содержание Raritan PX3-3000 Series
Страница 5: ......
Страница 62: ...Chapter 3 Initial Installation and Configuration 41 Number Device role Master device Slave 1 Slave 2 Slave 3 ...
Страница 90: ...Chapter 4 Connecting External Equipment Optional 69 ...
Страница 423: ...Chapter 6 Using the Web Interface 402 If wanted you can customize the subject and content of this email in this action ...
Страница 424: ...Chapter 6 Using the Web Interface 403 ...
Страница 447: ...Chapter 6 Using the Web Interface 426 ...
Страница 448: ...Chapter 6 Using the Web Interface 427 Continued ...
Страница 885: ...Appendix K RADIUS Configuration Illustration 864 Note If your PX3 uses PAP then select PAP ...
Страница 886: ...Appendix K RADIUS Configuration Illustration 865 10 Select Standard to the left of the dialog and then click Add ...
Страница 887: ...Appendix K RADIUS Configuration Illustration 866 11 Select Filter Id from the list of attributes and click Add ...
Страница 890: ...Appendix K RADIUS Configuration Illustration 869 14 The new attribute is added Click OK ...
Страница 891: ...Appendix K RADIUS Configuration Illustration 870 15 Click Next to continue ...
Страница 921: ...Appendix L Additional PX3 Information 900 ...
Страница 954: ...Appendix M Integration 933 3 Click OK ...


