crystal User Manual
Version: 6.6.0/2
321/459
17. Key Panel Control
17.2
Adding Key Panels
The "Panels" configuration defines any key panels connected to the system and their parameters.
1.
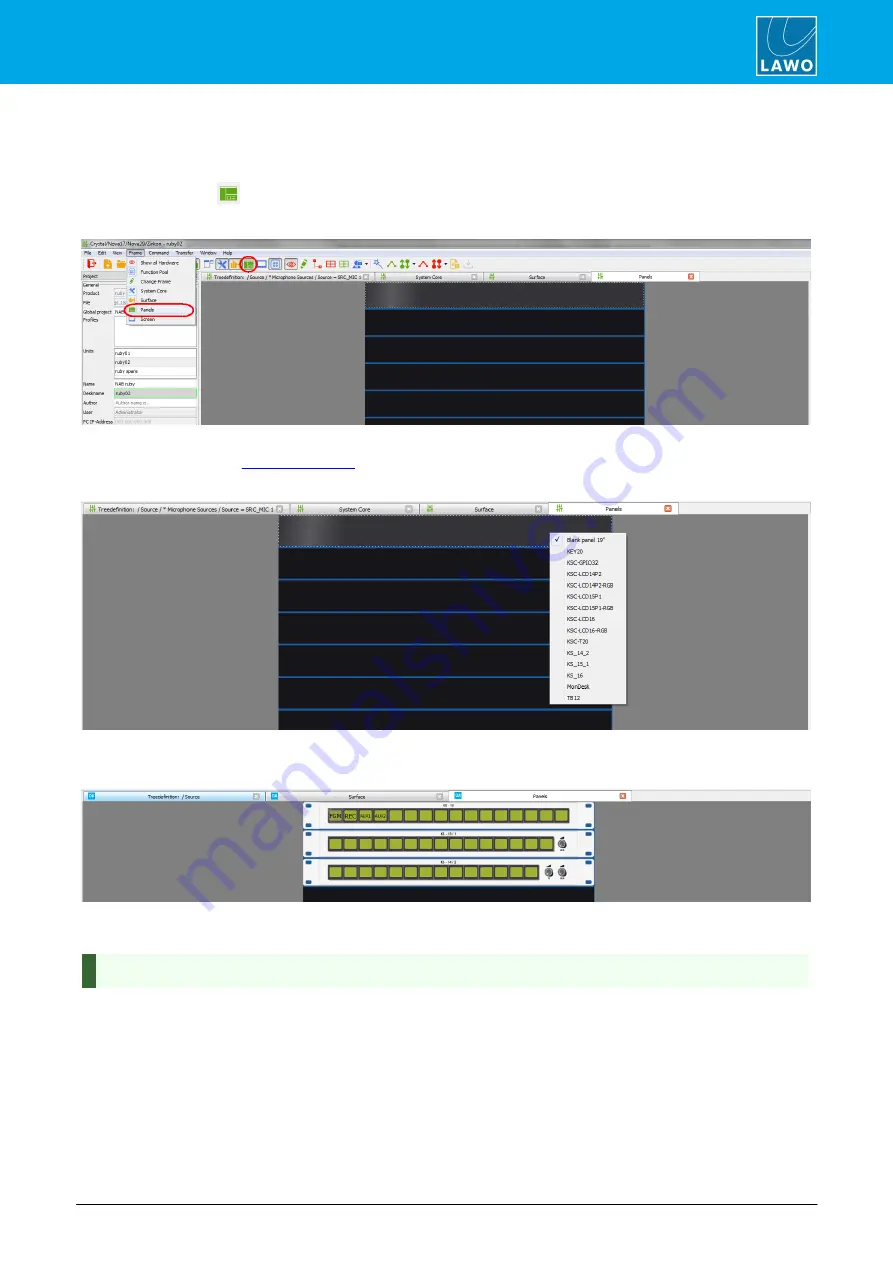
Click on the
Toolbar icon, or select
Frame
->
Panels
, to open the window:
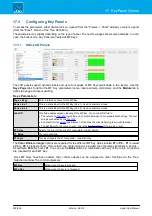
Panels Configuration Window
If this is a new configuration, then you will see a series of blank 19” frame panels. The maximum number of key
panels is defined by the
.
2.
Right-click on an empty panel slot to assign a key panel:
3.
Repeat to assign all the key panels connected to your system.
Panels Configuration (example)
Each slot position from top to bottom represents a CAN bus address. This is a unique hexadecimal address
which defines the role of each panel within the system.
You can zoom in (or out) on by pressing and holding CTRL while scrolling your mouse-wheel.
The MF Key labels are shown for all existing functions. Drag and drop an MF Key to swap the button functions -
an arrow will appear when valid "drop" position is reached. This works in the same way as the Central Module
MF Key swap described earlier.
4.
Double-click on a panel to open its parameter window.
The same parameters can be accessed by opening the "Panel" branch of the 'Tree Definition'.

