Retrofit kit for dial indicator test devices
ed. 01/2017
page 13
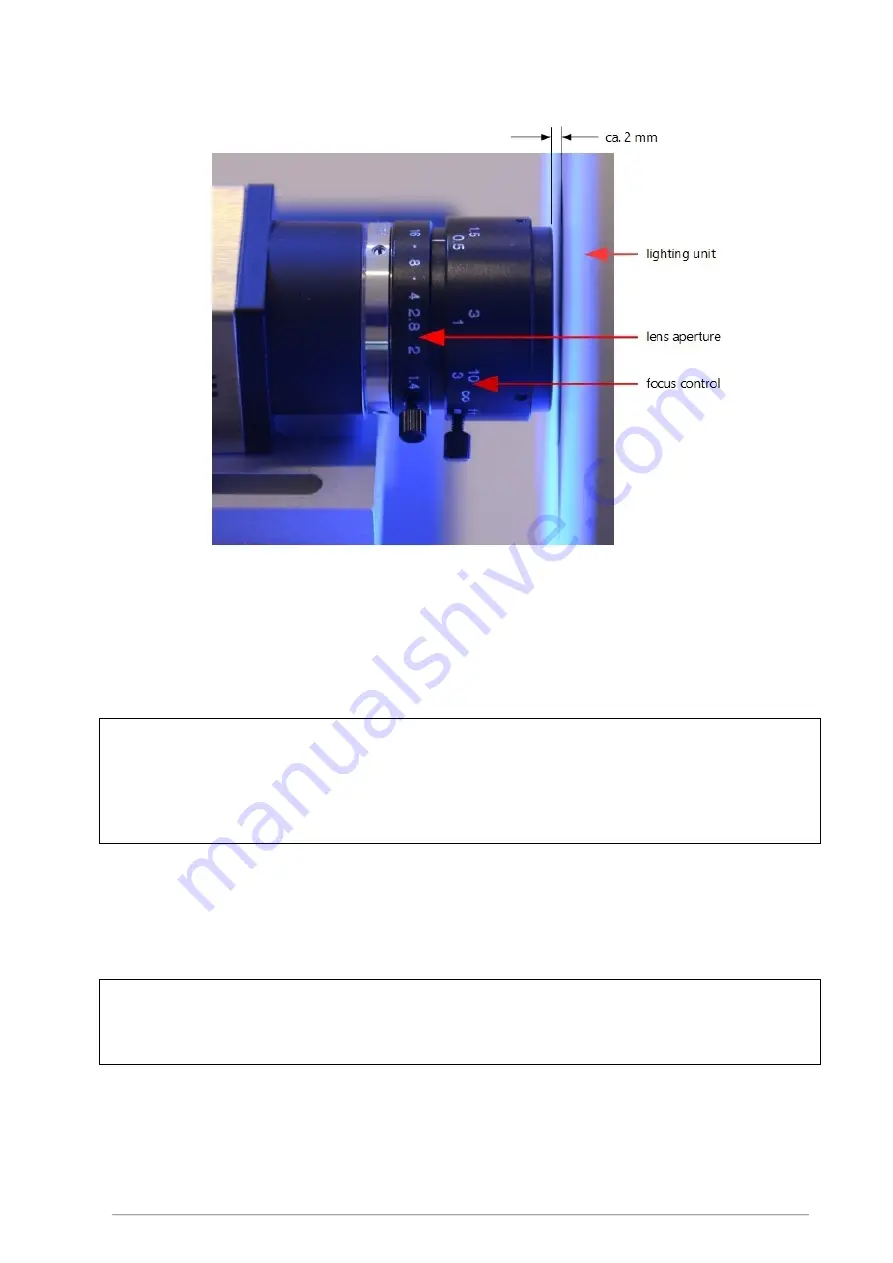
Fig. 8: lens with operating elements for lens aperture and focus
6.3
Set-up of the dial indicator test device
Follow the instructions of the manufacturer of the dial indicator test device to connect the test device to
the power supply and to the computer.
ATTENTION:
Please check in the Windows Device Manager if all the necessary interfaces (serial/USB or virtual ports) are
working properly and are not marked with error icons. Make sure that all the driver components are
updated and all the necessary Windows-updates are installed correctly. Only then continue with the set-
up.
Now start the dial indicator test device and carry out all the operating steps for starting the testing device
required by the manufacturer to put it in operating condition.
6.4
Set-up of the lighting unit
ATTENTION:
Before setting up the lighting unit, always check that the supply voltage indicated on the type plate of the
plug-in power supply corresponds with the local voltage!
The lighting unit is supplied with energy via the plug-in power supply included in the scope of delivery.
Plug the supply cable into the socket on the rear side of the lighting unit. Now connect the lighting unit to
the power supply.


